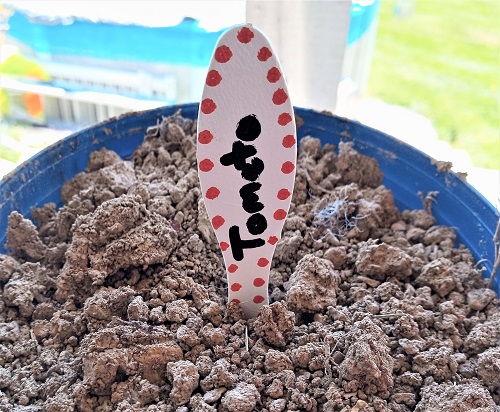
Children, depending on age can help adults out in the garden. They can be taught how to pull weeds, water plants, label them, and how to harvest them when the time is right. All young children should be supervised when in the garden by an adult or older sibling. Every year to kick off a new … [Read more...] about Kid’s Crafts – Wood Sundae Spoon Garden Plant Markers
kid's crafts
Hand-Painted Hearts Mother’s Day Seashell Paper Weight

Mother's Day is just around the corner and my 13 year old granddaughter wanted to paint a seashell for her Mom to place on her desk at work. She decided to make her a paper weight and it turned out nicely. For this project you'll need a large 5" wide clam seashell. It needs to be semi-weighty too. … [Read more...] about Hand-Painted Hearts Mother’s Day Seashell Paper Weight
Pine Cone Christmas Tree Ornaments Kid’s Craft Project

We're counting down the days until the Christmas holiday with a brand new kid's craft project! These painted pine cone Christmas tree ornaments are easy-to-make and use upcycled materials along with a few other items. Each one will cost you LESS than 50 cents to make! You can find a list of all … [Read more...] about Pine Cone Christmas Tree Ornaments Kid’s Craft Project
Pet Memorial Painted Seashells Garden Yard Art

Our beloved granddog of 13 years passed away from Cancer in March 2022. She was a beloved member of the family, a wonderful dog! My daughter and her husband adopted Nellari when she was a puppy. They lived with us for a short time and I have fond memories of helping them potty train her which only … [Read more...] about Pet Memorial Painted Seashells Garden Yard Art
Kid’s Crafts Felt Easter Chick Refrigerator Magnets
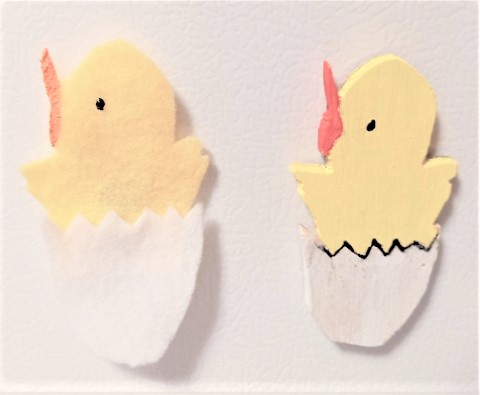
I help teach Sunday School at our local church with a group of 10 children age 5-7 years of age. Last weekend we did a quick and easy Easter craft project with the kids. You can find FREE templates online using Google Image Search or do what I did which I'll explain below. At my local craft suppy … [Read more...] about Kid’s Crafts Felt Easter Chick Refrigerator Magnets
Felt Easter Bunny Refrigerator Magnets Kid’s Craft Project
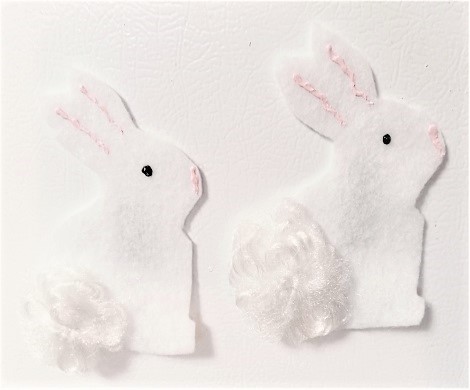
These felt Easter bunny refrigerator magnets are the perfect little craft project for young kids. You only need a handful of inexpensive craft supplies to make them. To get the bunny shape we simply used Google Image Search to find a free template that we liked, resided it, printed it out and used … [Read more...] about Felt Easter Bunny Refrigerator Magnets Kid’s Craft Project
Foam Easter Egg Refrigerator Magnets Kid’s Craft Project

Last weekend the grandchildren were over for our monthly Crafting with Nanny date. Easter is just around the corner so we kept our craft project simple. We found a FREE oval shape template online (via Google image search) resized it to our liking and then printed it out. That is the base for your … [Read more...] about Foam Easter Egg Refrigerator Magnets Kid’s Craft Project
St Patrick’s Day Shamrock Design Painted Seashells

Hosting a St. Patrick's Day party? Looking to spruce up your garden area for St. Patty's Day? These hand-painted seashells add a burst of color and are really simple to make! They can be made by any skill level. All you need are clam shells, acrylic craft paints, a black paint pen, clear acrylic … [Read more...] about St Patrick’s Day Shamrock Design Painted Seashells