Tag: crafts

Hand Painted Snow Woman and Snowman Seashells

Hand Painted Snow Woman and Snowman Seashells

This hand-painted seashell can be done in male or female design by simply changing-up the eyes. We kept this one simple and non-Christmas so that it can be displayed throughout the winter season. You can make several of them in just one day and you 

Quick and Rewarding Crafts for Moms on the Go

Quick and Rewarding Crafts for Moms on the Go

Life as a busy mom often feels like a whirlwind. Between work, chores, driving the kids around, and attempting self-care, it can be hard to find time for fun, creative pursuits. But taking a little time for crafting can provide a sense of calm and 

Oyster Shell Seashell Gnome Christmas Ornaments

Oyster Shell Seashell Gnome Christmas Ornaments

Oyster Shell Seashell Gnome Christmas OrnamentsGnomes are cute and adorable. On top of that…they’re one of the hottest decorating crazes. You’ll find gnomes on linens, pillows, beach towels, figurines, garden decor, clothing, and yes…a big theme with Christmas decorating. These adorable gnome Christmas Tree ornaments are super easy-to-make and only require a few things to make them. You can whip up several in just one afternoon.

We collected oyster shells (vacated seashells) from a local beach. You need to wash them in warm, soapy water with Dawn Dish Liquid Soap. Why Dawn? It does the BEST job at removing sand, debris, and fishy odors. Rinse them with clean water and then air dry for 2-3 days. They have to be completely dry before painting on them!

Oyster Shell Seashell Gnome Christmas Ornaments

Oyster Shell Seashell Gnome Christmas Ornaments

medium to large oyster shells seashells
white or gray acrylic craft paint
metallic acrylic craft paint
paint brush, water dish, paper towels
clear acrylic spray sealer, glossy finish
faux pearl or bead
clear fishing line (hanging string)
Gorilla Glue
scissors

Paint 2/3 of the seashell with white or light gray acrylic craft paint. We used 2 coats of paint with 30 minutes of drying time between coats. Paint the other 1/3 of the seashell with metallic craft paint to serve as the hat. (see photo). Let all of the paint dry.

Take seashells outside and spray with 1-2 light coats of clear acrylic spray sealer. Once it’s dry and no longer tacky take them back inside to finish up.

Cut a piece of clear fishing line measuring 6″ in length. Knot the two ends together. Use Gorilla Glue to attach the hanging cord onto the back of the seashell. Use Gorilla Glue to adhere the faux pear or bead on the front of the seashell to serve as the nose. Let dry for several hours.

Note: I don’t recommend hot glue! You will get a temporary but not permanent bond with hot glue. I recommend using Gorilla Glue or E6000 when working with seashells.

* This post contains affiliate links. If you make a purchase, we may or may not receive a small commission which helps to support this site. Thank you!

Shelly's Signature

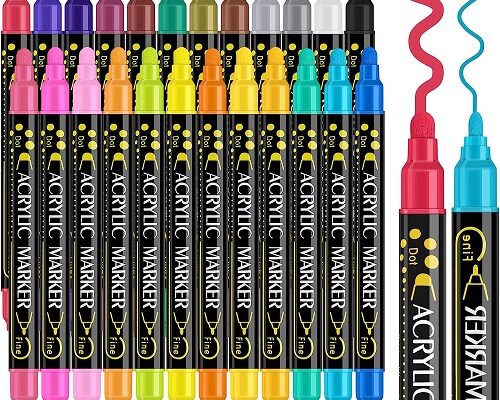
Betem Dual Tip Acrylic Paint Pens for Painting Seashells

Betem Dual Tip Acrylic Paint Pens for Painting Seashells

One of the hottest arts and craft trends has been rock painting and seashell painting for the past couple of years. I admit, I’ve been painting on seashells and clam shells for the past 15+ years. I love exploring my creativity painting on shells! I 

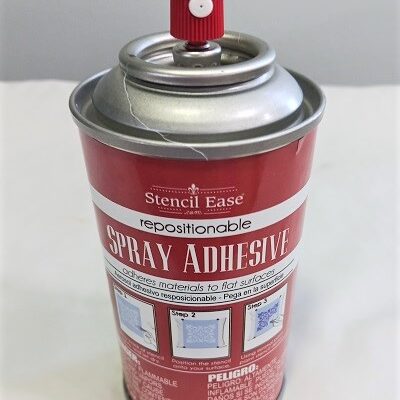
Stencil Ease Repositionable Spray Adhesive

Stencil Ease Repositionable Spray Adhesive

Have you ever tried or thought about stenciling walls or a decorative item in your home? If so, you need to secure that stencil so that no paint bleed-through occurs. A lot of people just tack up the stencil with removable painters tape. While that’s 

Welcome Stencil Kit for Making DIY Porch Signs

Welcome Stencil Kit for Making DIY Porch Signs

Welcome Stencil Kit for Making DIY Porch SignsI love decorating my front porch and take great pride in doing it. My porch decor is always a mixture of items I buy and things that I make. As the seasons and holidays change…so does my decor. To get started…you should always have a door mat, a porch sign and something hanging on your front door like a wreath. Those are your 3 starting points. Then you can add additional touches.

* This product was personally purchased by the writer. Post contains affiliate links.

Porch signs are one of the easiest ways to welcome guests to your home. I’ve bought many of them over the years ranging from $25 up to $75 each. Yes, they can be pricey! With that said, they’re really easy-to-make and make for a great weekend DIY project.

Welcome Stencil Kit for Making DIY Porch Signs

Recently I purchased the 23-Piece Welcome Stencil Kit from Amazon. It includes stencils to make horizontal and vertical porch signs…along with porch leaners. You can use the stencils for other projects too. My main focus was the porch signs! You’ll need a stencil, paints, brushes, a stencil adhesive and wood. That’s all you need for a basic porch sign.

My husband has a huge pile of scrap wood that he keeps for my DIY and craft projects…so that’s what we used. However, you can go to Lowe’s or Home Depot and they will cut you a piece of wood to the exact measurements that you want. Great for those of you who don’t have a wood stack like I do! I invited my adult daughter, her BFF, and my senior-aged mother over to my home for a porch sign party! I supplied everything for the DIY project.

Welcome Stencil Kit for Making DIY Porch Signs

The girls had fun picking out a stencil to use for their porch sign. As you can see…that one pack had plenty for them to choose from. The stencils are extremely well-made. They’re not flimsy like other’s that I’ve seen. A nice quality, so that you can use them over and over again. To clean them…you simply rinse them underneath the sink after you’re done. The acrylic paint that we used washed right off and they looked as good as new!

Check out the photograph above. That one was made by my daughter who has never stenciled anything in her entire life! She did a great job!!! The colors are actually vibrant…but for some reason they got washed out in the photograph. All of the girls were impressed at how easy it was to use the stencils and how nice their designs turned out once completed. We’re going to get together next month and make a few more. I’ll share those designs in a new post once they’re completed.

* This post contains affiliate links. If you make a purchase, we may or may not receive a small commission which helps to support this site. Thank you!

Dislcosure: The writer personally purchased the product being featured and is sharing his/her honest opinion about the product with the readers of the TCC blog. Your opinion may differ.

Shelly's Signature

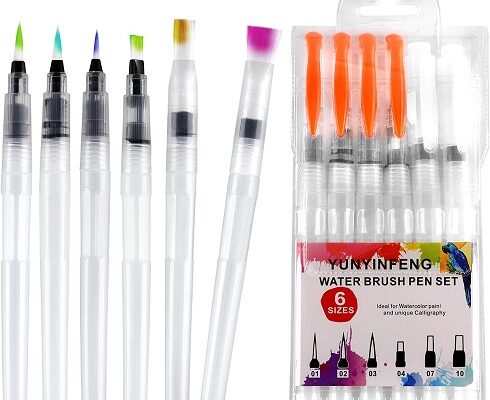
Fun and Easy Ways to Use a Water Brush Pen Set

Fun and Easy Ways to Use a Water Brush Pen Set

For the past 12+ years we’ve published hundreds of different art and craft projects on the Two Classy Chics blog. Over the years many of our readers have asked us about specific supplies and items that we use. Today, I thought I would share with 

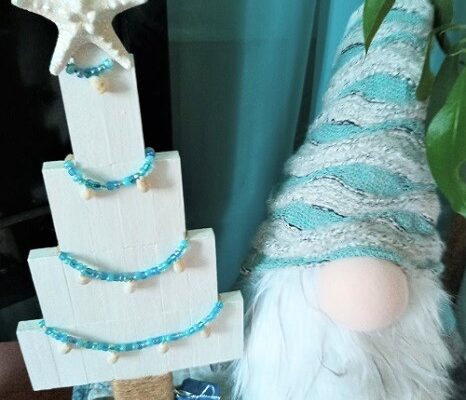
How to Make a Coastal Tree from Tumbling Tower Wood Blocks

How to Make a Coastal Tree from Tumbling Tower Wood Blocks

Tumbling Tower Blocks are wooden game blocks sold at your local Dollar Tree store. They’re smaller in size than a traditional Jenga block. If you can’t find them there…check out 5 and Below. They sell their version of the wood blocks game but their in