Tag: craft projects

Ladybug Handpainted Seashell Paper Weight

Ladybug Handpainted Seashell Paper Weight

This handpainted Ladybug seashell paper weight was made by my 13 1/2 year old granddaughter. Isn’t she cute? I think so…and she did a great job making it! She didn’t use any template or pattern. A great little gift for mom, grandma, a school teacher, 

Lady Bugs and Bumble Bees Painted Walnut Shells Kid’s Crafts

Lady Bugs and Bumble Bees Painted Walnut Shells Kid’s Crafts

These hand painted lady bugs and bumble bees are the perfect craft to make with young children. Acrylic craft paint, paint brushes, and halved walnut shells are all you need to make them. You can make several of them in just one afternoon! A group 

How to Make Gnome Ornaments from Oyster Shells

How to Make Gnome Ornaments from Oyster Shells

How to Make Gnome Ornaments from Oyster ShellsGnomes…they’ve been a HOT decorating craze for the past few years. I’ve seen people decorating every room in their home with gnomes…including their Christmas trees. They’re cute and show off a part of your whimsy side. I can walk in just about any department store or home goods store and find something with a gnome design. They’re everywhere!

I made a few adorbable gnome ornaments that can be hung up on a peg hook, cabinet knob, a Christmas tree, etc. You can omit the hanging string and add a magnet on the back to turn them into refrigerator magnets or a pin back for a brooch. You can do all sorts of things with these gnomes made from oyster shells. Yes, oyster shells!

How to Make Gnome Ornaments from Oyster Shells

1 medium oyster shell seashell
scrap of fleece
4-7 MM faux pearl (depending on the size of the oyster shell)
scrap of faux fur
hot glue gun and glue
clear fishing line (about 6-7″ long for hanging cord)
scrap of twine
scissors

How to Make Gnome Ornaments from Oyster Shells

Cut a piece of faux fur meauring about 2/3 of the length of the oyster shell. The fur needs to hang 1-2″ longer than the bottom edge of the seashell and wrap around the edges of the shell. Tack it into place using hot glue.

A piece of fleece was used for the hat. The slightly rectangular shape will depend on the width and length of the upper 1/3 of the seashell. Use hot glue to wrap it around the top making sure you overlap the top edge of the faux fur (it should sit on top). Tack it down with a generous amount of glue. Wait a minute or two and then tie a scrap piece of jute around the top. Use scissors to trim the ends of the jute and then to make fringe at the very top of the fleece hat.

Use the hot glue gun to add the faux pearl to serve as its nose. Use a generous amount of glue. Once dry, flip it over and add a hanging loop on the back. I used clear fishing line with the two ends knotted together to form a hanging loop. I like to let all items sit for 1-2 hours after using hot glue to allow everything to “set” and harden-up. That’s it, you’re done.

You can get much more fancier with them but I like a clean and classic look. You can use wooden balls, beads, pom-poms, etc. for their noses. You can add a pom-pom or jingle bell to the top of their hat. Use metallic cording or satin ribbon instead of jute…and so forth.

* This post contains affiliate links. If you make a purchase, we may or may not receive a small commission which helps to support this site. Thank you!

Shelly's Signature

Snowman Refrigerator Magnets Made with Tumbling Tower Blocks

Snowman Refrigerator Magnets Made with Tumbling Tower Blocks

Tumbling Tower wood blocks are from a game that is sold by Dollar Tree. You can find them in the kid’s toys aisle. Our local DT store sells out of them often…so at those times I have to purchase them from Amazon. If you want 

Easy Wood Snowman Winter Decorations

Easy Wood Snowman Winter Decorations

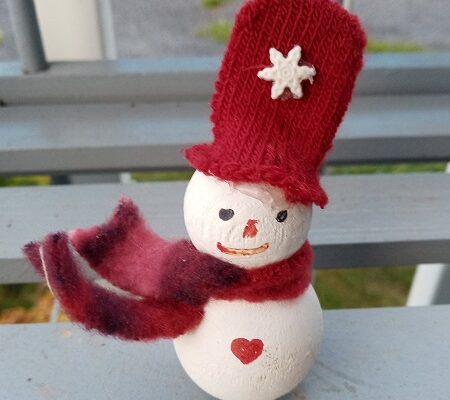
I decorate with a lot of snowmen and snow women during the holiday and winter seasons. Once Christmas is over I leave my snowmen out on display until the end of January if they’re winter related, non-Christmas in their design. Like the one that I’m 

Upcycled Empty Pill Bottle Snowman Ornament

Upcycled Empty Pill Bottle Snowman Ornament

Looking for a way to upcycle all of those empty pill bottles and prescription medication bottles that you get at the pharmacy? If so, we’ve got a cute and easy craft project for you today that utilizes them to make a fun Snowman Christmas Tree Ornament! You only need a few general supplies to make them. Once finished they can be hung on the Christmas tree, used as package tie-ons, hung off a peg hook or cabinet knob, etc.

Upcycled Empty Pill Bottle Snowman Ornament

Upcycled Empty Pill Bottle Snowman Ornament

Empty Plastic Prescription Medicine Bottle
White, Black, Orange Acrylic Craft Paint
Paint Brush, Water Dish, Paper Towels
6″ Piece Clear Fishing Line (hanging loop)
Pom-Pom (choice of color)
Black Acrylic Paint Pen – Fine Tip
10″ Piece of Jute
Modge Podge – Glossy Finish
Scissors
Hot Glue and Glue Gun

Take the cap off of the medicine bottle. Use a paint brush to coat the outside of the bottle and the lid with a thin coat of Modge Podge. Let dry. This step will help the acrylic paint to adhere to the plastic better.

Once dry coat the bottle with 1-2 coats of white acrylic craft paint allowing for 35-45 minutes of drying time between coats. Coat the lid with 1-2 coats of black acrylic craft paint. Let both pieces thoroughly dry.

Use a black acrylic paint pen with a fine tip to make the snowman’s facial features. Use orange acrylic craft paint with a paint brush to make the carrot-shaped nose. Once the nose is dry outline it with the black paint pen. Dip the end of your paint brush into white paint and dot on the inner eyes. While the facial features are drying…add snow to the black top hat with white acrylic craft paint. You can do a random pattern or be more specific with the snow features. Let dry.

Use the pointed end of your scissors to poke a small hole in the top of the cap (center). Knot the two ends together of the clear fishing line to make a hanging loop. Squire a tiny dab of glue into the hole and insert the knotted ends of the hanging loop down into the hole. Add another dab of hot glue and place the small pom-pom on top. Screw the cap onto the pill bottle.

Finishing up: You can tie just about anything around the neck area of the snowman like satin ribbon, rope, jute, baker’s twine, flannel, etc. to make the scarf or bow. I opted to use a piece of Jute from my scrap pile. Glue it into place. That’s it, you’re done.

* This post contains affiliate links. If you make a purchase, we may or may not receive a small commission which helps to support this site. Thank you!

Shelly's Signature

How to Make a Christmas Ornament Ball Door Wreath

How to Make a Christmas Ornament Ball Door Wreath

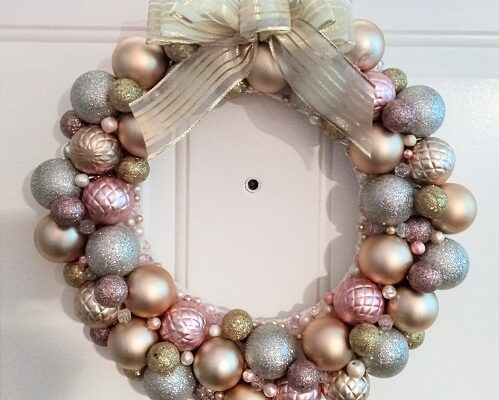
Two weeks ago I went into Dollar Tree to pick up supplies to make a holiday door wreath for my daughter. This year she’s decorating in a beautiful pink blush color, champagne, and gold color scheme. I love shopping at the Dollar Tree for affordable 

Kid’s Craft Project – Painted Elf Seashell Christmas Tree Ornament

Kid’s Craft Project – Painted Elf Seashell Christmas Tree Ornament

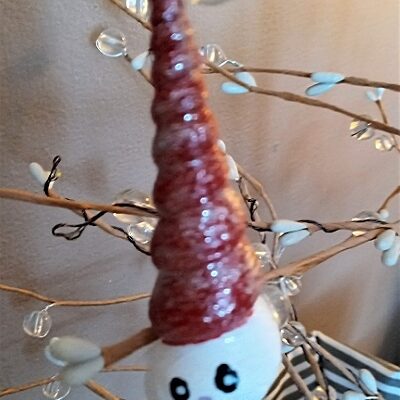
Looking for a fun Christmas craft project to make with the kids? These painted elf seashell Christmas tree ornaments only cost pennies to make! You don’t have to be an expert artist to make them. We made them with a group of children 7-13 years