Tag: craft projects

Hand Painted Lady Bugs Seashells Yard Art

Hand Painted Lady Bugs Seashells Yard Art

These hand painted lady bugs are adorable and easy to make! You’ll need a large clam shell, 2 small scallop seashells, acrylic paints and a few basic craft supplies. You can make several of them in just one weekend. Use a garden yard art, as 

Alien Tape Nano Double Sided Multipurpose Removable Tape

Alien Tape Nano Double Sided Multipurpose Removable Tape

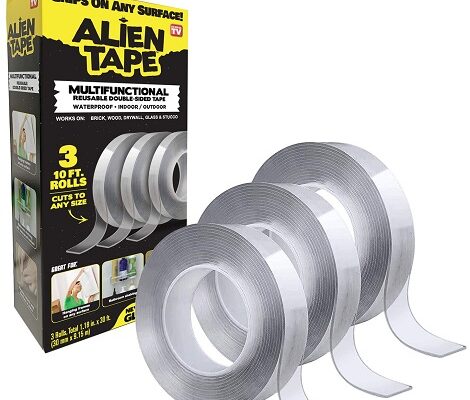
Have you all seen the infomercials for Alientape or seen it out in retail stores? I have and for a long time I’ve wanted to try it. I did some research and found the best prices for Alien Tape Alientape over on Amazon, so I 

Homemade Faux Glass Paint for Kid’s Plastic Suncatchers

Homemade Faux Glass Paint for Kid’s Plastic Suncatchers

Kid's Crafts - Faux Stained Glass SuncatchersMy kids enjoy painting their own suncatchers to hang up on the windows. We can often buy the plastic suncatchers at Dollar Tree or other discount retail stores. However, buying the translucent paint to paint them can get expensive. Instead…we make our own which work just as nice.

* This post contains affiliate links.

Homemade Faux Glass Paint for Kid’s Suncatchers

1 bottle of Clear Glue (we buy Elmer’s Clear Glue)
1 box Food Coloring (we like the gel but you can use any that you have)
1-2 drops of water
paint brushes, water dish, paper towels
several empty plastic soda or water bottle caps
wood toothpicks
plastic suncatchers

The plastic soda bottle caps make the perfect mini pots for mixing up the colored paint. Squirt in about a nickel sized amount of clear glue (not the white school-type of glue). Add 1-2 drops of food color and 1-2 drops of tap water. Use a wood toothpick to stir the ingredients together until blended.

Homemade Faux Glass Paint for Kid's Suncatchers

You only want to mix up 3-4 colors at a time. Have the kids dip their paint brushes into the desired color to use with the suncatcher. Rinse out the brush in the water dish when changing colors. They need to fill the entire cavity in the suncatcher with paint for best results. Lay them on a flat surface until they dry…about 3-4 hours. Once dry, they’re ready to be hung up.

* This post contains affiliate links. If you make a purchase, we may or may not receive a small commission which helps to support this site. Thank you!

Kid’s Crafts: Glass Floral Pebbles Refrigerator Magnets

Kid’s Crafts: Glass Floral Pebbles Refrigerator Magnets

Looking for a fun rainy day craft project to do with the kids that doesn’t cost a lot of money? We’ve got one for you today! Just head to your local Dollar Tree store to pick up the inexpensive supplies. The rest of the items 

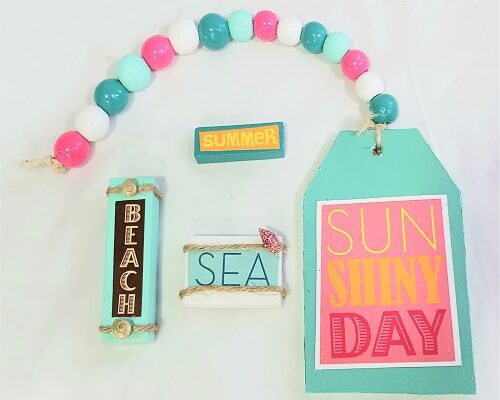
Tumbling Tower Blocks Summer Home Decor Accents

Tumbling Tower Blocks Summer Home Decor Accents

I love decorating my home with little hand-crafted accents. It’s a great way to add a pop of color and decorate for the season. A few months ago I made my own 3-tiered tray using Dollar Tree items which I keep on my buffet table. 

Hand Painted Teddy Bear Desgin Seashells Kid’s Craft Project

Hand Painted Teddy Bear Desgin Seashells Kid’s Craft Project

Hand Painted Teddy Bear Desgin SeashellsKids love to dabble in arts & crafts and this hand-painted Teddy Bear seashell is an easy project for them to complete. You’ll only need a few basic painting supplies along with a large 4″ to 5″ wide clam seashell that we collected from the beach.

Before painting on shells you need to clean them with hot, soapy water. We like to use Dawn Liquid Dish Soap which is great for removing sand, debris, and fishy odors. Rinse with clean water and air dry for 2-3 days days…preferably in the sun!

The background color needs to be a light color. We selected a metallic silver color which really helps the Teddy Bear to POP! Base coat the shell with 2-3 coats of acrylic paint allowing for 30-45 minutes of drying time between coats. Paint needs to be thoroughly dry before moving onto the next steps.

The bear’s head is a large chocolate brown tear drop shape. Make the head first and then add the half-circle brown ears to the top of the head. You may need to use 2-3 coats of paint depending on the coverage that you get. Let dry for an hour.

Use tan colored acrylic paint to make the slight oval shape for the bear’s muzzle and then add the inner ears. Let dry. Use black to make 2 small circles for the eyes and a triangular shape for the nose. Let dry for 2-3 hours or until the paint is no longer tacky.

Take the painted shells outside and lay them on the sidewalk or a flat area. Don’t place in grass or the dirt. Spray them with 2-3 coats of clear acrylic spray sealer. You need to clear-coat both sides of the seashell and let thoroughly dry.

These hand-painted seashells can be displayed inside or outside of the home. Cute displayed in a flower garden, on a front porch, back deck, etc. Inside display them on a shelf, tabletop or use as a paperweight on the desk.

* This post contains affiliate links. If you make a purchase, we may or may not receive a small commission which helps to support this site. Thank you!
Shelly's Signature

Easy-to-Make Old Fashion Pom-Pom Gnomes

Easy-to-Make Old Fashion Pom-Pom Gnomes

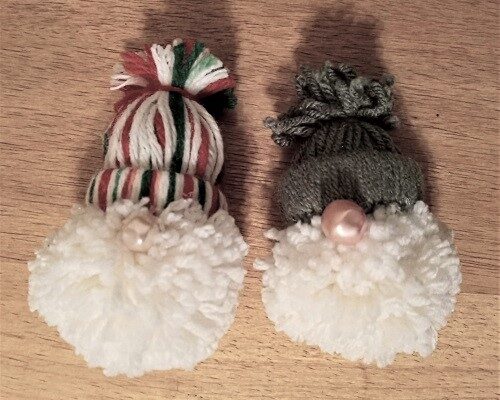
Gnomes have made a big comeback the past 2 years and AGAIN are all of the rage in home and garden decor. Every time I walk into a department store or discount store I see all kinds of home decor in a Gnome theme! Heck, 

Welcome Stencil Kit for Making DIY Porch Signs

Welcome Stencil Kit for Making DIY Porch Signs

I love decorating my front porch and take great pride in doing it. My porch decor is always a mixture of items I buy and things that I make. As the seasons and holidays change…so does my decor. To get started…you should always have a