Tag: craft projects

Decopauge Houseplant Container Made with Plastic Coffee Canister

Decopauge Houseplant Container Made with Plastic Coffee Canister

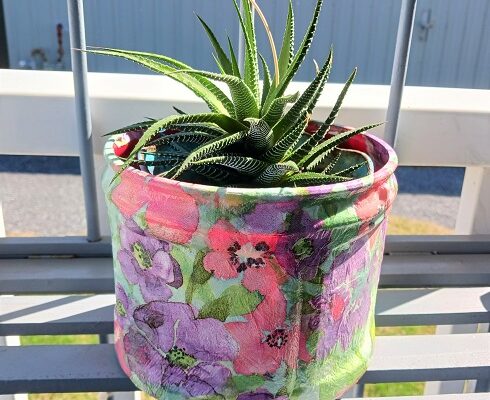
Looking for a way to re-use a few of those plastic ground coffee canisters? Instead of tossing them away…use them as houseplant containers! The one that I used in this project is a large one that contained Folders Ground Coffee (originally a red plastic canister). 

3 Wood Scrabble Tiles Craft Project Ideas

3 Wood Scrabble Tiles Craft Project Ideas

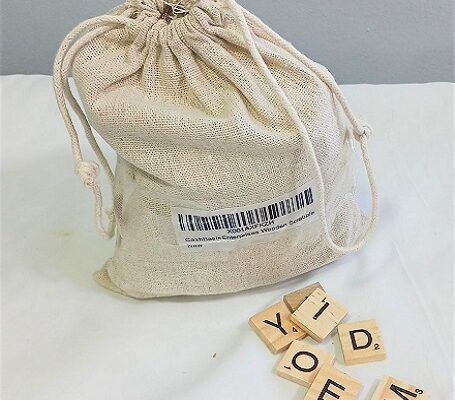
Crafting using wood Scrabble Tiles has grown in popularity over the past few years. I admit, I like using them when I’m making personalized arts and craft projects like holiday ornaments, refrigerator magnets or adding a name to a picture frame. They’re versatile and you 

Hand Painted Woodlands Fox Seashell Garden Yard Art

Hand Painted Woodlands Fox Seashell Garden Yard Art

Hand Painted Woodlands Fox Seashell Garden Yard ArtThis hand painted Woodlands Fox Seashell would be the perfect accent to decorate your flower garden, front porch, back deck, or use inside the home. You don’t have to be an expert artist to make it. You just need a large clam shell, some acrylic paints and a few other supplies. Check out the other 200+ painted seashell designs on the TCC blog while you’re here.

To get a fox pattern that you like…use Google and with the search words FREE Fox Face Template. Several will come up. Find one that you like, resize it to fit onto the front of the seashell and print it out. Cut around the edges and wham…you have a template!

Base coat the seashell in your desired color. We used a turquoise color and had to use 3 coats of acrylic paint to get the coverage that we needed. Allow for 20-30 minutes of drying time between each coat. Use a pencil and trace around the template onto the shell.

Start with the reddish medium brown color and use it to paint the entire head. (2 coats of paint were needed). Let thoroughly dry. Then use white to make the facial accents. Once dry add the 2 dots for eyes, the dot for the nose and the little triangular shaped ears. Let dry until paint is no longer tacky.

Take seashells outside on a decent weather day and spray with 1-2 coats of a clear acrylic spray sealer. I used one with a glossy finish which I really like. If you’re going to display them outside I recommend 2 coats front and back. If you’re going to display them inside then 1 coat will be enough. Let dry.

You can make several of them in just one weekend and change-up the colors. You can do red, brown, tan, white, black, or gray for the fox colors.

* This post contains affiliate links. If you make a purchase, we may or may not receive a small commission which helps to support this site. Thank you!

Shelly's Signature

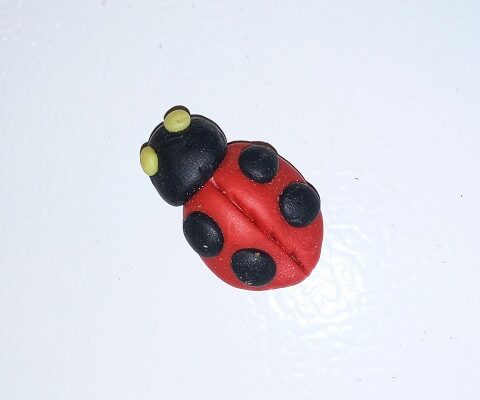
Ladybug Refrigerator Magnets Made with Air Dry Modeling Clay

Ladybug Refrigerator Magnets Made with Air Dry Modeling Clay

Ladybugs are one of those insects that I love seeing in my backyard! In our area we have red and orange colored ladybugs that like to hang around in my garden. Some people swear that when they find a ladybug that it always brings good 

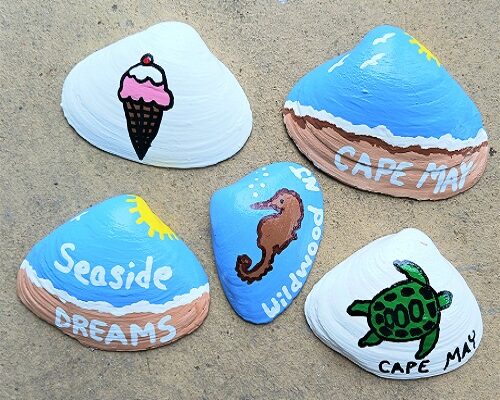
Hand Painted Summer and Beach Themed Seashells

Hand Painted Summer and Beach Themed Seashells

These hand painted summer and beach themed seashells are the perfect little decorations for the summertime. They can be used as home decor accents or place them outside around the garden, front porch, deck, and swimming pool. They add a nice pop of color and 

Tumbling Tower Blocks Travel Souvenir Magnets

Tumbling Tower Blocks Travel Souvenir Magnets

Tumbling Tower Blocks Travel Souvenir MagnetsMillions of people travel every year whether it’s for vacation or business. When people travel they naturally like to purchase souvenirs from the destination that they visited. Often times…those souvenirs are refrigerator magnets. How many are on the front of your refrigerator? We have several.

Instead of spending your money to buy them…make them and make them for pennies on the dollar! While traveling you’ll want to save your travel guides, paper maps, paper napkins from restaurants if they feature a logo/design, pamphlets, etc. Anything that is made from paper that features some place you visited while traveling. We used Tumbling Tower Blocks, a paper road map and photo’s from a travel guide to make the magnets you see featured today. We went camping at a state park and enjoyed hiking while on a weekend vacation. All of the paper souvenirs including the map were FREE.

Tumbling Tower Wood Blocks are sold at Dollar Tree and are similar to the Jenga game blocks that you see out in the retail marketplace. For this project we used the mini Tumbling Tower Game Blocks found in the toy and game aisle at your local DT store. Here’s what you’ll need to make the souvenir travel magnets.

Tumbling Tower Blocks Travel Souvenir Magnets

2-3 Wood Tumbling Tower Game Blocks
Gorilla Glue
Acrylic Craft Paints (desired colors)
Paint Brush, Water Dish, Paper Towels
Scissors
Modge Podge, Glossy Finish
Industrial Strength Craft Magnets
Paper Souvenir Items (see above)

The rectangle magnet was made by gluing 2 blocks together. The square was made by gluing 3 together using Gorilla Glue. Hot glue doesn’t work well, so use Wood Glue, Gorilla Glue, or E6000 Adhesive. Let dry for 2-3 hours.

Cut out the desired images from your paper souvenir items to fit onto your wood blocks. Paint the sides and back (leave the front unpainted) with your desired acrylic paint colors. We used 1-2 coats of paint. Let dry.

Brush on a layer of Modge Podge to the front of the block. Press the image down onto the Modge Podge. Smooth it out so there are no wrinkles or bubbles. Then brush on a second coat of Modge Podge on top of the image to seal it down. Let dry. Once dry…brush a coat of Modge Podge on the sides and back. Let dry again. The entire block has now been sealed.

Flip it over and glue on 2-3 round industrial strength craft magnets using Gorilla Glue or E6000 Adhesive. You want to use strong holding magnets so that your new souvenirs aren’t sliding down the refrigerator door every time it’s open and closed. Let dry for several hours. That’s it…you’re done!

* This post contains affiliate links. If you make a purchase, we may or may not receive a small commission which helps to support this site. Thank you!
Shelly's Signature

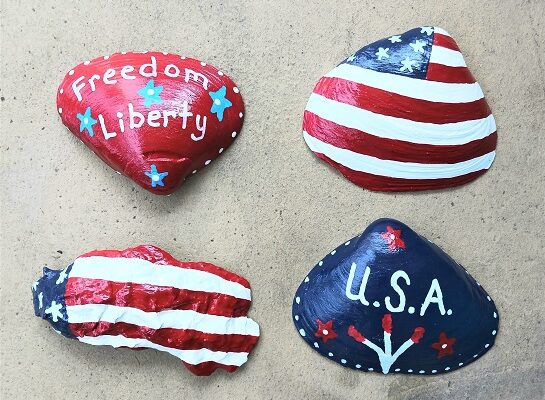
Hand Painted Patriotic and American Flag Seashells

Hand Painted Patriotic and American Flag Seashells

Do you like to decorate for the Patriotic holidays? If so, we’ve got an easy craft project to share with you today. Last week I sat down and painted these seashells all in an American patriotic design. You can display them all through the summer 

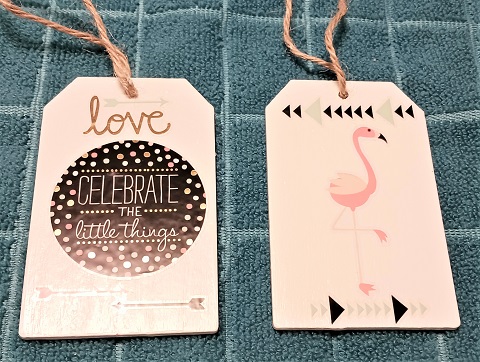
How to Paint and Decorate Wood Tags for Farmhouse Tiered Trays

How to Paint and Decorate Wood Tags for Farmhouse Tiered Trays

Country Farmhouse Tiered Trays are a fun way to add personality to your home. The trays don’t take up a lot of space and it’s easy to change out the decor as the seasons change. My tiered tray always contains a mixture of store bought