How to Hollow and Dye Eggs for Easter
 Every year we love to sit down and paint Easter Eggs with the grandchildren. When we’re working with fresh eggs (not hard-boiled) we like to hollow them out and then paint or dye them. It’s a fairly easy process and the kids really enjoy making them.
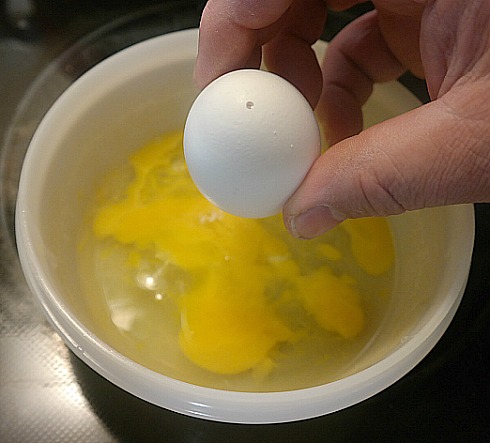
You’ll want to wash the eggs under cool running water and dry them with a clean towel. Use a large, sharp darning needle to poke a hole on each end of the egg. You need to do this carefully so that you don’t crack it. Move the needle around gently to slightly enlarge each of the holes. You need them large enough for the contents to come out.
Hold the egg over a bowl and blow the contents out the other end of the egg. Be patient, it takes a few good “breaths” to get the contents to come out the other hole. Make sure you don’t squeeze the egg too hard while you’re holding it.
We don’t waste eggs at our home! I will cook them up immediately or freeze them for later use. Just put the white and yolks from two eggs into a zipper closure bag and freeze. Thaw in your refrigerator for a few hours and then you can use them to make scrambled eggs or in a recipe.
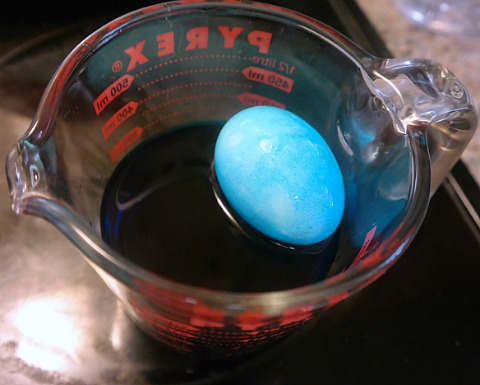
Mix together a few drops of food coloring with white vinegar and water. I like to do this in glass measuring cups because the food coloring will stain plastic bowls. The more food coloring you add, the darker the color will be. Use a popsicle stick to move the egg around in the food coloring to coat all sides. The longer the egg sits in the dye…the darker it will be.
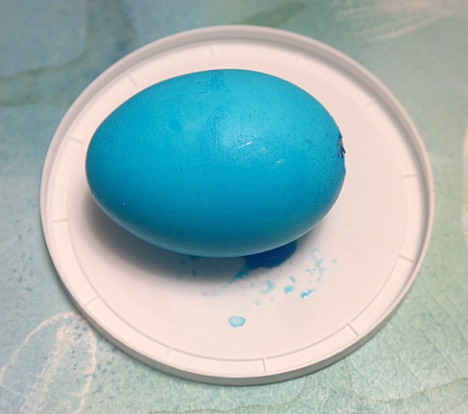
If you want to mix colors…dip the egg in one color. Remove it and place on a plastic lid or foam plate for 10 minutes (to allow the first color to dry). Then use a large spoon to place the egg in your second color. Keep repeating with different colors until you have the color/design that you want to achieve.
Lay dyed eggs out on a sheet of parchment paper to dry. This will typically take 60-90 minutes for them to be completely dry. You can decorate the eggs even further with markers, acrylic paints, stickers, rub-on decals, glued-on jewels, etc. Let the kids get creative!!!
If you want to preserve them even further…you can take them outside and gently spray them with 2-3 coats of clear acrylic spray sealer. That will help to protect the finished egg. However, they will still be breakable, so be careful when handling them.
Food coloring can stain and make a mess. You’ll want to put a drop cloth down or an old plastic table cloth to help protect your work surface. Keep a bottle of liquid hand soap nearby and wash hands frequently to prevent purple, blue and green fingertips!
* This post contains affiliate links. If you make a purchase, we may or may not receive a small commission which helps to support this site. Thank you!


