Tag: kid’s crafts

Ladybug Refrigerator Magnets Made with Air Dry Modeling Clay

Ladybug Refrigerator Magnets Made with Air Dry Modeling Clay

Ladybugs are one of those insects that I love seeing in my backyard! In our area we have red and orange colored ladybugs that like to hang around in my garden. Some people swear that when they find a ladybug that it always brings good 

Upcycled Broken Jewelry Ribbon Bookmarks

Upcycled Broken Jewelry Ribbon Bookmarks

All of my friends and family members know that I’m a crafter and collect just about anything to be upcycled into a new craft project. Needless to say, I have an entire shoebox full of broken jewelry that people have given to me over the 

Quick and Easy Felt Beverage Coasters Kid’s Craft Project

Quick and Easy Felt Beverage Coasters Kid’s Craft Project

Quick and Easy Felt Beverage Coasters Kid's Craft ProjectThese felt beverage coasters are quick and easy to make. Kids can sit down and make several of them in one afternoon. Plus, they only cost pennies to make! We made them with a group of kids age 4 years to age 7. They can be simple like the one that is photographed or let the kids show some creativity by cutting out and gluing on their own felt design ontop of the base.

For the aluminum can lid you need the next size larger than a standard soup can. We used lids from baked beans, pumpkin puree, etc. They’re a larger diameter than a soup can lid. Use a can opener that unseals the can, so that there are NO SHARP EDGES around the lid. They need to me smooth as butter.

Quick and Easy Felt Beverage Coasters Kid's Craft Project

Quick and Easy Felt Beverage Coasters Kid's Craft Project

You can use craft felt or wool felt…whatever you have on hand. We had the kids cut the felt into squares, trace around the lid onto the felt using a fine-tip marker and then cut out the felt circle. You’ll need two circles of felt, one for the top and one for the bottom of the lid. Simply use quick-drying craft glue to adhere them. Let dry for 2-3 hours.

Fancier ideas: Give kids a pile of scrap felt in a variety of different colors along with a pair of scissors. They can cut out shapes to make flowers, hearts, the sun, stars, trees, etc. They can glue those shapes onto the base using craft glue. They need to keep the design fairly flat…not stacked up and uneven. You want the cup to sit flat and firmly onto the beverage coaster.

* This post contains affiliate links. If you make a purchase, we may or may not receive a small commission which helps to support this site. Thank you!

Hand Painted Safari Elephant at Sunset Seashells

Hand Painted Safari Elephant at Sunset Seashells

This hand painted Safari Elephant Seashell is really easy to make! It can be made by older children and/or adults. You’ll need large clam seashells and acrylic craft paints to make it. Don’t have seashells laying around? You can do the same design painted onto 

Kid’s Crafts – Hand Painted Hungry Shark Pet Rock

Kid’s Crafts – Hand Painted Hungry Shark Pet Rock

This hand painted hungry shark pet rock is a great craft project for the kids to do! It’s easy and you can make several of them in just one afternoon. All you need are smooth river rocks, acrylic craft paint, a paint brush, water dish, 

Ladybug and Bumble Bee Puzzle Pieces Refrigerator Magnets

Ladybug and Bumble Bee Puzzle Pieces Refrigerator Magnets

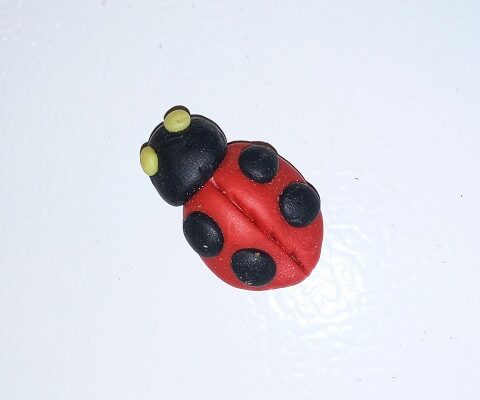
Ladybug and Bumble Bee Puzzle Pieces Refrigerator MagnetsLast weekend my 2 grandchildren came over for a crafting with Nanny date. We decided to make ladybug and bumble bee refrigerator magnets using old puzzle pieces! Along with cardboard puzzle pieces, you’ll need acrylic craft paints and a few other basic supplies. Here’s how to make them.

LadyBug and Bumble Bee Puzzle Pieces Refrigerator Magnets

Cardboard Puzzle Pieces
Acrylic Craft Paint – Red, Black, Yellow, and White
Paint Brush, Water Dish, Paper Towels
All-Purpose, Quick-Drying Craft Glue
Magnets

Sort through the old puzzle pieces to find ones that look similar to the ones in our photograph. You need one portion to have the “knobby” end which will serve as the head.

Base coat the pieces with either red or yellow acrylic craft paint (depending on the insect that you’re making). We like painting on the cardboard, unfished side of the piece. We needed 2 coats of paint to get the desired coverage with 30 minutes of drying time between coats.

Once they’re base coated it’s time to decorate them. You’ll need to refer to the photograph for placement, but it’s basic features. You can get fancier if you’re an adult painter with artistic skills. This set was made by 7 and 13 year olds. Let all of the paint dry until it’s no longer tacky.

Use craft glue to adhere a strong magnet on the back side. I recommend getting commerical grade magnets. You don’t want them sliding down the refrigerator door every time it’s opened and shut. Plus, you’ll want to display the kid’s artwork with them too!

* This post contains affiliate links. If you make a purchase, we may or may not receive a small commission which helps to support this site. Thank you!
Shelly's Signature

Homemade Faux Glass Paint for Kid’s Plastic Suncatchers

Homemade Faux Glass Paint for Kid’s Plastic Suncatchers

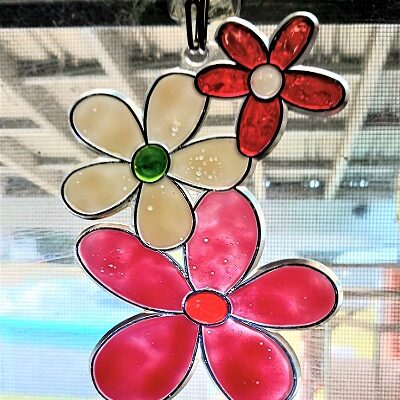
My kids enjoy painting their own suncatchers to hang up on the windows. We can often buy the plastic suncatchers at Dollar Tree or other discount retail stores. However, buying the translucent paint to paint them can get expensive. Instead…we make our own which work 

Kid’s Crafts: Glass Floral Pebbles Refrigerator Magnets

Kid’s Crafts: Glass Floral Pebbles Refrigerator Magnets

Looking for a fun rainy day craft project to do with the kids that doesn’t cost a lot of money? We’ve got one for you today! Just head to your local Dollar Tree store to pick up the inexpensive supplies. The rest of the items