
When the kids are cooped up during the cold winter season it's important to keep them busy. One way we like to keep the Princess busy is by regularly holding arts & crafts play dates. These "dates" don't have to be an all day long thing...matter of fact, I recommend keeping them 90 minutes or … [Read more...] about Kid’s Crafts Airplane Christmas Tree Ornaments
kid's crafts
Kid’s Craft Project Ribbon Christmas Tree Ornaments

Back in early November I had my 6 year old grand daughter over for the weekend. Every time we get together...we always set aside some time for crafting. Just like her Nanny (me) She loves to sit down and be creative! One of the projects we made were this adorable ribbon tree holiday ornaments. … [Read more...] about Kid’s Craft Project Ribbon Christmas Tree Ornaments
Kid’s Craft Project Painted Ceramic Tile Beverage Coasters
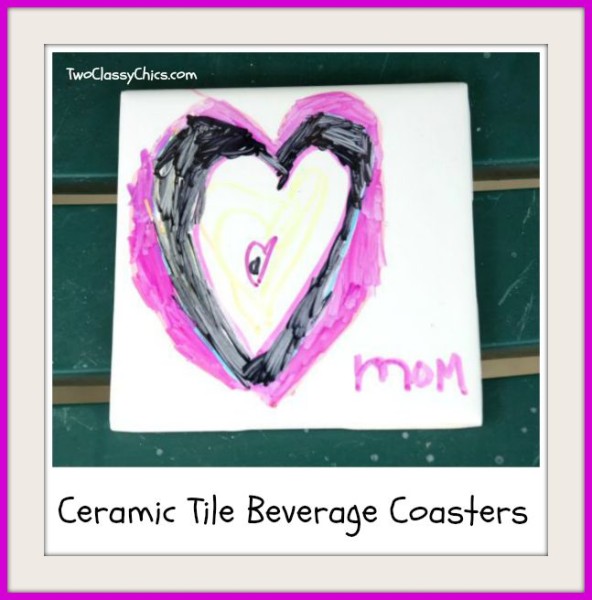
A few months ago we started a bi-monthly series here on the Two Classy Chics blog were we feature a kid's craft project with all of you. Today's project is very easy to make and you can make one for less than $1.00. Kid's Craft Project: Painted Tile Beverage Coaster (1) Ceramic Bath Tile 4" or … [Read more...] about Kid’s Craft Project Painted Ceramic Tile Beverage Coasters
Kid’s Craft Project – Hand Painted Clam Shell Garden Art

For the past few months I've been featuring several children's craft projects with all of you that I've been doing with the Princess Gia over the summer. These kid's craft projects have gotten a good reception from all of you that we will be continuing them throughout the fall and holiday … [Read more...] about Kid’s Craft Project – Hand Painted Clam Shell Garden Art
Kid’s Craft Project DIY Soda Bottle Bird Feeders

Are the kids starting to get bored? Are they driving you nuts and looking for some things to do? If that is the case...I got a quick and easy kid's craft project for all of you today. For the past 2 months I have been babysitting my 6 year old grand daughter two days a week. Since I don't believe … [Read more...] about Kid’s Craft Project DIY Soda Bottle Bird Feeders
Kid’s Craft Project Ladybug Garden Rocks

A few weeks ago the family went for a nice long walk down along the river. While we were on our walk we found some large, smooth river walks and collected a few to bring back home. I knew right away when we found them that they would be great rocks for the garden! Last week while the Princess was … [Read more...] about Kid’s Craft Project Ladybug Garden Rocks
3 Easy-to-Make Craft Projects for Kids
Looking for some activities that will allow you and your family to kick off 2015 in the right way and create some traditions? Keep your kids active with these three craft ideas. 1. 2015 Time Capsule Creating a time capsule is a great family project that you can make ahead of time to fill … [Read more...] about 3 Easy-to-Make Craft Projects for Kids
Kid’s Craft Project: Edible Gingerbread Snow Village

During the holiday season we always kick up our crafting projects into high gear and this year is no exception. Today, we are featuring an easy edible craft project that you can do with the kids and it doesn't cost a lot of money at all. Matter of fact, all of the supplies we used were obtained at … [Read more...] about Kid’s Craft Project: Edible Gingerbread Snow Village