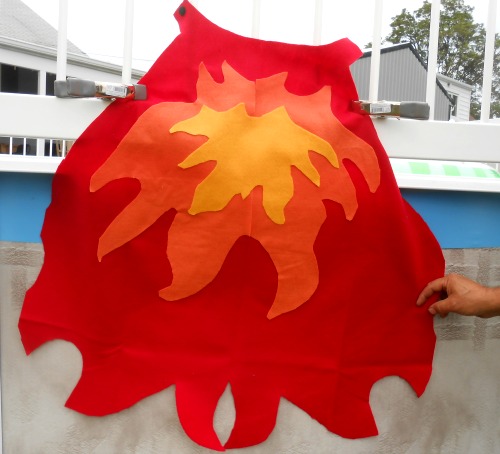
A few weeks ago I was asked if the Two Classy Chics blog would like to participate in a charitable campaign called Capes for Kids, sponsored in part by FamilyFun Magazine. This campaign is all about people getting together and throwing cape making parties and then donating those capes to … [Read more...] about FamilyFun Magazine No-Sew Capes for Kids
kid's crafts
Back-to-School: How to Easily Decorate School Notebooks
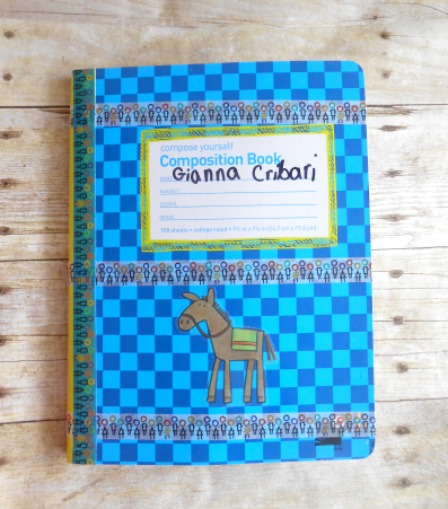
It's the time of year when millions of parents and children are getting ready to head back-to-school. I know here in our area, the kids go back to school later this month. Every year it seems they go back earlier and earlier. When I was a child, we always went back a few days after Labor Day. We … [Read more...] about Back-to-School: How to Easily Decorate School Notebooks
Kid’s Craft Project: Easy Bamboo and Seashell Wind Chimes

Looking for a quick and easy project to do with the kids? Live near a Dollar Store? Got a small collection of seashells on hand? If you answered yes to those three questions, we got a super easy and quick Kid's Craft Project to share with all of you today! At our local Dollar Store we picked up … [Read more...] about Kid’s Craft Project: Easy Bamboo and Seashell Wind Chimes
Kid’s Craft Project: Sharpie Marker Painted Seashells

I spend a lot of time with my 7 year old granddaughter and one of the things we enjoy doing together is crafts! At least twice a month we will sit down and do some craft projects together which is great for teaching kids to be creative and a great bonding experience for families. Since we love … [Read more...] about Kid’s Craft Project: Sharpie Marker Painted Seashells
Craft and Activity Boxes for Kids from Kidable Adventures

If you've been reading this blog for the past year, You'll already know that I get together with my 7 year old grand daughter several times a month for regular play dates, movie nights & craft afternoons. I've been hosting these little get-togethers with her since she was 3 years old and she … [Read more...] about Craft and Activity Boxes for Kids from Kidable Adventures
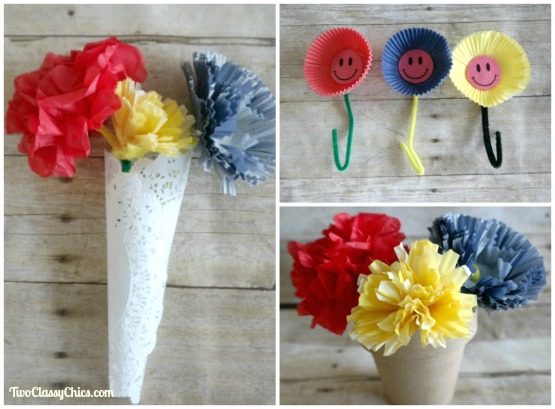
Craft Project – Refrigerator Magnets Made with Coloring Book Pages

Adult coloring books are all of the rage these days, but what do you do with all of those beautiful pages that you colored? Well, if your a crafter, you can cut them down-to-size and use them on your scrapbooking pages, on your handmade greeting cards, decoupage the designs onto glassware or you can … [Read more...] about Craft Project – Refrigerator Magnets Made with Coloring Book Pages
Kid’s Crafts and Pretend Play with Bramble Box
I love subscription boxes, especially boxes that are aimed at arts, crafts and pretend play. Every 2 weeks I have my grand daughter over at our home for a bi-monthly crafting with Nanny date. When we sit down to craft, we work on all kinds of different projects, many of which we feature here on Two … [Read more...] about Kid’s Crafts and Pretend Play with Bramble Box
Kid’s Craft Project: Painted Wood Trinket Boxes
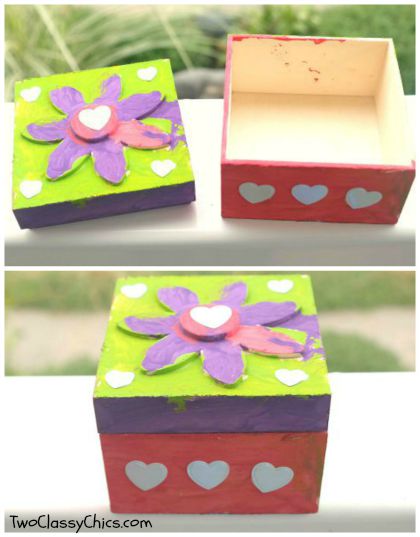
I've got another frugal kid's craft project for you today that doesn't cost a lot of money and will keep any child busy for a few hours. It allows them to be creative and all of the supplies are readily available at your local craft supply store. A few weeks ago my 6 year old grand daughter had a … [Read more...] about Kid’s Craft Project: Painted Wood Trinket Boxes