Tag: kid’s crafts

Kid’s Crafts: Easy-to-Make Snowman Ornaments

Kid’s Crafts: Easy-to-Make Snowman Ornaments

During the holiday season I enjoy sitting down with my grandchildren and whipping up some easy-to-make ornaments for their Christmas tree. Last year we made a total of 12 different ornaments and this year we’re hoping to do the same. My little grandson is only 

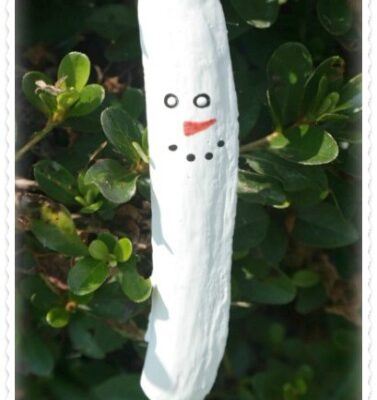
Snowman and Penguin Mussel Shell Christmas Tree Ornaments

Snowman and Penguin Mussel Shell Christmas Tree Ornaments

We enjoy collecting seashells and using them in various arts and craft projects around our home. When it comes to collecting seashells, you only want to collect unoccupied shells or shells from deceased animals. It is important that you immediately clean them up with fresh 

Kid’s Crafts: Penguin Craft Stick Christmas Ornaments

Kid’s Crafts: Penguin Craft Stick Christmas Ornaments

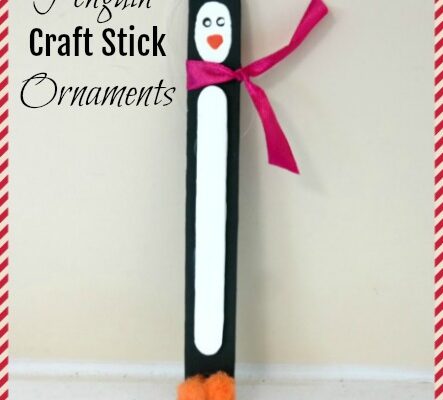
Two weeks ago I had my grandchildren, god son and 2 nieces over to our home for a holiday crafting party. The kids are ages 3 years to 9 years of age. One of the projects that we made were these adorable Penguin Craft Stick Christmas Tree Ornaments.

* This post contains affiliate links.

Painting is involved so you will have to allow a few hours of crafting time to complete them. You’ll need some basic craft supplies that can be purchase at your local craft supply store or from Amazon online. Once completed they can be used as Christmas tree ornaments, package toppers or glue magnets onto the back for refrigerator magnets.

Kid's Crafts: Penguin Craft Stick Christmas Ornaments

Kid’s Crafts: Penguin Craft Stick Christmas Ornaments

Wood Craft Stick
Wood Popsicle Stick
Black Acrylic Paint
White Acrylic Paint
Orange Acrylic Paint
Paint Brush, Water Dish, Paper Towels
2 Small Orange Pom-Poms
Red Satin Ribbon
Scissors
Quick-Drying Craft Glue
Clear Fishing Line

Paint the wood craft stick with 2 coats of black paint. Paint the wood popsicle stick with 2 coats of white paint. Let dry. Once they’re dry, glue the white popsicle stick onto the black craft stick, leaving space above to form the penguin’s head. Let dry for about 30 minutes.

Have the kids paint a white oval-shape on the black craft stick to form the penguin’s face. While it’s drying they can glue the 2 small orange pom-poms on the bottom of the craft stick to form his feet. Cut a 5″ long piece of fishing line and tie it into a loop, knotting the 2 ends together.

Add 2 black dots onto his face to form the eyes and a triangular shaped orange beak. Dot white paint in the center of each eye to form the inner eye. Let dry. Tie a piece of satin ribbon around the penguin’s neck to form the scarf. Glue the hanging loop onto the back of the craft stick. Let dry.

The Penguin Craft Stick Christmas Tree Ornament shown in this blog post was made by a 9 year old. I think she did an excellent job! If you wanted to add some “texture” to the penguin, you could use faux snow texture paint to paint the popsicle stick (which makes up his belly) which would look really cute too!

* This post contains affiliate links. If you make a purchase, we may or may not receive a small commission which helps to support this site.

Shelly's Signature

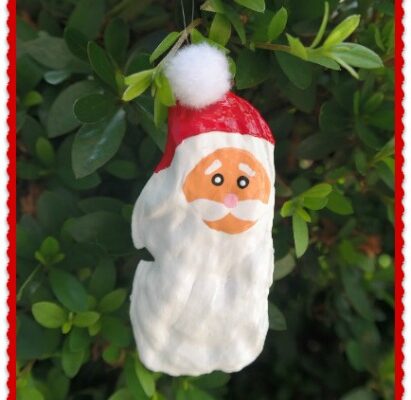
Painted Oyster Shells Santa Christmas Tree Ornaments

Painted Oyster Shells Santa Christmas Tree Ornaments

Over the years we’ve collected a lot of Oyster Shells from the beach. We like to use these seashells in our craft projects and they’re fantastic as Christmas tree ornaments. The ones that we’re featuring today were painted to look like Santa Claus and are 

DIY Painted Penguin Large Clam Seashells

DIY Painted Penguin Large Clam Seashells

We enjoy taking our grandchildren to visit various zoos and aquariums across the east coast. Every time we’re at one they’re always drawn to those adorable black and white penguins. Matter of fact, penguins are one of their favorite animals to see! For part of 

Perler Melted Beads DIY Christmas Ornaments

Perler Melted Beads DIY Christmas Ornaments

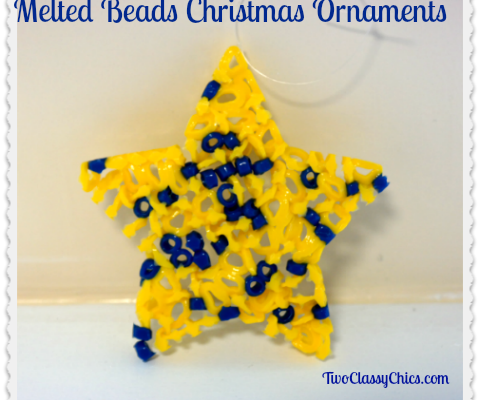
Perler Melted Beads DIY Christmas OrnamentsTime for another Crafting with Kids feature here on the Two Classy Chics blog and today’s Christmas craft project is really easy to do! You can make these fun and colorful ornaments in a wide variety of different holiday shapes and you’ll only need a handful of supplies to make them. Kids will need adult supervision, since they require some baking time in your household oven.

Perler Melted Beads DIY Christmas Ornaments

Perler Plastic Beads in Desired Colors
Metal Holiday Shaped Cookie Cutters
Sheet of Aluminum Foil
Metal Baking or Cookie Sheet
Hanging String (we used clear fishing line)
Scissors

Perler Melted Beads DIY Christmas Ornaments

Preheat oven to 300 degrees F. Line a baking sheet with aluminum foil.

Place metal cookie cutters down on the baking sheet and then fill up the inside of each cookie cutter with Perler Plastic Beads. You want the ones that melt in the oven. We recommend that you fill up the cookie cutter space with your beads in a single layer. They can all be facing the same direction or in a random direction/pattern.

For the Christmas ornament that we have pictured here in our post, we used a star-shaped cookie cutter and then used bright yellow and navy blue Perler beads. My granddaughter wanted to make an ornament for her Dad who loves the Michigan Wolverine’s, so she did her “star ornament” in the team’s colors.

Perler Melted Beads DIY Christmas Ornaments

You can make several of these ornaments at a time. Just make sure that the cookie cutters are completely flat and spaced out on the baking sheet. You can get as fancy as you want with the colors and patterns.

Place the baking sheet into the preheated oven and bake for 3-5 minutes. You’ll see the beads melting. We wanted our’s to still look like beads, so we didn’t melt them down completely. If you want a more filled-in look, leave them in a little longer, so that they melt more thoroughly.

Remove from the oven and let them cool down to room temperature on the baking sheet. Once cool, gently peel them off of the aluminum foil. You can now use ribbon or hanging cord to turn them into Christmas tree ornaments.

Additional Ideas: Use your ornaments for package tie-on’s, glue magnets on the back and turn them into refrigerator magnets, hang them from a garland, hang them in your windows from suction cups and all sorts of different things.

If you’re up for something more challenging, try one of those seed bead Christmas ornaments on Pinterest. You only need colorful quality seed beads, wire or strings, and beading tools to get started. Beading is more difficult than melting beads, but it will be an interesting challenge for you and the kids to take on. Take your time with this project, and just have fun!

Back in June we showed you how you can make practical and fun Beverage Coasters using the Perler Melty Beads too! You can re-visit that blog post to learn more!

* This post contains affiliate links. If you make a purchase, we may or may not receive a small commission which helps to support this site. Thank you!

Shelly's Signature

Craft Project: The GRINCH Painted Seashells

Craft Project: The GRINCH Painted Seashells

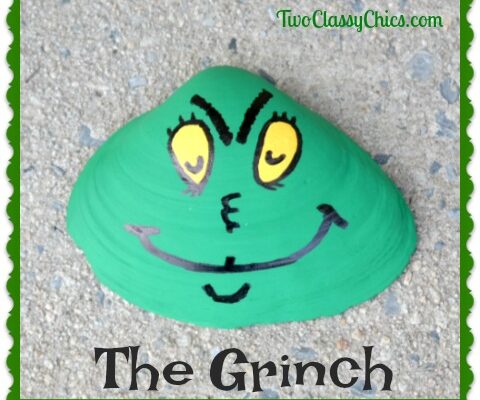
During the holiday season my grandchildren enjoy sitting down and watching all of the animated holiday specials. One of their favorite Christmas TV specials is “How the Grinch Stole Christmas”, so we decided to come up with a painted seashell design to represent one of 

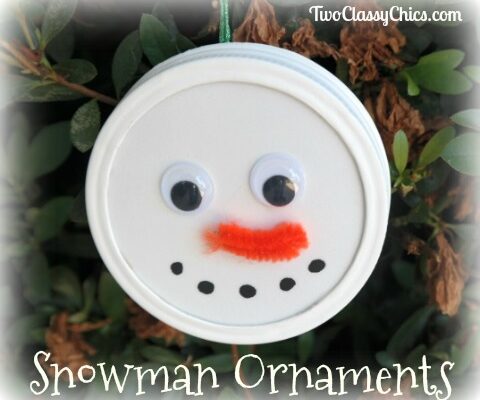
Kid’s Crafts: Bottle Cap Snowman Christmas Ornaments

Kid’s Crafts: Bottle Cap Snowman Christmas Ornaments

As Christmas approaches we’ll be sharing more and more holiday theme’d craft projects with the readers of the Two Classy Chics blog. Today’s project is geared towards children, but they will need some adult supervision and help. * This post contains affiliate links. We made