
Valentine's Day is just around the corner and we have a fun, inexpensive craft project that you can do with the kids. For this project you just need some "found" seashells (we used large clam shells) or smooth river rocks, along with some acrylic craft paint. Let the fun begin! Kid's Crafts Painted … [Read more...] about Kid’s Crafts Painted Seashells for Valentine’s Day
kid's crafts
Hand-Painted Pet Paw Print Seashells

Over the past 18 months we've shared many of our hand-painted large seashell and clam shell designs with the readers of this blog. They have been some of our most popular posts here and over on Pinterest. We're glad that our readers are liking them because they're really easy-to-make and don't cost … [Read more...] about Hand-Painted Pet Paw Print Seashells
Kid’s Crafts: Painted River Rock Garden Markers

Every year we plant a backyard garden and I'm always looking for ways to label and mark my plants. We typically start our seedlings in late March and try to plant them about 6-7 weeks later. While out on a nature walk a few weeks ago we collected some smooth river rocks that we found down by the … [Read more...] about Kid’s Crafts: Painted River Rock Garden Markers
Kid’s Crafts: Paper Plate Circus Clown and Popcorn Box
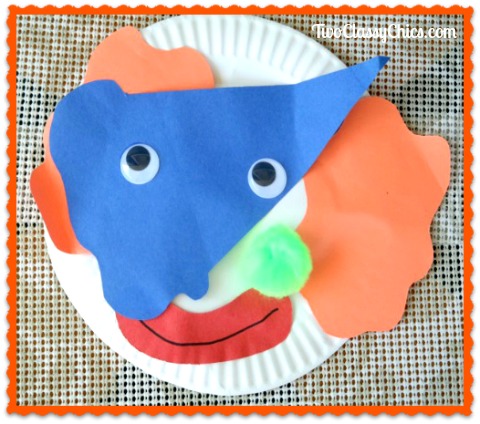
Have you seen all of those fun paper plate preschool craft projects over on Pinterest? Well, we have one for you today too! We made these adorable Circus Clowns and Popcorn Boxes to teach a group of 2 to 5 year old's about the Circus which is coming to town later next month. Preschool Crafts: Paper … [Read more...] about Kid’s Crafts: Paper Plate Circus Clown and Popcorn Box
Craft Project: Hand Painted Golf Design Seashells

Do you or someone that you know enjoy the game of golf? Looking to make a unique gift that even the kids can do? Got leftover seashells from summer vacation? If you answered YES to those questions, I've got the perfect craft project for you!!! Love this hand painted seashell design? You'll find a … [Read more...] about Craft Project: Hand Painted Golf Design Seashells
Kid’s Craft Project: Safari Animal Wreath
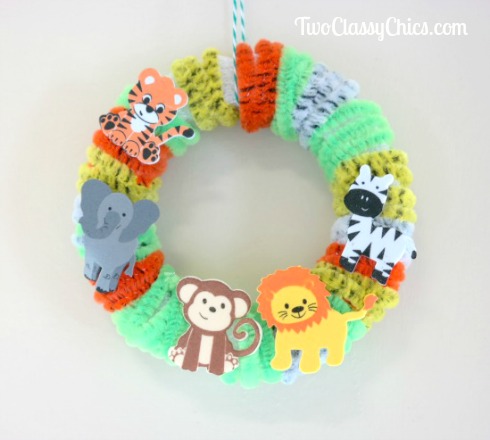
Last summer my 9 year old granddaughter attended a few of the kid's craft classes at A. C. Moore's, a craft supply store in our area. At one of the classes the kids made these adorable Safari Animal Wreath's and we just loved them. Matter of fact, we went back to the store a week later and bought … [Read more...] about Kid’s Craft Project: Safari Animal Wreath
Kid’s Crafts: Hand-Painted Turtle Seashells and Rocks

How many of you adore turtles? About 10 years ago we adopted 2 little turtles and have been big fans ever since! To honor our love for turtles we whipped up this super easy-to-make kid's craft project that won't cost you a lot of money. Our project was made by a group of kids ages 7 to 9 years of … [Read more...] about Kid’s Crafts: Hand-Painted Turtle Seashells and Rocks
Goosebumps 2 Gummy Bear Slime Recipe and Movie Party Activities
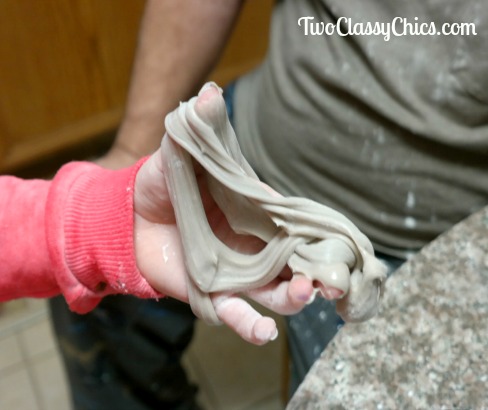
Have you heard the news? GOOSEBUMPS 2 - Haunted Halloween will be available on Digital December 25th, 2018 from Sony Pictures Home Entertainment and arrives on Blu-ray™ Combo Pack and DVD on January 15th, 2019. My adult daughter was a HUGE fan of Goosebumps when she was a teenager and now my 9 year … [Read more...] about Goosebumps 2 Gummy Bear Slime Recipe and Movie Party Activities