Tag: Home Canning Recipes

Home Canning Cream Style Corn with Recipe and Tips

Home Canning Cream Style Corn with Recipe and Tips

Earlier this month we stopped by one of our favorite farmer’s markets and found a special deal on fresh corn. They were selling freshly picked ears for .40 cents an ear with the 13th ear free. Typically we pay .75 cents to $1.00 per ear 

Home Canning Zucchini Pickles with Recipe and Tips

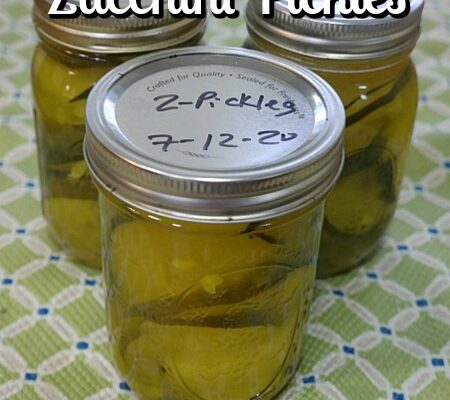
Home Canning Zucchini Pickles with Recipe and Tips

Our backyard garden this year is doing really well. We planted broccoli, 4 different type’s of tomatoes, onions, red beets, green and red bell peppers, peas, cucumbers, and zucchini. We also grow our own red raspberries, blueberries and concord grapes. We really enjoy growing our 

Home Canning Whole Kernel Corn with Recipe and Tips

Home Canning Whole Kernel Corn with Recipe and Tips

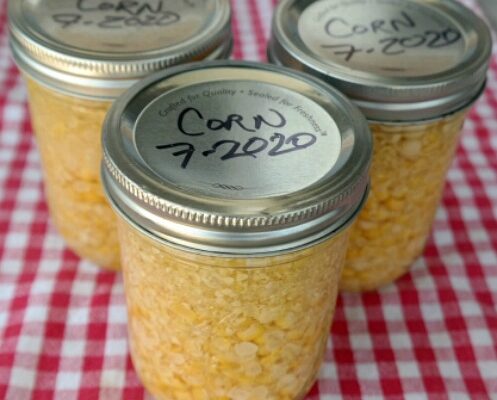
Home Canning Whole Kernel Corn with Recipe and TipsHome canning is a great way to preserve whole kernel corn for later use. While some people prefer freezing it, I prefer canning it! You’ll need 9 to 19 pounds ears of corn for this recipe along with a steam pressure canner, glass mason jars, basic canning supplies, cutting board, corn cutter or knife, etc. The recipe will produce approximately 6 pint jars or 3 quart jars of canned corn. I ONLY use the recipe from the Ball Blue Book. I recommend using the Corn Stripper Tool from Pampered Chef which is the BEST tool for removing it from the cob.

* This post contains affiliate links.

Here’s a tip: Save your old kitchen linens that you no longer want and use them for home canning. I keep mine in a plastic bin and use them for this purpose ONLY. Who care’s if they’re stained up…they’ll just get more during the canning process.

Home Canning Whole Kernel Corn

9 to 18 lbs. ears of corn
salt (optional)
water

Prep:  Remove husk, and silk from ears of corn. Wash under cold running water, drain. Cut corn off the cob. Start at the small end and cut downward to the stem end. Do not scrape the cob.

Cook: Measure cut corn. Put cut corn in a large saucepan. Add 1/2 teaspoon salt, if desired, and 1 cup boiling water for every 2 cups of corn. Bring mixture to a boil. Reduce heat to a simmer and simmer for 5 minutes.

Fill: Pack hot corn and liquid into a hot jar, leaving 1″ headspace.

Remove air bubbles. Clean jar rim. Center lid on jar and adjust band to fingertip tight. Place jar on the rack in a pressure canner containing 2″ of simmer water. Repeat until all jars are filled.

Process: Place lid on canner and turn to a locked position. Adjust heat to medium-high. Vent steam for 10 minutes. Put weighted gauge on vent; bring pressure to 10 pounds (psi). Process pint jars for 55 minutes or quart jars for 1 hour 25 minutes. Turn off heat. Cool canner to zero pressure. After 5 minutes remove lid. Let jars cool 10 minutes. Remove jars from canner. Do not retighten lose bands.

Cool jars for 12 hours. Check seals. Label jars and store in a dry, cool place. They will keep for 12-18 months if properly processed and sealed.

* This post contains affiliate links. If you make a purchase, we may or may not receive a small commission which helps to support this site. Thank you!

Shelly's Signature

Home Canning Strawberry Jam with Recipe and Tips

Home Canning Strawberry Jam with Recipe and Tips

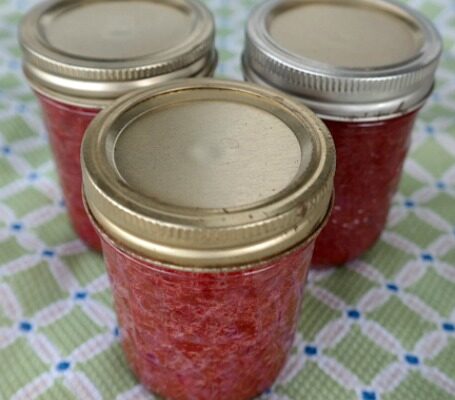
Every year I like to make a few jars of homemade Strawberry Jam using my water bath canner. I enjoy home canning and when I make strawberry jam I use the recipe in my Ball Blue Book. This jam is really easy-to-make and tastes 100% 

Home Canning Beef Vegetable Stew with Recipe and Tips

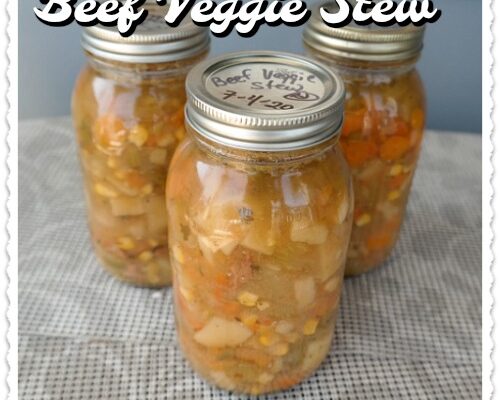
Home Canning Beef Vegetable Stew with Recipe and Tips

Early June through October is my home canning season. Throughout the season I will make and can several different flavors of homemade jam, soups & stews, chili, fruits, vegetables, salsa, etc. I enjoy canning and my family enjoys eating all of the goodies throughout the 

Home Canning Chili with Recipe and Tips

Home Canning Chili with Recipe and Tips

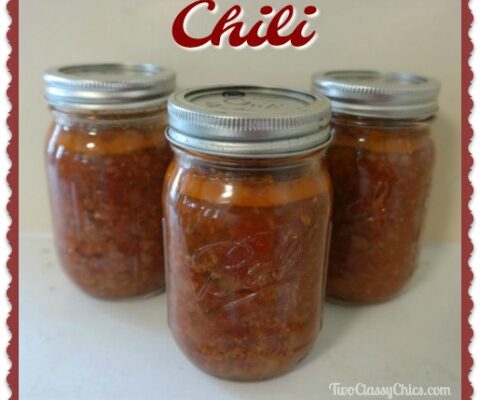
Home Canning Chili with Recipe and TipsEvery year I like to make this homemade chili when I’m doing my home canning. You can use this chili throughout the winter when you want classic chili, as a topping on baked potatoes, placed in a tortilla wrap, as a salad topping, etc. You can season it to be mild or spicy-hot when preparing it.

* This post contains affiliate links.

To make this recipe you’ll need a pressure canner, home canning supplies, glass mason jars, etc. If you’re new to pressure canning, this is one of the easiest recipes to make, so its a great beginner’s recipe. It will make approximately 6 pint size or 3 quart size jars.

Looking for more easy-to-make Home Canning Recipes? You’ll find over 70+ on the blog!!!

Home Canning Chili Recipe

5 lbs. lean ground beef
1 3/4 cups chopped onions
1/4 cup chopped green bell pepper
1 clove garlic, minced
6 cups diced canned tomatoes with juice
1/2 cup chili powder
1 1/2 tablespoons salt
1 hot pepper finely chopped
1 teaspoon cumin seed

Prep: Peel onions. Chop onions. Measure 1 3/4 cups chopped onions. Chop Green Bell Pepper. Measure 1/4 cup bell peppers. Peep garlic and mince. Wash hot pepper under water. Take precautions when handling the hot pepper. Finely chop pepper, discarding stem.

Cook: Brown ground beef in a large pan. Drain off excess fat. Add onions, bell pepper and garlic. Cook slowly until tender and beef is cooked through. Add the remaining ingredients. Simmer on medium to medium-high heat for 20 minutes. Remove from heat. Skim off excess fat.

Fill: Ladle hot chili into hot jars, leaving 1″ headspace. Remove air bubbles. Clean jar rim with a dry cloth. Center lid on jar and adjust band until fingertip tight. Place jar on the rack in a pressure canner containing 2″ of simmering water. Repeat until all of your jars are filled.

Process: Place lid on canner and turn to locked position. Adjust heat to medium-high. Vent steam for 10 minutes. Bring pressure to 10 pounds (psi). Process pint jars for 1 hour and 15 minutes and quart jars for 1 hour and 30 minutes. Turn off heat. Cool canner to zero pressure. After 5 minutes, remove the lid. Let jars cool 10 minutes in the canner before removing them. Don’t re-tighten any lose bands. Cool for 12 hours.

Check all jars to make sure they sealed. Label jar with contents and date processed. Store jars in a cool, dry place.

Canning Tips: Wash all of your jars the day before. You can hand wash them or place into the dishwasher. Gather up all of your accessories and have them within easy reach during the preparation & canning process. I have a stack of old wash cloths and kitchen towels that I use specifically when I can. They will get stained up…use old ones! Wash & dry them and use them again next time. Wear an apron or old clothing. I recommend reducing distractions when canning to help prevent mistakes.

* This post contains affiliate links. If you make a purchase, we may or may not receive a small commission which helps to support this site. Thank you!

Shelly's Signature

Home Canning Homemade Chicken Soup with Recipe and Tips

Home Canning Homemade Chicken Soup with Recipe and Tips

Every year I like to make this homemade chicken soup when I’m doing my home canning. It’s a great soup base that can be used a lot of different ways. You can use it later on to make chicken potpie, corn soup, noodle soup, dumplings, chicken 

Turn a Large Granite Ware Pot into a Water Bath Canner

Turn a Large Granite Ware Pot into a Water Bath Canner

Are you looking to get into home canning but don’t have a lot of money to spend on supplies? Already a home canner but looking to add a second water bath canner? If you answered YES to either of those questions I’m here to tell