Tag: Home Canning Recipes

Home Canning Apple Butter with Recipe and Tips

Home Canning Apple Butter with Recipe and Tips

Along with Fall and the cooler temperatures comes canning season, at least for me. During the months of September and October I’m busy with my home canning making homemade applesauce, apple pie filling, apple butter, pumpkin butter, pear sauce, and several other goodies to stock 

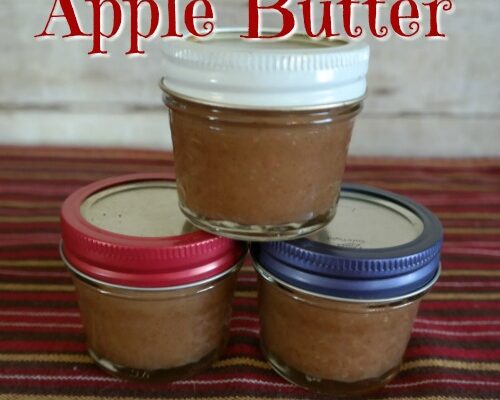
Home Canning Apple Butter with Recipe

Home Canning Apple Butter with Recipe

I’ve been doing home canning for the past 30 years and love it. I don’t do it because I have to, I do it because I enjoy it and its a great way to preserve food from our backyard garden. When winter rolls around I 

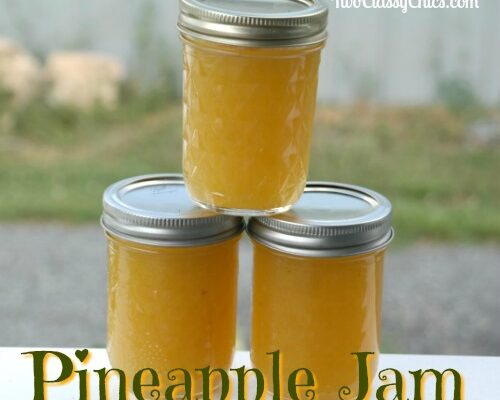
Home Canning Pineapple Jam with Recipe

Home Canning Pineapple Jam with Recipe

Last month I was at the local farmer’s market and found a great special on fresh pineapples. We love pineapple, so I picked up 4 of them for just $1.50 each. Obviously we can’t eat 4 of them right away, so I decided to whip up two batches of homemade pineapple jam. You will need 4 cups of fresh pineapple (peeled, cored and chopped) per batch of jam that you make. I was able to get one batch per pineapple with some leftover that we ate.

* This post contains affiliate links.

This recipe requires a water bath canner, home canning supplies and 8-ounce glass mason jars (jelly jars). Each batch will yield approximately three 8-ounce jars. Here’s the recipe that I like to use and if you’re looking for more home canning recipes, you’ll find over 50+ right here on the TwoClassyChics blog.

Home Canning Pineapple Jam with Recipe

Pineapple Jam Recipe

4 cups Fresh Pineapple (peeled, cored, finely chopped)
2 1/2 cups Granulated Sugar
1 Lemon, unpeeled, seeded, thinly sliced
1 cup Water

Prepare water bath canner, glass jars, and lids. Get out all of the supplies that you’ll need (ladle, slotted spoon, jar lifter, lid lifter, hot pads, cotton cloth to wipe rims, old kitchen towels, etc.).

In a large saucepan combine together the chopped pineapple, granulated sugar, lemon slices and water. Bring to a boil over medium heat, stirring constantly to dissolve the sugar and to prevent sticking. Boil, stirring frequently until mixture thickens, about 15 minutes. Remove from heat. Test for gel stage (Use thermometer to see if it has reached the gel stage at 220 degrees F). If reached, skim off foam in necessary.

Ladle hot jam into hot jars, leaving a 1/4″ headspace. Remove air bubbles, wipe the rim clean with a cotton cloth. Add the seal and ring until its fingertip tight.

Place jars in the water bath canner (you should have the water simmering, but not at a rolling boil). You need enough water in it to cover all of the jars by at least 1″. Continue to fill jars and place them one by one into your canner. Lower the rack down into the water. Place cover on the canner. Bring the water to a rolling boil and process for 10 minutes.  Turn off heat, remove the canner lid. Wait 5 minutes, then remove jars. I like to place mine on my countertop with a cotton towel underneath them. Let them cool to room temperature. Test to make sure all jars sealed correctly. Store in a cool, dry place. Your jam should keep for up to 1 year if processed correctly.

* This post contains affiliate links. If you make a purchase, we may or may not receive a small commission which helps to support this site. Thank you!

Shelly's Signature

Home Canning: Zesty Fruit Salsa

Home Canning: Zesty Fruit Salsa

My first experience with home canning started at the age of 12 when I would help my grandmother in the kitchen. Throughout my teenage years I was always designated the “helper” until I finally got married and my father-in-law taught me how to can foods 

How to Make Homemade Freezer Pickles

How to Make Homemade Freezer Pickles

Do you enjoy eating homemade pickles? Don’t have the time or the equipment to jump into home canning? If so, you can easily make your own pickles at home and then freeze them for later use. Matter of fact, some pickle fans actually prefer freezer 

Home Canning: Traditional Bread and Butter Pickles

Home Canning: Traditional Bread and Butter Pickles

Bread and Butter Pickles are our favorite type of pickles to enjoy. They’re so versatile! You can slap them onto your favorite sandwich, toss them into a salad, or just pull them right out of the jar and enjoy them as a tasty snack. You can make them the traditional way or spice them up with some garlic and hot pepper. YUM!

* This post contains affiliate links.

Every year I harvest about 25 cucumbers from our garden and enjoy making our own homemade pickles. They’re really easy-to-make and a great starting point for those who are new to home canning. Here’s the recipe that I like to use. It can be found in the Ball Home Canning Book. You can find over 50+ Home Canning Recipes right here on the TwoClassyChics blog.

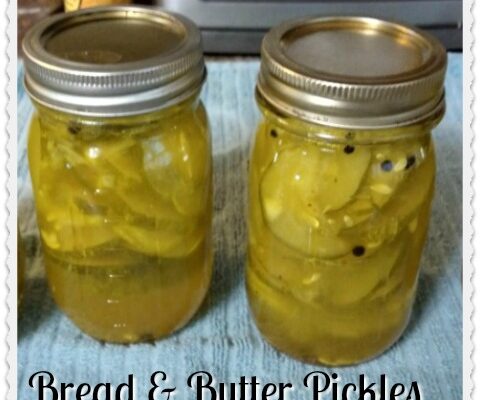
Home Canning Bread & Butter Pickles in Pint Jars

Traditional Bread and Butter Pickles Recipe

10 cups sliced pickling cucumbers
4 medium onions, thinly sliced
1/2 cup pickling or canning salt
3 cups white vinegar
2 cups granulated sugar
2 Tbsp. mustard seeds
1 tsp. celery seeds
1 tsp. ground turmeric

Note: I like to toss in about 2 teaspoons of whole peppercorns into the mixture too. That’s my own variation.

In a large glass bowl combine together the cucumber slices, onion slices, and canning salt. Mix well. Cover with cold water and let stand at room temperature for 2 hours. Transfer to a colander placed over a sink, rinse with cool running water and drain thoroughly.

Prepare canner, jar, and lids.

Home Canning Bread & Butter Pickles

In a large saucepan, combine the white vinegar, granulated sugar, mustard seeds, celery seeds, and ground turmeric. Bring to a boil over medium-high heat, stirring to dissolve sugar. Stir in vegetables and return to a boil.

Pack vegetables into hot jars within 1/2″ from the top. Ladle hot pickling liquid into jar to cover vegetables, leaving a 1/2″ headspace. Remove air bubbles and adjust headspace if necessary by adding hot pickling liquid. Wipe rim clean with a clean cloth. Center lid on jar. Screw band down until finger-tip tight.

Place jars in canner, making sure they’re completely covered with water. Bring to a boil and process for 10 minutes. Remove canner lid. Wait 5 minutes, then remove jars, cool and store.

* This post contains affiliate links. If you make a purchase, we may or may not receive a small commission which helps to support this site. Thank you!
Shelly's Signature

Home Canning Zesty Zucchini Relish Recipe

Home Canning Zesty Zucchini Relish Recipe

Zucchini is one of those things that grows extremely-well in my backyard garden every year. We like to put in 4-5 plants every year and will end up with around 50 medium-to-large zucchinis every growing season. You can do a lot with them after you 

The Complete Book of Home Preserving 400 Delicious and Creative Recipes

The Complete Book of Home Preserving 400 Delicious and Creative Recipes

My first experience with home canning began at the age of 14 with me helping my grandmother in the kitchen. I enjoyed learning how to prep food for freezing and canning. My interested continued to grow and after I got married my mother-in-law continued to