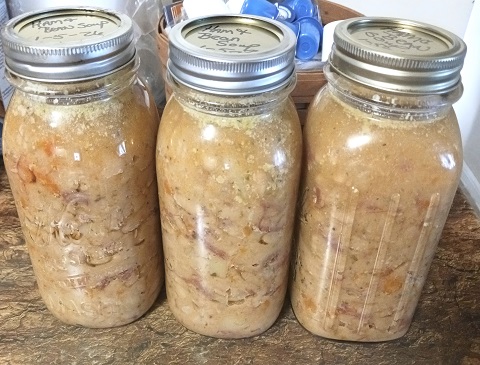
Last month I purchased 2 large ham hocks on sale from our local butcher. I love cooking down ham hocks in my crockpot slow cooker to make a big pot of ham, bean and potato soup. This soup is full of flavor and makes a hearty meal. The recipe will make approximately 6 quart size jars. If you're not … [Read more...] about Ham, Bean and Potato Soup Home Canning Recipe
Home Canning Recipes
Homemade Fig Jam Home Canning Recipe

Making a homemade fruit jam is a lot easier than you might think. On top of it being easy...fruit jams only require a few ingredients. Now grant ya...they do take time to make since you'll be preserving them via the water bath home canning method. For this recipe you'll need 3 lbs. of fresh figs and … [Read more...] about Homemade Fig Jam Home Canning Recipe
How to Can Sliced White Potatoes with Home Canning Tips
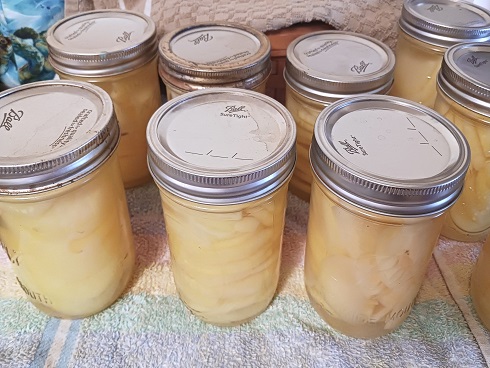
Canning white potatoes is a very easy process. You'll need a pressure canner, glass mason jars and basic canning supplies. When selecting potatoes...select small to medium sized potatoes with unblemished skins. You don't want to be canning ones that are super-soft or have sprouted. Stick quality … [Read more...] about How to Can Sliced White Potatoes with Home Canning Tips
Old-Fashion Coleslaw Recipe with Home Canning Tips
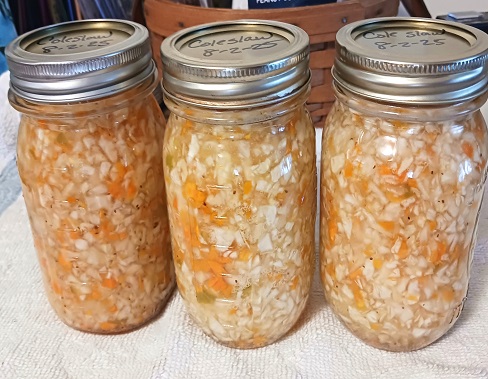
Love coleslaw? If so, you'll want to try out this vinegar-based cole slaw recipe. You'll need a water bath canner and basic home canning supplies to preserve it. This home canning recipe is easy and a great beginner's recipe if you're new to home canning. I recommend canning it using pint size or … [Read more...] about Old-Fashion Coleslaw Recipe with Home Canning Tips
Home Canning Blueberries with Recipe and Tips
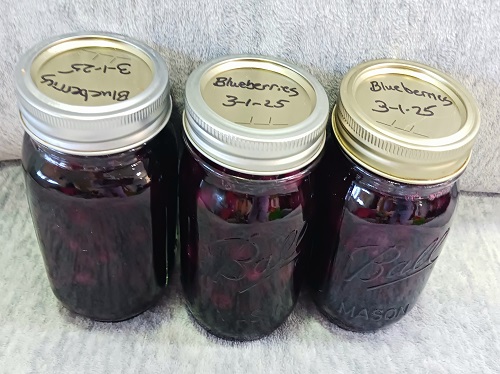
Last month I obtained 16 packs of fresh blueberries from the local Farmer's Market at a bargain price! I got 16 large packs for only $10.00. Wow, what a deal. Once I got home I decided to process the blueberries in a light syrup so that I could use them later on in various recipes. You can use them … [Read more...] about Home Canning Blueberries with Recipe and Tips
Canning Blueberry Jam with Liquid Pectin Recipe
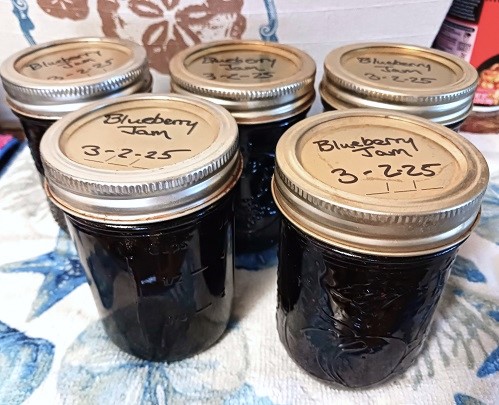
Last month I obtained 16 large boxes of fresh blueberries from the local Farmer's Market for a price that I couldn't refuse. I got 16 packs for $10.00. I knew immediately I was going to make homemade blueberry jam which is one of my family's favorite jam flavors. For this home canning recipe you'll … [Read more...] about Canning Blueberry Jam with Liquid Pectin Recipe
Home Canning Ham Gravy with Recipe
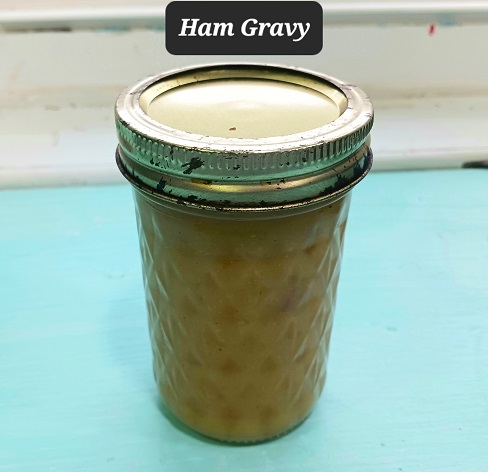
Once a week I make a batch of homemade gravy for my family to enjoy. We like gravy over mashed potatoes, homemade waffles, drizzled across the meat of our main dish, etc. We enjoy beef, chicken, turkey and ham gravies. We don't purchase it in a pouch or can...trust me, it tastes 100% better when … [Read more...] about Home Canning Ham Gravy with Recipe
Homemade Turkey Soup Recipe with Home Canning Tips
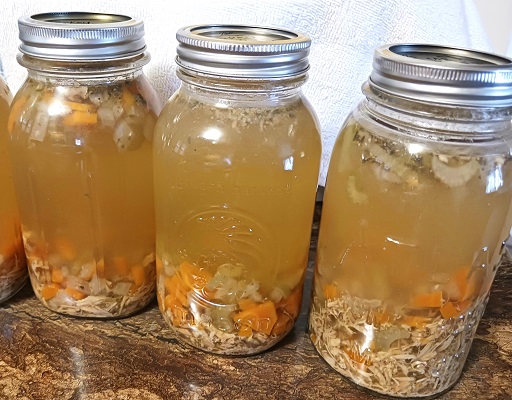
Two or three times a year I'll roast a whole turkey for the family to enjoy. Once our meal is over...I like to use the leftover turkey meat to make a big pot of homemade turkey soup. Once you have the soup base made you can use it to make turkey noodle soup, turkey and rice soup, turkey and potato … [Read more...] about Homemade Turkey Soup Recipe with Home Canning Tips