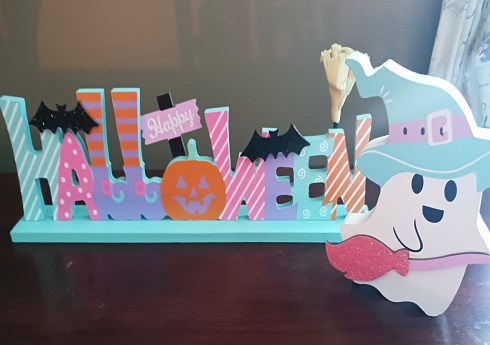
Have you seen the cute Halloween decor and accessories at Dollar General yet? Oh my gosh...they have some really cute things this year! I decorate our home in a coastal and beach style, so I was pleasantly surprised to find a few things at Dollar General for Halloween. I always look for items that … [Read more...] about Cute Halloween Decor at Dollar General
Halloween
Hand Painted Halloween Candy Corn, Ghost and Frankenstein Oyster Shells
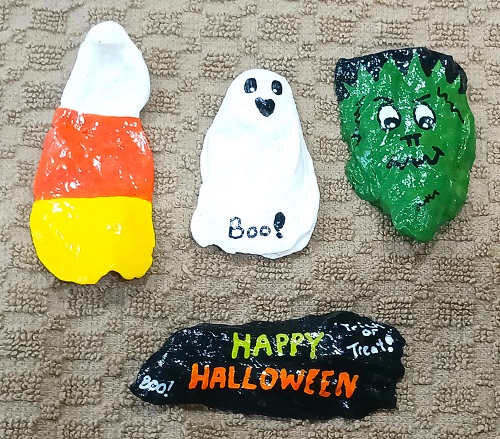
Over the past 25+ years I've painted over a 700 seashells. That includes clams, oysters, conch, whelk and scallop shells. I enjoy collecting the empty shells from the beach and using them as my art canvas. Once decorated I use them as little home decor accents, party favors, table-top decor, porch … [Read more...] about Hand Painted Halloween Candy Corn, Ghost and Frankenstein Oyster Shells
Night of the Living Dead Limited Edition Steelbook DVD
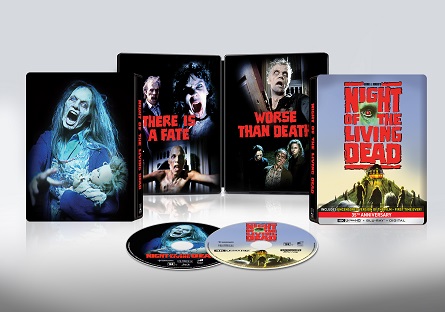
My wife and I have always been big Zombie movie fans. Back in the mid 1980's when we were dating we used to go to the movies a lot. One of the first zombie movies we ever saw together was Night of the Living Dead. If you're a fan...guess what? You'll want to get the new limited edition Steelbook … [Read more...] about Night of the Living Dead Limited Edition Steelbook DVD
DIY Halloween Party Favors That Guests Will Actually Use
Halloween is that one time of the year when people of all ages get to embrace their spooky side. From dressing up in costumes to decorating homes with cobwebs and pumpkins, the season is all about creativity. But let’s talk about one part of Halloween parties that often gets overlooked: the party … [Read more...] about DIY Halloween Party Favors That Guests Will Actually Use
Craft Your Own Fright: Easy DIY Halloween Prop Ideas

Halloween is the perfect time to let your imagination run wild and transform your home into a spine-chilling haven. Why settle for generic store-bought decorations when you can make your own? With just a few materials and a little creativity, you can craft eerie props that are bound to impress. … [Read more...] about Craft Your Own Fright: Easy DIY Halloween Prop Ideas
Hand Painted Halloween Pumpkins, Skulls, Ghosts and Spiders Seashells

Halloween is just around the corner and it's time to add some new decorations to your holiday decor. These hand painted clam shells are easy-to-make and can be made in just one weekend. You only need handful of art and craft supplies to make them. Don't have access to clam shells? You can do these … [Read more...] about Hand Painted Halloween Pumpkins, Skulls, Ghosts and Spiders Seashells
Halloween Ghost Made from Upcycled Plastic Bottle – Kid’s Craft Project

Looking for a super easy Halloween craft project that doesn't cost you any money? Well, it won't cost you a thing if you have a large plastic bottle lying around! My 14 year old granddaughter came up with this idea after seeing an empty white vinegar plastic bottle sitting to go out to our recycling … [Read more...] about Halloween Ghost Made from Upcycled Plastic Bottle – Kid’s Craft Project
Easy Halloween Designs Painted Clam Seashells

Here's a fun Halloween craft project to do with older kids, adults and/or seniors. All of these designs are easy-to-make and require no artistic skills. No pattern or template is needed. We kept the designs simple using basic shapes and with the majority of the painting done with Acrylic Paint … [Read more...] about Easy Halloween Designs Painted Clam Seashells