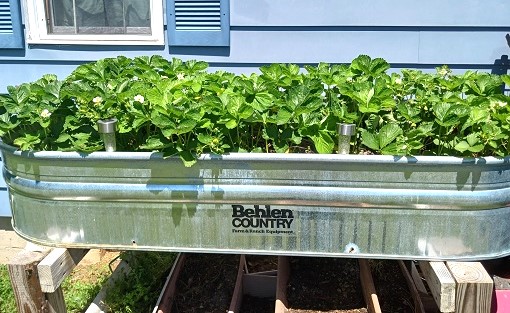
Into gardening but limited on space? If so, you may want to give container gardening a try. Every year we plant one large garden in our backyard along with 2 raised garden beds. In the past those raised garden beds were made out of wood and would only last 1-2 growing seasons. They seem to warp and … [Read more...] about Galvanized Metal Raised Garden Planter Boxes
Gardening Products and Tips
Tips for Transplanting Succulent House Plants
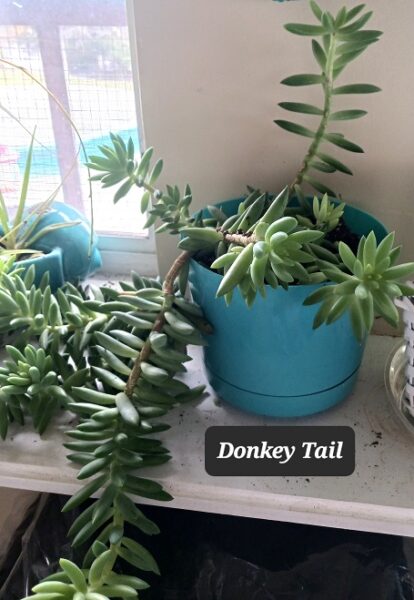
I love house plants and probably have about 30 in our home. During the late Spring season I like to give each plant a good look-over and if needed transplant them into new pots. About 1/4 of my collection of house plants are succulents which are super easy to grow. If you don't have a green … [Read more...] about Tips for Transplanting Succulent House Plants
Gardening: Growing Strawberries in Your Backyard
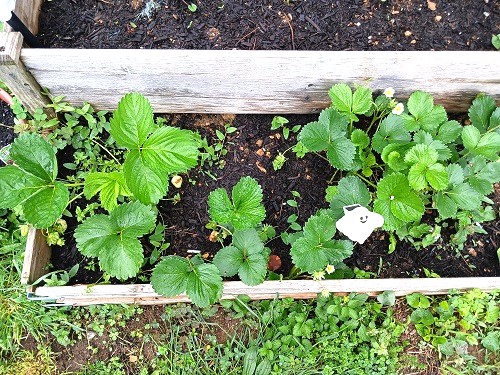
Three years ago we made the decision to grow strawberries in our backyard. We dug up an area towards the back of the yard that gets full sun and planted the strawberry plants. Well, that first attempt was a total failure due to the poor content of our soil. With that said, we didn't give up! ** Post … [Read more...] about Gardening: Growing Strawberries in Your Backyard
The Dangers of Roundup People Should Be Aware of

Roundup is one of the most used weed killers in the world. It’s found in gardens, farms, and parks. But many people don’t know that this product may not be as safe as it seems. Roundup contains a chemical called glyphosate. Studies have linked glyphosate to serious health problems. The International … [Read more...] about The Dangers of Roundup People Should Be Aware of
The Beautiful Cherry Blossom Tree
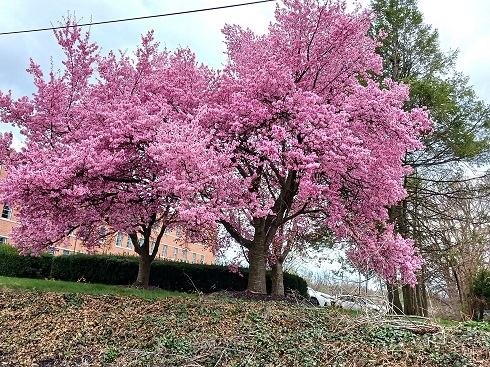
Every year in late March through early April we're treated to the beauty from the cherry blossom trees that grow in our area. We see them in a wide variety of different colors - white, light pink, vivid pink and a pinkish red color. They always bloom in the early springtime along with our daffodils … [Read more...] about The Beautiful Cherry Blossom Tree
Sustainable Landscaping Ideas for Eco-Conscious Homeowners

As the world becomes more environmentally aware, many homeowners are looking for ways to make their homes greener inside and out. Landscaping offers an excellent opportunity to promote sustainability, reduce energy consumption, and create a beautiful outdoor space that benefits both nature and the … [Read more...] about Sustainable Landscaping Ideas for Eco-Conscious Homeowners
How to Freeze Whole Fresh Tomatoes for Later Use
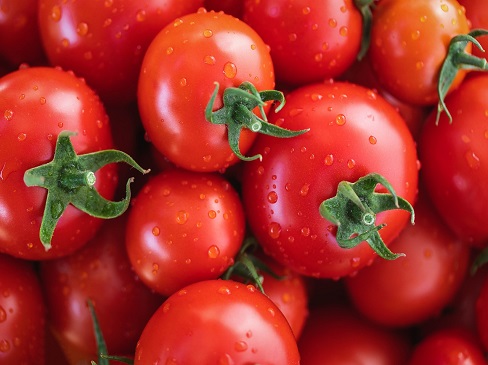
During the gardening season my tomatoes don't ripen at the same time. This is especially true during the beginning and at the end of the growing season. So, how do I preserve those fresh homegrown tomatoes until I have enough of them to cook down to make tomato sauce? Well, I'm going to tell … [Read more...] about How to Freeze Whole Fresh Tomatoes for Later Use
Gardening Tips to Protect Grapevines, Blueberry Bushes and Raspberries from Wildlife

We have been growing our own grapes, blueberries, raspberries and strawberries for the past 5 years in our backyard. Over the past several years local wildlife has damaged our plants...ruining our gardening experience. As you know, gardening costs time and money. No one wants that to be … [Read more...] about Gardening Tips to Protect Grapevines, Blueberry Bushes and Raspberries from Wildlife