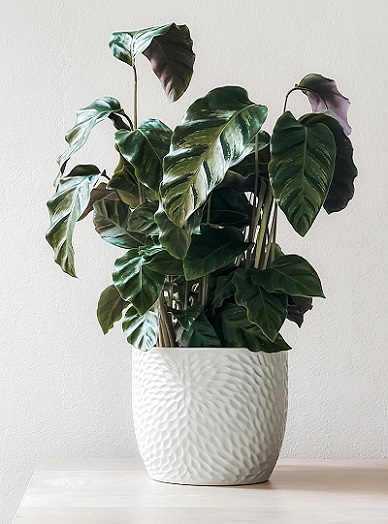
I love houseplants and have over 50 of them throughout our home. I have some that hang from the ceiling, some that sit on shelves and others that are displayed on plant stands. You don't need to be an expert in gardening to have a few throughout your home. The secret is...to select varities that are … [Read more...] about The Benefits of Having Houseplants in Your Home
Gardening Products and Tips
How to Prepare Your Garden for Spring
As the days start to draw out and the first signs of milder weather start to arrive, the garden starts to stir from its winter slumber. For gardeners across the UK, this long-awaited transition can offer the perfect opportunity to lay some groundwork for spring’s arrival. According to horticultural … [Read more...] about How to Prepare Your Garden for Spring
How to Make Your Own Aloe Vera Gel at Home

I've been growing Aloe Vera plants in my home for the past 25+ years. Aloe is one of the easiest houseplants to grow. It doesn't need a lot of water or attention. Just make sure it's planted in a soil that is made specifically for succulent plants. Give it water on a regular basis and place it in … [Read more...] about How to Make Your Own Aloe Vera Gel at Home
How a Living Green Wall Can Boost Office Production and Provide a Satisfying Environment
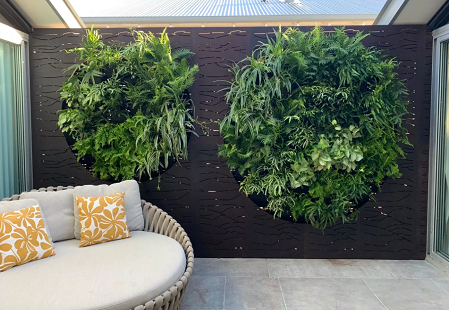
Businesses that take the time to create a positive and inspiring working environment quickly benefit from increased employee satisfaction and productivity. Insightful organisations understand that modern offices should no longer simply be designed to be functional, but they should also promote … [Read more...] about How a Living Green Wall Can Boost Office Production and Provide a Satisfying Environment
How to Make Your Garden Maintenance Easier and Safer
Gardening is one of those hobbies that’s both rewarding and challenging. A well-kept garden can lift your mood, add beauty to your home, and even provide fresh herbs or vegetables. But let’s be honest — keeping a garden looking its best can be time-consuming, tiring, and sometimes risky. Trips over … [Read more...] about How to Make Your Garden Maintenance Easier and Safer
Shopping Thrift Stores for Houseplant Containers and Growing Pots
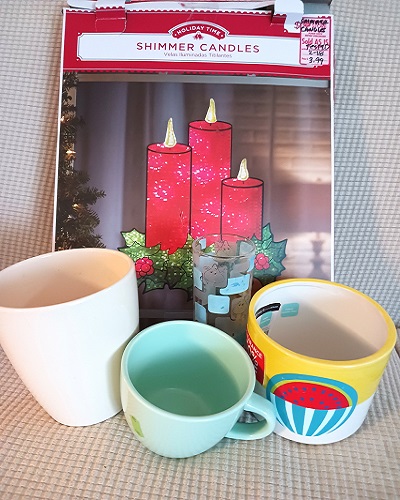
I love houseplants and have about 40 of them spread throughout our home. On top of growing them for personal enjoyment...I also propogate starter plants to give away to family and friends. In our neighborhood...I'm often referred to the houseplant lady. ** This post may contain affiliate … [Read more...] about Shopping Thrift Stores for Houseplant Containers and Growing Pots
How to Grow Burro Donkey Tail Succulent Houseplants
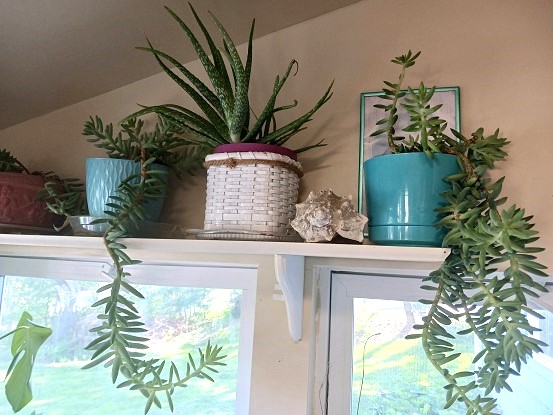
I'm a big fan of having a variety of houseplants in my home. At this time, I would estimate that I have a minimum of 30 spread throughout our house. I grow all kinds of things like ferns, spider plants, palms, aloe vera, wandering jew and of course...the burro tail. ** Post contains affiliate … [Read more...] about How to Grow Burro Donkey Tail Succulent Houseplants
Worried Pests are Taking Over Your Garden? Here’s What to Do
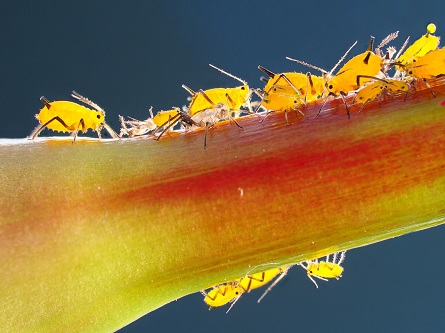
Have you seen any leaves eaten by bugs, portions of plants that are wilting, or even a sudden swarm of bugs in your garden? These are evident signs of pest infestation. If the home remedies are not working, perhaps it is time to think of hiring the professionals. Gold coast pest services offers … [Read more...] about Worried Pests are Taking Over Your Garden? Here’s What to Do