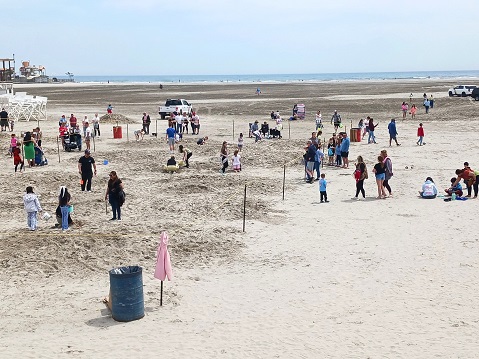
This year we spent the Easter holiday down at the beach in North Wildwood, New Jersey. Our family goes down several times a year and love the area. This was the first time that we spent Easter down at the beach. Wow...did our family have fun! North Wildwood and Wildwood had all kinds of … [Read more...] about Easter Egg Hunt on the Beach
easter
Easter Egg Hunt on the Beach in North Wildwood
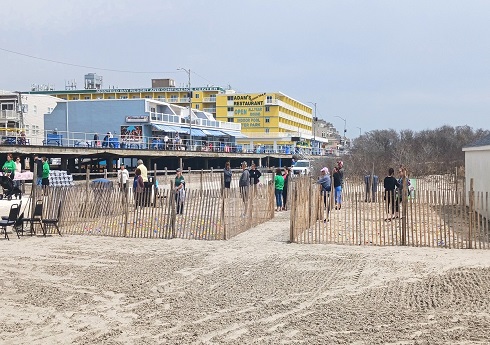
Our family decided to spend the Easter holiday down at the beach. We spent 4 days over the holiday in North Wildwood, New Jersey. While we were down there we got to participate in several local holiday activities. Gotta love this time of the year and the family-friendly FREE events that you can … [Read more...] about Easter Egg Hunt on the Beach in North Wildwood
Happy Easter 2025
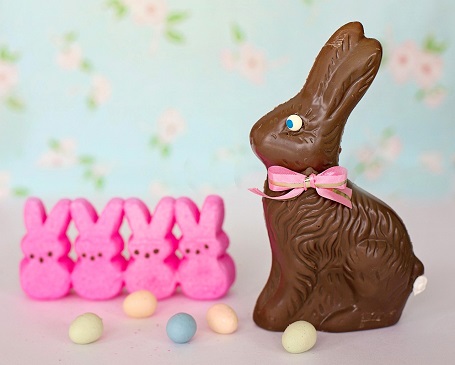
This year Easter is during the month of April. On some years it will actually fall on our wedding anniversary which is also during the month of April. When it comes to the Easter holiday I really like it falling late in March or early the following month. Regardless, it's here! We wanted to take a … [Read more...] about Happy Easter 2025
Easter Bunny Painted Clam Shells Seashells
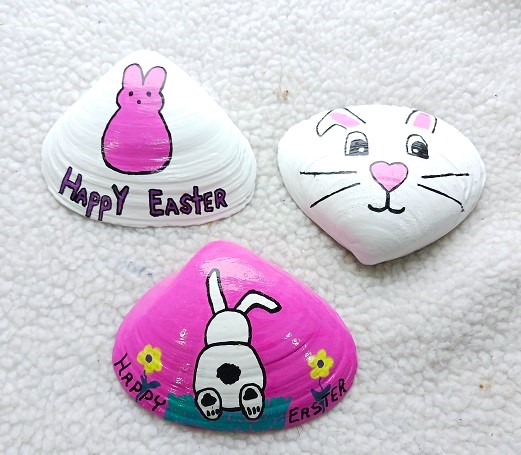
These hand painted Easter bunny themed clam shells seashells are adorable! They would look cute sitting on your dinner table as pace settings (name cards), sprinkled in a tablescape or just used as little home decor accents. You can let each guest take one home after dinner which makes for a nice … [Read more...] about Easter Bunny Painted Clam Shells Seashells
Easter Egg Cookie Dough Truffles Recipe
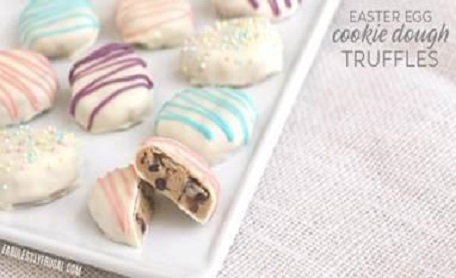
No Easter dinner is complete without a delicious dessert to finish things off. These Easter Egg Cookie Dough Truffles look delicious! Prep time is about 30 minutes. The recipe makes 6 servings. "From EmpoweredCooks.com and FabulesslyFrugal.com CEO Cathy Yoder, author of the best-selling “Easy Air … [Read more...] about Easter Egg Cookie Dough Truffles Recipe
Easter Bunny and Spring Season Designs Painted Clam Shells Seashells

These adorable Easter Bunny painted clam shells are perfect to add to the little one's Easter baskets this year. They're also fun additions to add to your inside or outside Easter decor. You can paint several of them in one weekend and you don't have to have any artistic skills to make them! Don't … [Read more...] about Easter Bunny and Spring Season Designs Painted Clam Shells Seashells
Easter Bunny Felt Refrigerator Magnets Kid’s Craft Project

Last weekend the group of kids at our church sat down and made these cute Easter Bunny refrigerator magnets out of craft felt. They took less than 1 hour to make and cost less than .50 cents per child. For the template we picked up unfinished wood rabbit cut-outs at the local craft store. You can … [Read more...] about Easter Bunny Felt Refrigerator Magnets Kid’s Craft Project
Easter Bunny Clothespin Refrigerator Magnet – Kid’s Crafts

Last weekend we sat down with 5 children ages 7 to 13 years of age to make these super-easy Easter Bunny refrigerator magnets from wooden clothespins. Each one will cost you less than .50 cents to make if you buy your supplies from Dollar Tree. We picked up the acrylic paints, paint brushes, and … [Read more...] about Easter Bunny Clothespin Refrigerator Magnet – Kid’s Crafts