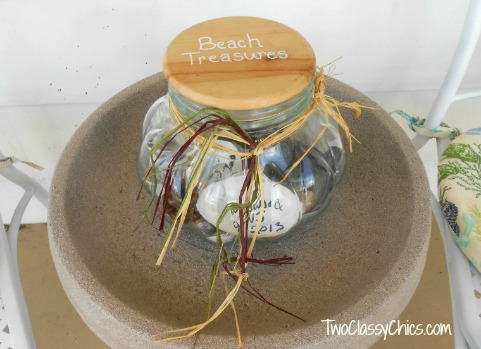
A few weeks ago Chris started a new feature here on the TwoClassyChics blog called Fun Frugal Finds. Well today, I get to share with all of you one of my frugal finds and some DIY instructions on how I completely upgraded an old cement bird bath. Several weeks ago my hubby and I were down at the … [Read more...] about Bird Bath to Patio Table with DIY Project
crafts
How to Make Your Own Glitter Nail Polish

Last month we hosted a Birthday party for my niece who was turning thirteen. This party consisted of 7 girls plus my niece for a fun sleepover at her mother's house. Just like most teen girls, they are into bath, body and beauty products and have a lot of fun experimenting with products and … [Read more...] about How to Make Your Own Glitter Nail Polish
Felt Holiday Ornaments and Christmas Stocking Craft Kits

Have you ever been invited to a “Holiday Sweater Party” and wondered where you were going to find a unique holiday sweater to wear? This kit is just the ticket! Michael Simon, who designed many of those unique holiday sweaters in the 1980s, has created a do-it-yourself kit for today's crafter, the … [Read more...] about Felt Holiday Ornaments and Christmas Stocking Craft Kits
Getting Organized Thanks to Scotch Dry Erase and Chalkboard Tape
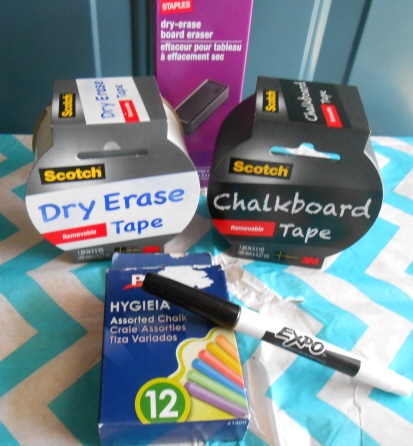
For the past few months I have been trying to get everything organized here in our home. Believe it or not, I still have boxes upon boxes that need to be unpacked from when we moved in here back in January of 2013. Trust me, 3 rooms in our new home are NOT pretty right now and mainly are being used … [Read more...] about Getting Organized Thanks to Scotch Dry Erase and Chalkboard Tape
How-To Make Glow-in-the-Dark Blowing Bubbles
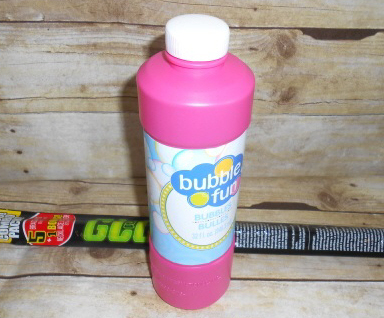
As you all know...our daughter got married last weekend and we have been babysitting our 5 year old grand daughter all week while the kids are on their honeymoon in Mexico. After the Princess gets home from school, eats dinner and does her homework...we have been coming up with various fun … [Read more...] about How-To Make Glow-in-the-Dark Blowing Bubbles
Homemade Sidewalk Chalk with Recipe and Instructions
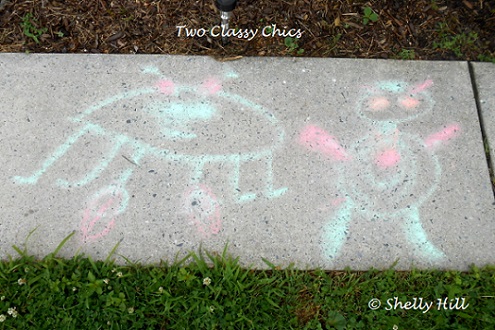
Last month my grand daughter and I had an arts & crafts play date. During this particular date...we decided to make some homemade sidewalk chalk and here is how we made it. Homemade Sidewalk Chalk Recipe & Instructions * Two parts Plaster of Paris * One part water (use warm tap … [Read more...] about Homemade Sidewalk Chalk with Recipe and Instructions
Kid’s Craft Project: Plastic Water Bottle Flowers
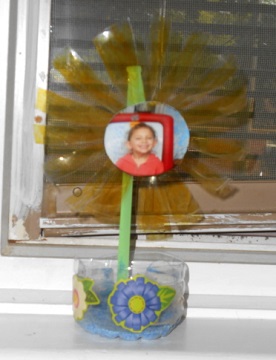
As you all know, I have a little 5 year old grand daughter who attends preschool. Well, she does for another 2 weeks and then she enters Kindergarten. We are so proud of her and excited that she will be entering the "big kid's school" in a few weeks. I am a big arts & crafts person and love … [Read more...] about Kid’s Craft Project: Plastic Water Bottle Flowers
Spellbinders Celebrations Paper Craft Kits
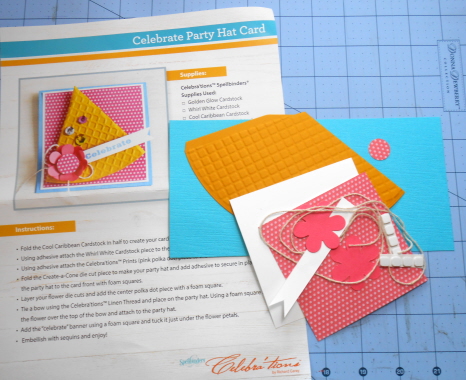
I love crafting...matter of fact, I have another blog that is solely dedicated to crafts! I dabble in all kinds of different crafting mediums but my favorites are paper crafts, especially scrapbooking. Today I wanted to introduce you all to a fun collection of craft supplies from Spellbinders. … [Read more...] about Spellbinders Celebrations Paper Craft Kits