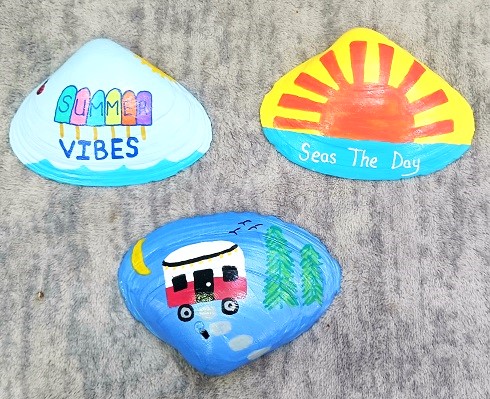
It's time to get busy decorating for the summer season! Last week I started working on some new summer themed designs painted onto large clam shells seashells. These will be displayed on my front porch, back deck and around our pool area to set the mood for summer! They're also great table … [Read more...] about Hand Painted Summer Themed Clam Shell Seashell Designs
craft projects
Easy Hand-Painted Daisy Floral Design Clam Shells Seashells
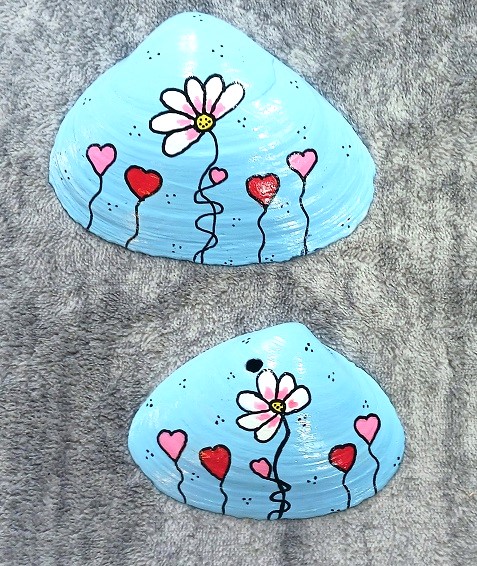
These hand-painted daisy floral design clam shells seashells are very easy to make! You don't need a template or pattern to make them. You can easily do this design on clam shells, other seashells, smooth river rocks and painted onto other surfaces. You'll only need a few basic art supplies to make … [Read more...] about Easy Hand-Painted Daisy Floral Design Clam Shells Seashells
Hidden Oceans Coloring Book by Rita Berman
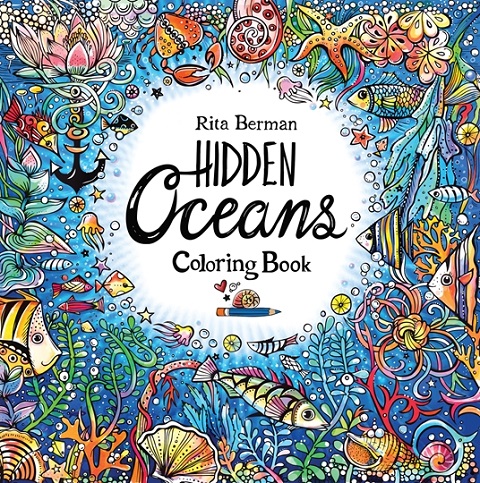
Coloring and painting are my two preferred ways to wind down after a long day. I find both activities to be relaxing and a great outlet for my personal creativity. Adult coloring books hit the scene several years ago and I've been hooked on them ever since. You can use colored pencils, chalks, gel … [Read more...] about Hidden Oceans Coloring Book by Rita Berman
Hand Painted Spring Designs Clam Shells and Seashells
I love decorating my flower beds, front porch, back deck and around our swimming pool with seasonal yard art. It's a great way to add flair and a pop of color to those areas. Last month I made several hand painted clam shells with a SPRING THEME to decorate until summertime arrives. All of these … [Read more...] about Hand Painted Spring Designs Clam Shells and Seashells
Make Easy Handmade Greeting Cards Using COLOP’S Stamping Products
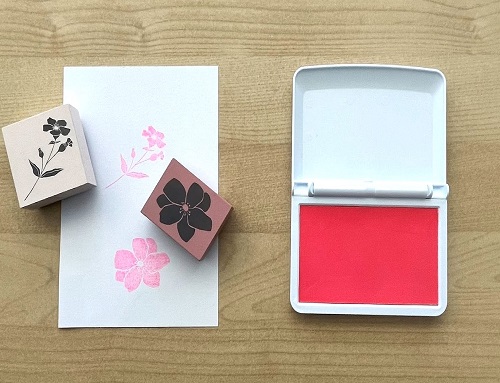
For arts and crafts lovers, COLOP's charming stamps are multifaceted tools that leave an indelible mark on every project. From handmade cards to personalized tags and journals, these stamps make it easy to turn creative ideas into lasting pieces—perfect for gifting or keeping just for you. Their … [Read more...] about Make Easy Handmade Greeting Cards Using COLOP’S Stamping Products
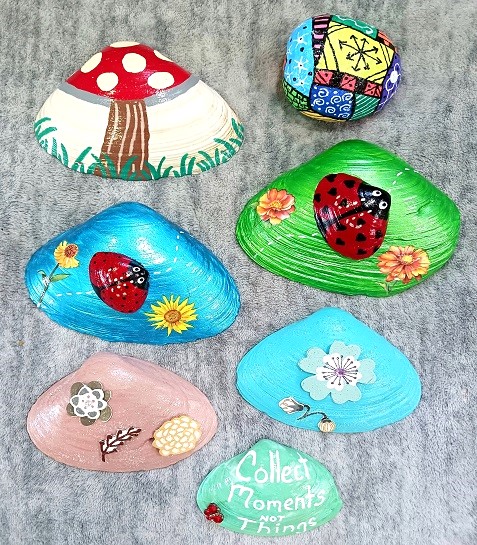
Hand Painted Faux Quilted Garden Yard Art Rocks
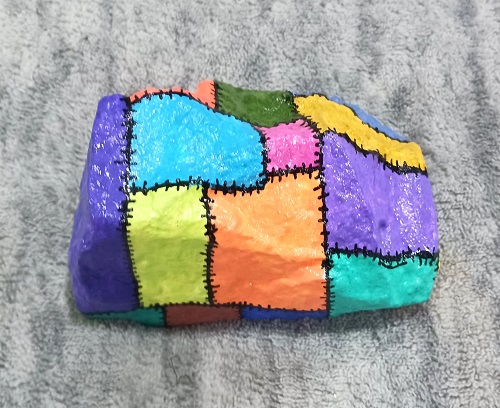
The temperatures are starting to warm up and I'm looking forward to getting back outside into my gardens. I have 4 flower gardens and 2 vegetable gardens that I tend to throughout the growing season. Gardening is a great way to get outside for some exercise and fresh air. Plus, it's good for your … [Read more...] about Hand Painted Faux Quilted Garden Yard Art Rocks
Hand Painted Heart Love Kindness Rocks and Seashells
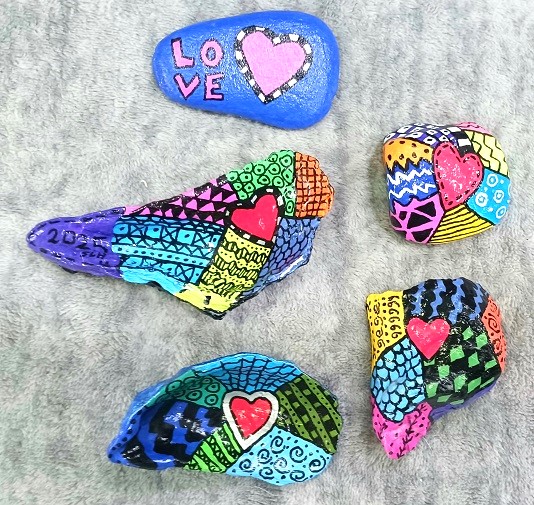
I've been painting kindness rocks and seashells for over 20+ years. It's an affordable hobby that allows me to be creative and helps to reduce stress in my life. Let's face it...we all need less stress in our lives! Today I'm going to share with you several of my hand painted heart and love designs … [Read more...] about Hand Painted Heart Love Kindness Rocks and Seashells
Hand Painted Cat Pet Mom Clam Shells Seashells
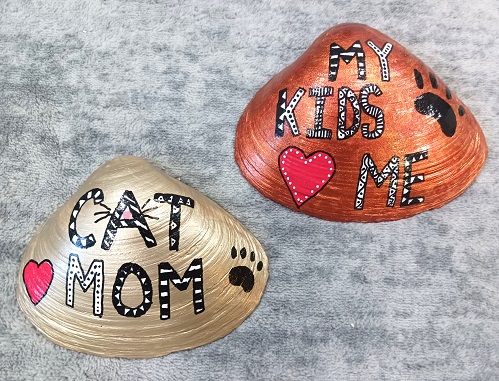
We love cats and have adopted several over the years. Our current boy Romeo is the sweetest kitty that we've ever owned! He's 4 1/2 years old and extremely loveable! He's a valuable member of our family and spoiled rotten as he should be! ** This post contains affiliate links. I like to volunteer my … [Read more...] about Hand Painted Cat Pet Mom Clam Shells Seashells