Halloween is that one time of the year when people of all ages get to embrace their spooky side. From dressing up in costumes to decorating homes with cobwebs and pumpkins, the season is all about creativity. But let’s talk about one part of Halloween parties that often gets overlooked: the party … [Read more...] about DIY Halloween Party Favors That Guests Will Actually Use
craft projects
Decoupage Lighthouse on Sand Dollars Coastal Home Decor Craft Project
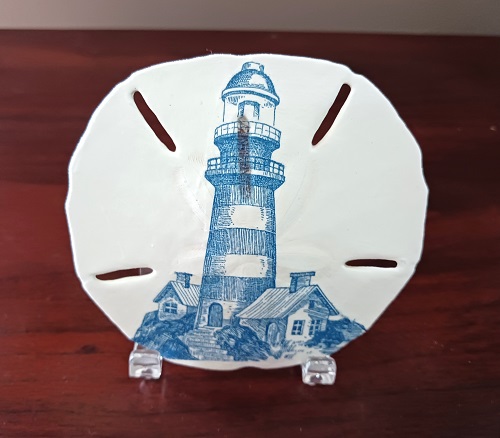
Love the beach? Enjoy the relaxed coastal life? If so, check out this super-easy decoupage lighthouse on a Sand Dollar arts and crafts project. You can make these as little home decor accents or turn them into Christmas and holiday ornaments. You can find all of the supplies at your local craft … [Read more...] about Decoupage Lighthouse on Sand Dollars Coastal Home Decor Craft Project
Beach Ocean Marine Life Rub-On Transfers for Crafts
Over the past 12 years I've published hundreds of different arts and craft projects on the TCC blog. Many of those projects have included painting and decorating seashells. A lot of readers have commented or written to me that they're not good at artistic painting. Well...that's okay! You can use … [Read more...] about Beach Ocean Marine Life Rub-On Transfers for Crafts
TBC Dual Tip, Waterproof, Non-Toxic Acrylic Paint Markers
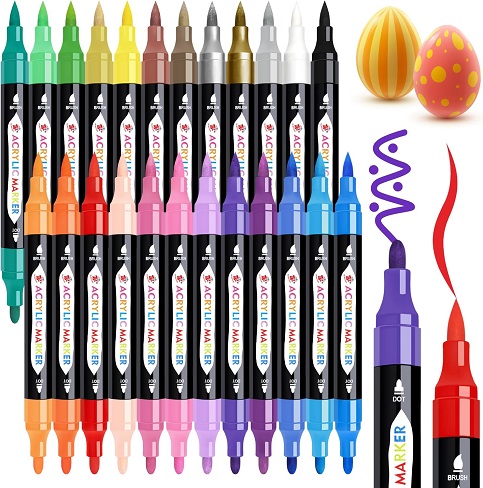
I use a lot of Acrylic Paint Markers in various art and craft projects that I make. I can easily go through 1 pack every 6-8 weeks. With that said, I'm picky about the acrylic paint markers that I like to use. For example...I don't want any that require priming. I won't use them if they give off … [Read more...] about TBC Dual Tip, Waterproof, Non-Toxic Acrylic Paint Markers
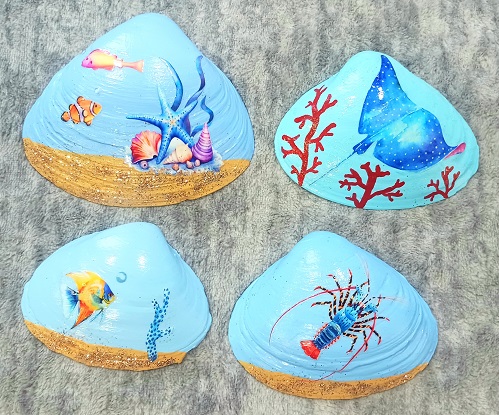
Tropical Beach Vacation Painted Seashells and Clam Shell Designs
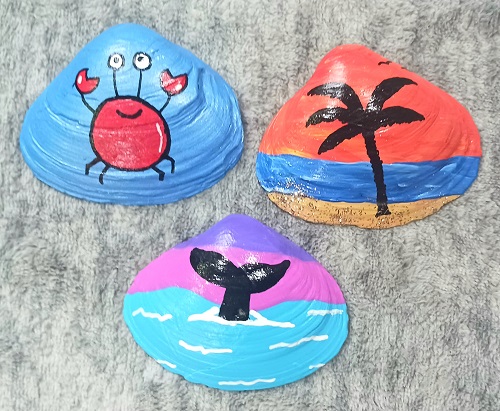
Live near the beach? Taking a summer vacation to a tropical destination? If so, you'll want to go out and collect a few empty seashells to bring home with you! While these easy to paint designs can be painted onto just about any seashell...we opted to use smaller sized clam shells. If you don't live … [Read more...] about Tropical Beach Vacation Painted Seashells and Clam Shell Designs
A Beautiful Beach Coastal Design Bed Quilt
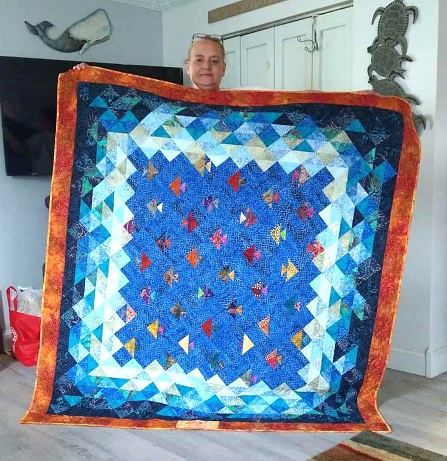
My friend Kelly is what I call a very talented quilter. She's a professional quilter and has been quilting for years. She often teaches newbies in her small hometown how to quilt. She will sell her quilts from time-to-time and has donated a few of them that have been auctioned off. She's the most … [Read more...] about A Beautiful Beach Coastal Design Bed Quilt
Flowers and Butterflies Painted Clam Shells Seashells

These flowers and butterflies painted seashells are super easy-to-make! You can make a dozen of them in just one weekend. Don't have clam shells available to you? Don't worry, you can make this arts and craft project using smooth river rocks too! You'll need just a few supplies to make them. ** Post … [Read more...] about Flowers and Butterflies Painted Clam Shells Seashells
3 Easy Designs to Paint onto Razor Clam Shells Seashells
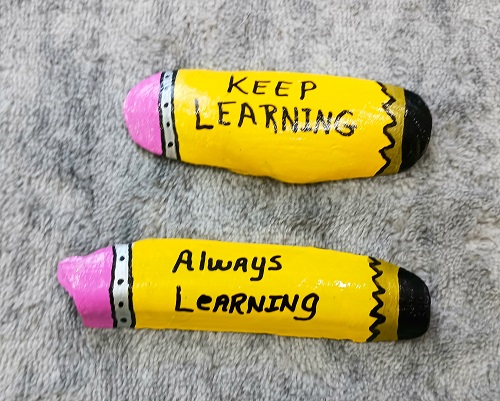
I've been painting on seashells for the past 25+ years. I've painted on clam shells, oysters, scallops, whelks, conchs, snail shells, etc. You can paint on just about any seashell surface...including sand dollars and starfish. Enjoy painting on seashells? Check out the 300+ painted seashell projects … [Read more...] about 3 Easy Designs to Paint onto Razor Clam Shells Seashells