
Last weekend my 2 grandchildren came over for a crafting with Nanny date. We decided to make ladybug and bumble bee refrigerator magnets using old puzzle pieces! Along with cardboard puzzle pieces, you'll need acrylic craft paints and a few other basic supplies. Here's how to make them. LadyBug … [Read more...] about Ladybug and Bumble Bee Puzzle Pieces Refrigerator Magnets
craft projects
Hand Painted Lady Bugs Seashells Yard Art

These hand painted lady bugs are adorable and easy to make! You'll need a large clam shell, 2 small scallop seashells, acrylic paints and a few basic craft supplies. You can make several of them in just one weekend. Use a garden yard art, as little home decor pieces in your tiered trays, as paper … [Read more...] about Hand Painted Lady Bugs Seashells Yard Art
Alien Tape Nano Double Sided Multipurpose Removable Tape
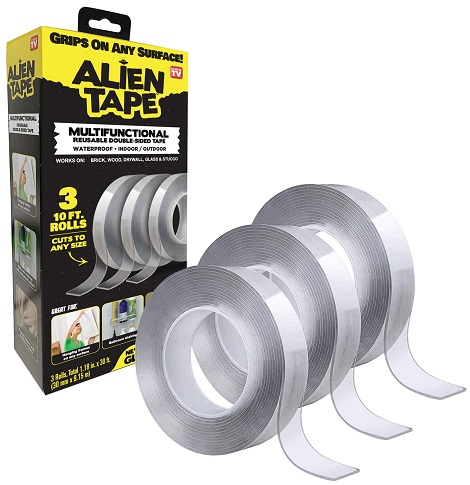
Have you all seen the infomercials for Alientape or seen it out in retail stores? I have and for a long time I've wanted to try it. I did some research and found the best prices for Alien Tape Alientape over on Amazon, so I bought it. This is the exact same stuff you've seen on infomercials. I got 3 … [Read more...] about Alien Tape Nano Double Sided Multipurpose Removable Tape
Homemade Faux Glass Paint for Kid’s Plastic Suncatchers

My kids enjoy painting their own suncatchers to hang up on the windows. We can often buy the plastic suncatchers at Dollar Tree or other discount retail stores. However, buying the translucent paint to paint them can get expensive. Instead...we make our own which work just as nice. * This post … [Read more...] about Homemade Faux Glass Paint for Kid’s Plastic Suncatchers
Kid’s Crafts: Glass Floral Pebbles Refrigerator Magnets

Looking for a fun rainy day craft project to do with the kids that doesn't cost a lot of money? We've got one for you today! Just head to your local Dollar Tree store to pick up the inexpensive supplies. The rest of the items you already have at home. At the DT Store you'll find bags of glass floral … [Read more...] about Kid’s Crafts: Glass Floral Pebbles Refrigerator Magnets
Tumbling Tower Blocks Summer Home Decor Accents

I love decorating my home with little hand-crafted accents. It's a great way to add a pop of color and decorate for the season. A few months ago I made my own 3-tiered tray using Dollar Tree items which I keep on my buffet table. I change out my tiered tray decor as the seasons and holidays change. … [Read more...] about Tumbling Tower Blocks Summer Home Decor Accents
Hand Painted Teddy Bear Desgin Seashells Kid’s Craft Project

Kids love to dabble in arts & crafts and this hand-painted Teddy Bear seashell is an easy project for them to complete. You'll only need a few basic painting supplies along with a large 4" to 5" wide clam seashell that we collected from the beach. Before painting on shells you need to clean … [Read more...] about Hand Painted Teddy Bear Desgin Seashells Kid’s Craft Project
Easy-to-Make Old Fashion Pom-Pom Gnomes

Gnomes have made a big comeback the past 2 years and AGAIN are all of the rage in home and garden decor. Every time I walk into a department store or discount store I see all kinds of home decor in a Gnome theme! Heck, even the blogs, YouTube, Pinterest, and Instagram is flooded with Gnome craft … [Read more...] about Easy-to-Make Old Fashion Pom-Pom Gnomes