Tag: craft projects

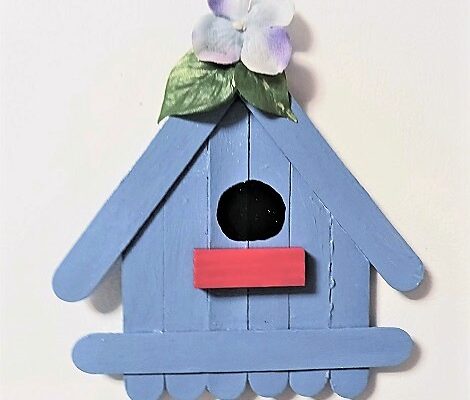
Craft Stick Spring Bird House Refrigerator Magnet for Kids

Craft Stick Spring Bird House Refrigerator Magnet for Kids

In honor of the first official day of Spring we have a great Kid’s craft project to share with you today. This project will cost less than $1.00 to make. It’s made with basic craft supplies and they can be decorated any way that the 

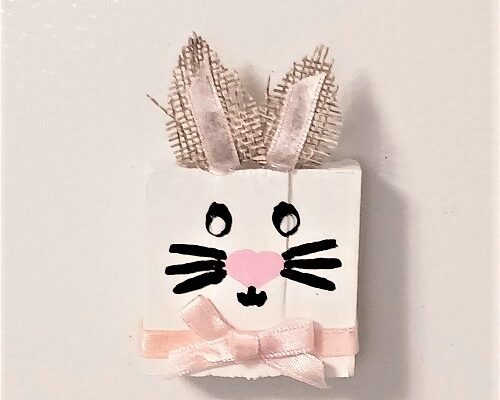
Dollar Tree Tumbling Tower Blocks Easter Bunny Refrigerator Magnet

Dollar Tree Tumbling Tower Blocks Easter Bunny Refrigerator Magnet

These Easter Bunny refrigerator magnets are made with almost all supplies purchased at the Dollar Tree. The one shown in my photograph was made by my 13 year old granddaughter who did a great job! You can make several of them in one weekend. Below 

How to Make an Easter Bunny Door Wreath

How to Make an Easter Bunny Door Wreath

Easy to Make Easter Bubby Door WreathI love decorating my front door and back doors with fun seasonal and holiday wreaths. Your front door is the first thing that guests see when entering your home. Decorating your front door adds curb appeal and just adds a smile to your face. Easter is just around the corner and I made this adorable Easter Bunny door wreath. It cost me less than $12.00 to make and I had it finished within 1 hour.

* This post contains affiliate links.

Dollar Tree – Bunny Head Wire Wreath Frame, Glue Sticks

Amazon – Metal Florist Wire, Wire Edge Ribbon (to make the bow), 1 Sheet Light Pink Craft Felt

Hobby Lobby – 1 Roll White Fluffy Thick Plush Yarn

On-Hand Items – Scissors, Hot Glue Gun

The roll of white plush fluffy yarn I purchased from Hobby Lobby was on sale for 40% off. I had enough on the roll to make 2 full wreaths! Cut off 3-4 feet of white yarn which makes it easier to work with. Put a dab of hot glue at the base of one ear. Attach the end of the yarn there. You want to wrap each ear with the fluffy yarn…going around and around. Every couple of inches I added a dab of hot glue to just tack it down. This way…hopefully there will be no unraveling in the future. You want to cover both ears.

To make the head you can do it one of two ways. You can completely wrap the head with the white fluffy yarn and tacky down every 2-3″ with hot glue along the sides of the wire wreath…or you can just wrap it around the metal portion leaving the center of the head totally open and exposed. That’s entirely up to you. I opted to completely cover the head.

Ears were made using 1 sheet of light pink craft felt. I traced around each ear using a pencil. Then used scissors to cut out the 2 pieces of felt that I needed. Each piece needs to be slightly smaller in size than your traced line. You don’t want the pink felt sticking out along the sides. Use hot glue to attach to the back side of the bunny. If you don’t have craft felt…you can certainly use a cute Easter print fabric from your sewing stash. That would look cute too!

You can purchase wire edged ribbon at Dollar, Amazon, Hobby Lobby, and a variety of other stores. I personally love the color and print that I chose from Amazon. It’s a spring print, not necessarily an Easter one which I love. My ribbon bow is just a simple one that I made and secured using metal florist wire. I cut my tails short because I didn’t want them over-whelming the bunny’s head. Use a generous amount of hot glue to attach it to the bunny.

* This post contains affiliate links. If you make a purchase, we may or may not receive a small commission which helps to support this site. Thank you!

Shelly's Signature

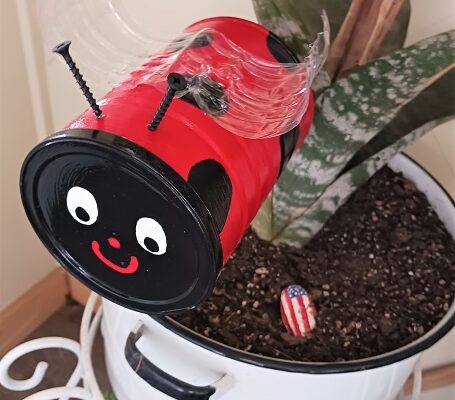
Ladybug Garden Yard Art Made with Metal Coffee Can

Ladybug Garden Yard Art Made with Metal Coffee Can

I’m getting ready for spring and working on several new DIY craft projects for my outdoor living and garden areas. I enjoy adding a few new items every year to add style and a pop of color. One thing that I really like is junk 

Organize Kid’s Nerf Toys with Plastic Laundry Pod Containers

Organize Kid’s Nerf Toys with Plastic Laundry Pod Containers

My 7 year old son has a ton of Nerf guns, footballs, and other toys. The Nerf guns shoot foam bullets or darts. Those pieces get all over my house and backyard. He’s always losing them and I’m always the one finding them and picking 

Dollar Tree Farmhouse Tiered Tray Craft Project

Dollar Tree Farmhouse Tiered Tray Craft Project

Dollar Tree Farmhouse Tiered Tray Craft ProjectFarmhouse style tiered trays are all the decorating rage these days. You can find them in various styles and colors with 2, 3 and 4 tiers. If you check out home decor stores you’ll see that these farmhouse trays can be quite expensive, definitely MORE than I’m willing to pay. After seeing them and wanting one…I decided to make my own.

Here’s your shopping list.

Dollar Tree – 1 metal pizza pan, 2 metal pie pans, 2 clear glass candlestick holders

Hobby Lobby – 1 cabinet knob, unfinished wood beads

Lowe’s – white spray paint (2 cans), spray acrylic sealer (1 can), Gorilla Glue

You’ll need to work on this project on a day that you can get outside due to all of the spray painting.

Take the pizza pan, pie pans, glass candlesticks, cabinet knob, and all of the round wood beads outside and lay them down on a drop cloth. Spray with a coat of white spray paint. I used one with a matte finish. Once dry, turn the items over and spray again. You’ll continue this process until everything has been painted and dry.

Inside you’ll want to assemble it. HOT GLUE doesn’t work well for this type of project! You want to use Gorilla Glue or E6000. I used Gorilla Glue. Place one candlestick in the center of the pizza pan, then a pie pan on top. Then another candlestick with another pie pan on top. Use the Gorilla Glue to adhere everything together. In the center of the top pan you’ll add the cabinet knob which gives it a nice finishing touch. Let everything dry until the glue has set.

Dollar Tree Farmhouse Tiered Tray Craft Project

Next you’ll add all of the painted wooden beads around the edge of the pizza pan. I used a dab of hot glue and my glue gun to just set them in place. I then went back and added a little bit of Gorilla Glue to really hold them down firmly into place by squirting my dabs along the inside edge of the pan. Let dry overnight.

I used the dry brush technique using black acrylic paint and went around the edges of the pans to give them a little bit of a distressed look. I didn’t go heavy on it as I didn’t want them to look all beaten up. You can do more or less of the distressing. Let dry.

Head outside and place the tiered farmhouse tray onto a drop cloth. Spray all sides and the bottom with 2 coats of a clear acrylic spray sealer. I used one with a matte finish. Allow for 1 hour of drying time between coats. This will protect the painted finish from chips and scratches.

Variations: If you like a “weathered” look you can take some sandpaper to it to rough it up or take black or dark charcoal colored paint to add the “roughness” accents. That’s entirely up to you.

* This post contains affiliate links. If you make a purchase, we may or may not receive a small commission which helps to support this site. Thank you!

Shelly's Signature

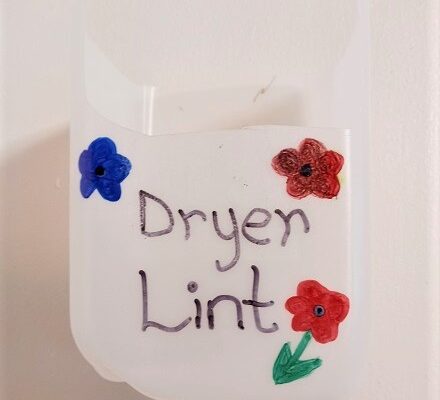
Dryer Lint Catch-All Made from Plastic Milk Jug

Dryer Lint Catch-All Made from Plastic Milk Jug

Last weekend I was complaining to my teenage daughter about all of the dryer lint being left on the laundry shelf, the floor, and other areas throughout my laundry room. I get really tired of going in there with a bag and cleaning up all 

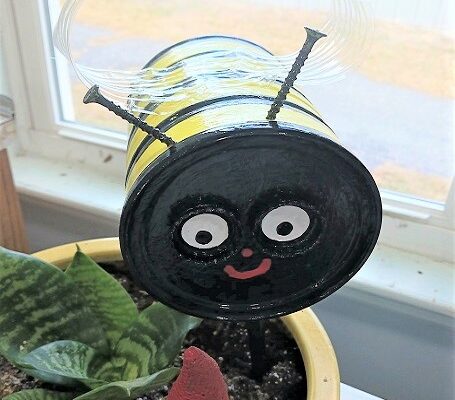
Bumble Bee Garden Yard Art Made with Metal Coffee Can

Bumble Bee Garden Yard Art Made with Metal Coffee Can

I’m getting ready for spring and working on several new DIY craft projects for my outdoor living and garden areas. I enjoy adding a few new items every year to add style and a pop of color. One thing that I really like is junk