Tag: craft projects

Decoupage Clam Seashells for Spring Decorating

Decoupage Clam Seashells for Spring Decorating

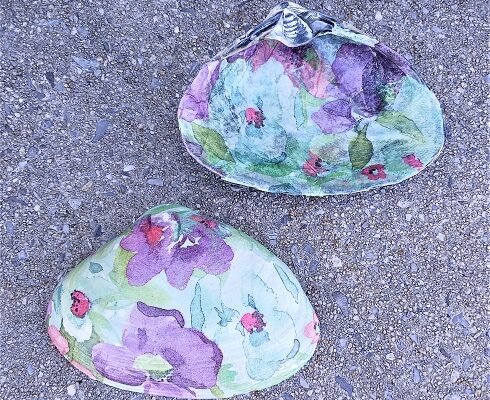
These decoupage clam seashells are super easy to make. We made them using 4″ to 5″ wide clam shells that we collected from the beach. If you don’t have large seashells available to you…you can do the same thing to river rocks and smooth stones. 

Scrap Wood Painted Easter Bunny Shelf Sitter

Scrap Wood Painted Easter Bunny Shelf Sitter

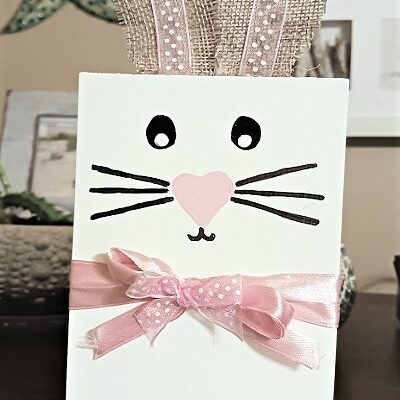
This hand painted Easter Bunny shelf sitter is easy-to-make! We made them with a group of 13 year old Girl Scouts using inexpensive art and craft supplies. My husband cut all of the wood blocks ahead of time from his scrap wood pile. They can 

Easter Bunny Butt Houseplant Pot Hugger – Dollar Tree Crafts

Easter Bunny Butt Houseplant Pot Hugger – Dollar Tree Crafts

Easter Bunny Butt Houseplant Pot Hugger - Dollar Tree CraftsThis Easter Bunny Houseplant Pot Hugger is super easy-to-make! You can make dozens of them in just one day!!! This pot hugger gives the appearance that the Easter Bunny is digging through the dirt looking for carrots with his butt up in the air. So cute! Don’t have houseplants? You can easily just glue a magnet on the back and turn them into cute refrigerator magnets too.

* This post contains affiliate links.

Dollar Tree – The Easter Bunny Butts are made out of craft felt and sold in a pack of 6 for $1.25. I found them with all of the Easter crafts. Then head to the kitchen gadgets area to find mini snack bag clips. I got those in a pack of 4 for $1.25.

Amazon – Gorilla Glue. If you want some really strong craft magnets…I buy mine in large packs from Amazon. You will ONLY need one per bunny if you’re making refrigerator magnets.

Turn the Bunny Butts wrong-side facing up. Squirt Gorilla Glue onto the mini snack bag clip (along one side) and place it onto the back-side of the bunny butt. Let it sit for 2-3 hours or until the glue has set. Make sure that the opening part of the clip is facing down…so that it can easily be clipped on the edge of a houseplant pot. See my photograph.

Project Variations:

Plant Picks – You can purchase 6″ tall wooden dowels or wood chopsticks from Amazon. Glue the bunny butt to the top of it and you have a cute plant pick.

Refrigerator Magnets – You want to use strong industrial strength craft magnets. You should only need one per butt. I recommend using Gorilla Glue because hot glue doesn’t hold the magnets in place as well as the Gorilla Glue.

Coat Pins – You can glue a metal straight-bar pin back onto the butt and turn them into festive coat pins.

Easter Tree Ornaments – Cut a 5-6″ piece of clear fishing line. Tie it into a loop knotting the two ends together. Add a small amount of glue on the back of the butt and press the knotted ends into it. Let dry.

* This post contains affiliate links. If you make a purchase, we may or may not receive a small commission which helps to support this site. Thank you!

Shelly's Signature

How to Make Faux Carrots for Easter Decorating

How to Make Faux Carrots for Easter Decorating

I enjoy decorating for the Easter holiday but I don’t go overboard. I like to change out a few of our linens and add a few small decorator pieces throughout the home. As a crafter, I’m always looking for new little Easter craft projects to 

Easter Bunny Butt Carrot Patch Wood Crate Craft Project

Easter Bunny Butt Carrot Patch Wood Crate Craft Project

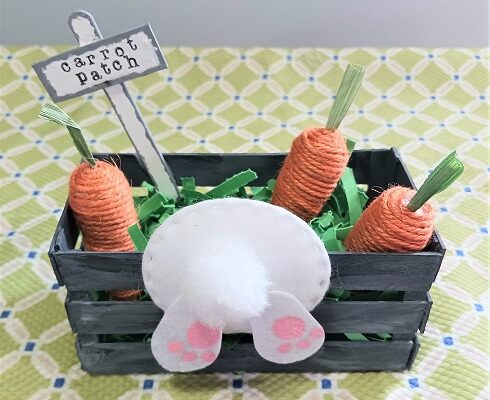
This Easter Bunny Butt Carrot Patch Wood Crate will take you 2 afternoons or a weekend to make. It was made using mostly supplies purchased from the Dollar Tree store. It’s adorable! If you want to save time you can purchase a wood crate from 

Coastal Beach Hand Painted Easter Bunny Clam Seashells

Coastal Beach Hand Painted Easter Bunny Clam Seashells

These hand-painted Easter Bunny clam seashells are super easy to make. You don’t have to be artistically talented to make them! The perfect craft project for older kids and adults that doesn’t cost a lot of money. You can do a simple design like the one we’ve shown or do a fancier design if you choose. We like the classic simple look!

* This post contains affiliate links.

You will need to collect 4″ to 5″ wide clam seashells that have washed up onto the beach. Wash them in warm, soapy water using Dawn Liquid Dish Soap. Why Dawn? It works the BEST at removing sand, debris, and fishy odors. Rinse with clean water and then let them air dry for 2-3 days. They need to be completely dry before painting on them.

Coastal Beach Hand Painted Easter Bunny Clam Seashells

Hand Painted Easter Bunny Clam Seashells

Large Clam Seashells
Acrylic Craft Paint – Light Pink, Medium Pink, Red, White, and Black
Paint Brush, Water Dish, Paper Towels
Black Florist Wire – Fine Gauge
Scissors
Tweezers
Gorilla Glue
Modge Podge Spray Sealer

Base coat the seashell with medium pink acrylic paint. While the paint is still wet drag light pink paint through it to give it a modern tie-dye type of look. You don’t want to cover the entire surface with the light pink. If you look at the photo you’ll see the medium pink (first color) showing through. Let dry for 1 hour.

To paint the Easter Bunny is very easy. You’ll basically paint 2 different shapes. A large round circle or slightly oval shaped head. Then add 2 tear-drop shaped ears on the top. Don’t worry about the shapes being perfect. We used 2 coats of white paint allowing for 30 minutes of drying time between coats.

Using light pink add the color to the inner ears. Use black to make 2 small oval shaped eyes. Dot light pink on for the nose and a tiny red dot for the mouth. Let dry. Once dry, go back and add the white inner dots for the eyes. While that is drying cut the black florist wire into 6 small pieces. They will be used for the whiskers. Add a tiny dot of Gorilla Glue to each side of his nose. Use tweezers to place the whiskers into place. Carefully go around the clam shell and dot white paint around the perimeter.  Let dry for 2 hours.

We recommend sealing in the paint by spraying 2 light coats of Modge Podge Spray Sealer on the top and underneath the clam shell. This will help to keep it looking nice for years to come. Plus, you can now display them inside or outside of your home.

Variations: We made a few in a blue background too…using 2 different shades of blue. You can add a bow to the bottom of one ear to give the girl bunny a little personality. If you’re doing a boy one you can add a bow at the neckline. If you have paint pens on hand…you can write Happy Easter, Hoppy Easter, or some other type of message onto the seashell.

* This post contains affiliate links. If you make a purchase, we may or may not receive a small commission which helps to support this site. Thank you!

Shelly's Signature

Tumbling Tower Blocks Easter Bunny Decor

Tumbling Tower Blocks Easter Bunny Decor

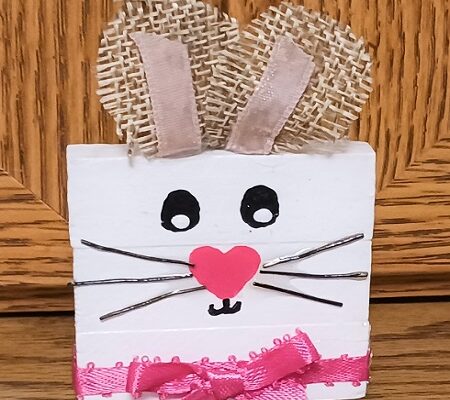
Tumbling Tower Blocks are the Dollar Tree’s version of Jenga, the wood blocks game that is popular to play. You’ll find the mini Tumbling Tower Blocks in the children’s toys and games aisle at your local DT store. Don’t live by one? You can pick 

Craft Stick Spring Bird House Refrigerator Magnet for Kids

Craft Stick Spring Bird House Refrigerator Magnet for Kids

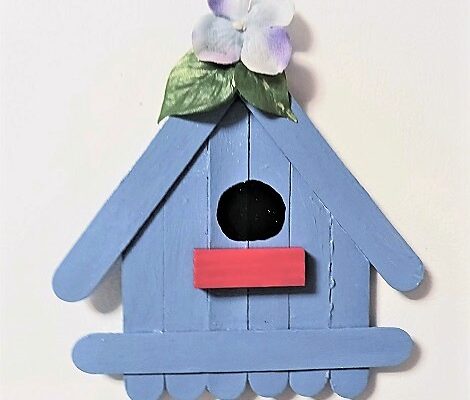
In honor of the first official day of Spring we have a great Kid’s craft project to share with you today. This project will cost less than $1.00 to make. It’s made with basic craft supplies and they can be decorated any way that the