Tag: craft projects

Kid’s Crafts – Faux Stained Glass Suncatchers

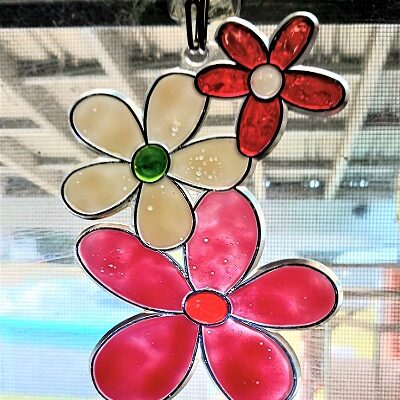
Kid’s Crafts – Faux Stained Glass Suncatchers

A few weeks ago I was in Dollar Tree and purchased a few packages of the plastic suncatchers that you can find in their arts and crafts aisle. They come in various designs and are made out of a clear plastic material. Depending on the 

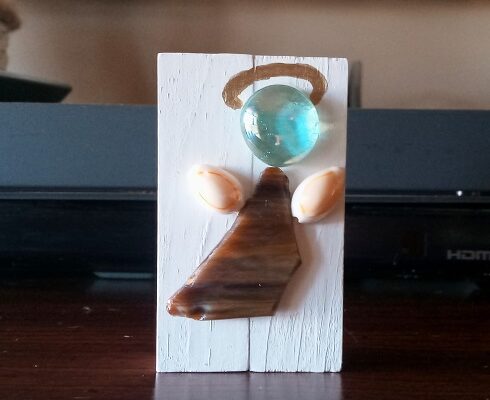
Angel of the Sea Faux Sea Glass Tiered Tray Decor

Angel of the Sea Faux Sea Glass Tiered Tray Decor

One of the hottest farmhouse decorating trends has been tiered trays displayed on the center of your dining room table,  buffet table, kitchen island,  etc. You can purchase 2 or 3 tiered trays or make your own. These trays are used to display seasonal decorations 

How to Make Colorful Sidewalk Chalk

How to Make Colorful Sidewalk Chalk

My kids enjoy playing outside and will often create artwork, holiday messages, and make a hopscotch on our front sidewalk using homemade sidewalk chalk. Making your own sidewalk chalk is easy and you can make only the colors that you need. Once it’s mixed up it will take 1-3 days for the chalk to dry in the silicone molds before you can pop them out and use them.

Adults should be the ones making the chalk but you can do this project with older children that you supervise closely. Plaster of Paris can be dangerous if ingested, so I don’t recommend this project for the little ones. I picked up the Plaster of Paris from my local craft supply store along with silicone soap molds. The Tempra Paint, box of popsicle sticks and zipper closure bags I picked up from our local Dollar Tree store.

How to Make Colorful Sidewalk Chalk

How to Make Colorful Sidewalk Chalk

Plaster of Paris
Water
Temepra Paint
Wood Popsicle Sticks or Craft Sticks
Zipper Closure Quart or Gallon Size Bags
Silicone Ice Cube, Chocolate Candy Molds or Soap Molds
Measuring Cup
Measuring Spoons
Scissors

Place 3 cups of Plaster of Paris into a zipper closure bag. Measure out 1 1/2 cups of water using a measuring cup and pour it into the bag. Hold the bag in an upright position and use a popsicle stick to stir everything together. Add 3-4 teaspoons of Temepra Paint. If you want a darker, more vivid color you may need to add more Tempra paint. I find that 3-4 teaspoons works well. Stir up the mixture again. Zip the bag close. Shake things around to make sure everything is mixed well.

Use scissors to cut the corner off of the bag and pipe the solution into your silicone molds. You can fill them so that it’s even with the top of each cavity in the mold. Continue until it’s all used up. Toss bag into the trash. Don’t pour any Plaster of Paris mixture down your drains as it can clog up your pipes. Wipe up any messes with a damp rag and then toss away in the trash.

Repeat the process to make different colors. Lay the molds on a flat surface out of the reach from children and pets. It will take a few days for it to dry. You’ll know it’s done curing because it will look lighter in color and be dry. Once it’s ready…pop out of the silicone molds. Store all sidewalk chalk in an airtight container or zipper closure bag.

When children are using sidewalk chalk they need to be supervised by an adult. Ingestion can be very harmful, so please keep an eye on children who are using it.

Additional Tips: This can be a messy project. Wear an old t-shirt or craft apron. Clean up drips and spills immediately as you go. If you want them to dry faster…have a household fan blow air on them or take them outside to a safe location to dry out in the sunlight and warm air. Toss all disposeable products into a trash bag and dispose of quickly. Don’t pour any Plaster of Paris down your drains. If needed, take things outside and clean-up with a garden hose.

* This post contains affiliate links. If you make a purchase, we may or may not receive a small commission which helps to support this site. Thank you!

Dollar Tree Tumbling Tower Blocks Calendar Refrigerator Magnets

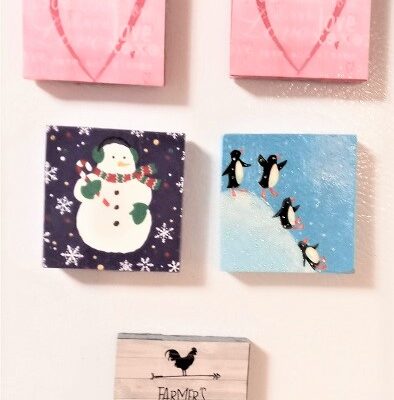
Dollar Tree Tumbling Tower Blocks Calendar Refrigerator Magnets

Dollar Tree is one of my favorite places to shop at when it comes to buying craft supplies on the cheap! I love to craft but I’m not willing to pay a small fortune for crafting supplies. Almost everything I used to make these refrigerator 

Hand Painted Strawberry Seashell Refrigerator Magnets

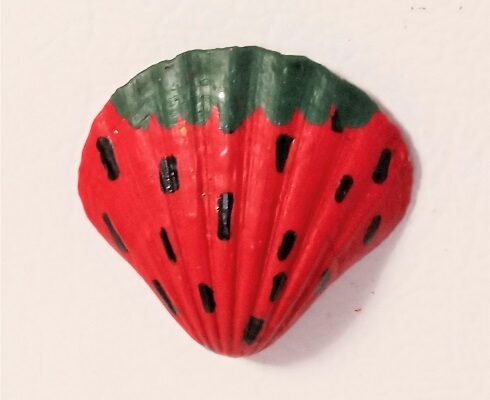
Hand Painted Strawberry Seashell Refrigerator Magnets

These strawberry refrigerator magnets are super cute and made with a scallop seashell. You’ll need just a few basic craft supplies to make them. A great project for older kids and adults. Once completed you can place them on a metal file cabinet, school or 

Glass Vase and Bowl Mushroom Garden Yard Art

Glass Vase and Bowl Mushroom Garden Yard Art

Glass Vase and Bowl Mushroom Garden Yard ArtLooking to add some color and design to your flower garden this year? If so, I’ve got the perfect FRUGAL garden yard art project for you! Today’s craft project was made with upcycling a glass vase and a glass bowl. Don’t have any? Head to Dollar Tree, they have plenty at $1.25 each. This toadstool toad stool mushroom took me a week to make. You need to allow for a lot of drying time when it comes to painting them.

In total I’m making 3 of them in varying heights and colors. When it comes to selecting the vases…go for chubbier and taller ones like what’s shown in my photo. Skinny bud vases don’t look as nice. When it comes to selecting the glass bowls I like ones that have a wavy or scalloped edge to them. Other than that…you need just a hanful of additional supplies to make them.

Glass Vase and Bowl Mushroom Garden Yard Art

Glass Flower Vase
Glass Bowl
Red and White Acrylic Craft Paint
Foam Brush and Paint Brush
Water Dish and Paper Towel
Modge Podge Clear Acrylic Sealer
Gorilla Glue
Sand or dirt

Paint the flower vase with 2-3 coats of white acrylic craft paint allowing for 30-45 minutes of drying time between coats. Paint the outside of the glass bowl with 2-3 coats of red acrylic craft paint allowing for 30-45 minutes of drying time between coats. The paint needs to be completely dry and no longer tacky. Next…add the white polka dots ontop of the red paint. I added them to the bottom and sides of the bowl and had to use 2 coats of white paint to get the coverage that I needed. Let thoroughly dry.

Fill the vase with sand or dirt. I personally used sand since I have a lot of sand around here. This will add weight to it. If you’re adding dirt it needs to be rock-free…just soft dirt. Leave a 1/2″ at the top free of dirt/sand…in other words, only fill it about 98% full…but make sure the sand and dirt is firmly packed in there.

Glass Vase and Bowl Mushroom Garden Yard Art

Use a generous amount of Gorilla Glue around the entire opening of the vase. Add the bowl onto the top and let dry for several hours or overnight. Don’t use hot glue as it’s not permanent! You want to use Gorilla Glue or E6000 Adhesive. I like using Gorilla Glue in a fine tip nozzle bottle…easy to get it all up onto the rim of the vase.

Once everything is dry take it outside and spray it with 2-3 coats of Modge Podge Clear Acrylic Spray Sealer allowing for 30 minutes of drying time between coats. If you don’t have the spray sealer you can brush on 2-3 coats of regular Modge Podge in a glossy finish. Let Dry.

Additional Tip: These are seasonal decorations. I wouldn’t let out year round if you live in cold areas of the country or stormy areas. Every year when the season is over clean them up with a little bit of soapy water, towel or air dry. Then spray them with another coat of clear acrylic spray sealer. Let dry. Then pack them away for the next season. Every year they need to be resprayed with sealer to keep them looking nice.

* This post contains affiliate links. If you make a purchase, we may or may not receive a small commission which helps to support this site. Thank you!
Shelly's Signature

Hand Painted Bumble Bee Seashell Refrigerator Magnets

Hand Painted Bumble Bee Seashell Refrigerator Magnets

This hand painted Bumble Bee Seashell Refrigerator Magnet is super easy to make! You’ll need acrylic craft paints and a few other supplies. You can whip up several of them in one weekend if you plan on gifting them or reselling at a craft fair. 

How to Make a Seashell Door Wreath for Summer Decorating

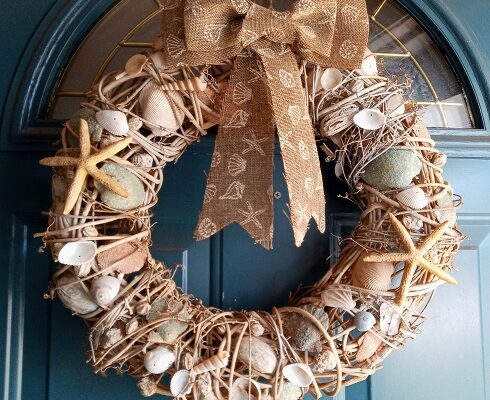
How to Make a Seashell Door Wreath for Summer Decorating

One of the easiest things you can do to decorate your home for the changing seasons it to change out your door wreaths. I personally decorate both my front and back doors as the seasons change. If I had to estimate, 80% of my door