Tag: craft projects

Decoupage Valentine’s Day Heart Seashell Decorations

Decoupage Valentine’s Day Heart Seashell Decorations

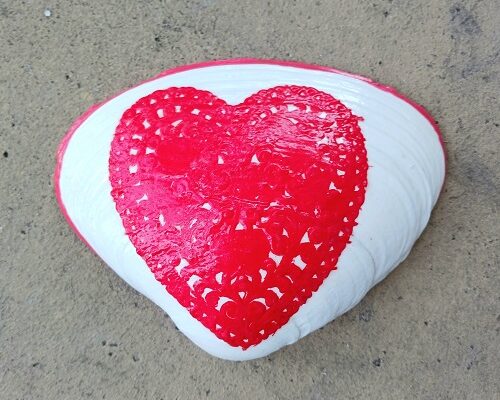
These adorable Decoupage Valentine’s Day Heart Seashell Decorations were made using large 5″ wide clam shells that we collected from the beach. We used red heart paper doilies that we decoupaged onto the shell using Mod Podge. Once completed they can be used inside or 

Valentine’s Day Painted Shells Kid’s Greeting Cards

Valentine’s Day Painted Shells Kid’s Greeting Cards

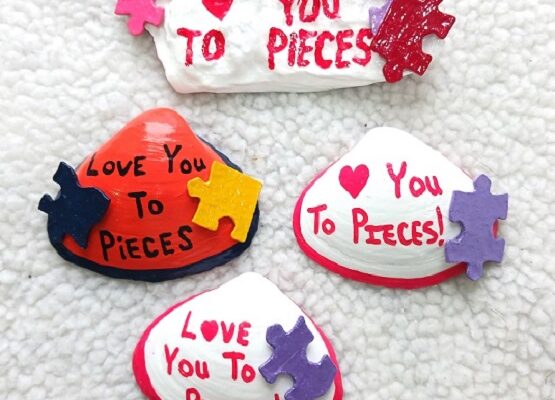
My granddaughter is a Girl Scout and every year they host a little Valentine’s Day party. The parents get together to provide the finger foods and drinks, provide a few fun games to play along with music for the girls to enjoy. Some of the 

Tumbling Tower Blocks Valentine’s Day Decor Accents

Tumbling Tower Blocks Valentine’s Day Decor Accents

Tumbling Tower Blocks Valentine's Day Decor AccentsTumbling Tower Blocks are all of the rage when it comes to crafting these days. The little wooden blocks are like Jenga game blocks but the ones that I use are smaller. You can purchase a box full of Tumbling Tower Blocks in the game and toys aisle at your local Dollar Tree store. If you can’t find them, you can find other versions available on Amason for an affordable price too.

* This post contains affiliate links.

I have a handmade 3-tier tray that I made last year that I like to decorate as the holidays and seasons change. You can learn how to make one by visiting my Dollar Tree Tiered Farmhouse Tray post that I published lst year. I needed some new little accents for my tray…but you can use these little Valentine’s Day decor accents on shelves, in shadow boxes, and other small spaces throughout your home.

Dollar Tree Shopping List: Tumbling Tower Blocks, Acrylic Craft Paints, Paint Brushes, Rub-on Words and Designs (sold in various designs in multi-packs in the craft aisle), Scissors, and 2 oz. Bottle of Modge Podge.

Tumbling Tower Blocks Valentine’s Day Decor Accents

1 box Tumbling Tower Wood Mini Game Blocks
Acrylic Craft Paints (desired colors)
Paint Brush, Water Dish, Paper Towels
Rub-on Words and Designs Decals
Gorilla Glue
Scissors
Modge Podge (matte or glossy finish)
Foam Brush

Tumbling Tower Blocks Valentine's Day Decor Accents

I recommend using some type of wood glue or Gorilla Glue when gluing the wood blocks together. You want to glue 2-3 blocks together to form a square or a rectangle to be used with your chosen design. I purchased a pack of rub-on decales that were in a solid white color. The pack contained little love quotes and valentine’s day designs. Cut out the ones you want to use so that you know if you need 2 or 3 blocks. As you see in my photo…some of mine are square shape while others are rectangular in shape.

Paint the block shapes with your desired colors. I worked with a themed color palette of pink, purple, red, and white to work with my Valentine’s Day theme. I painted all 4 sides with 2 coats of acrylic craft paint with 30 minutes of drying time between coats. Once dry, I used the stick that came in the rub-on decals package to put the decals onto each block. You can add little painted accents around the edges if desired (see the purple block for a polka dot edge). Let throughly dry.

Use a foam brush and coat all sides of the block with Modge Podge (I found 2 oz. sized bottles at Dollar Tree with a glossy finish), so that’s what I used. It seals in the paint and protects it…plus adds a nice shine! Let dry until clear and no longer tacky.

NOTE: The Happiness LOVE wood block was made using 1 jumbo block from set of game blocks that were purchased on Amazon. You can see the size difference before that one Jumbo block compared to putting together 2-3 mini blocks.

* This post contains affiliate links. If you make a purchase, we may or may not receive a small commission which helps to support this site. Thank you!

Shelly's Signature

Mermaid and Marine Life Rub-On Transfers for Crafts

Mermaid and Marine Life Rub-On Transfers for Crafts

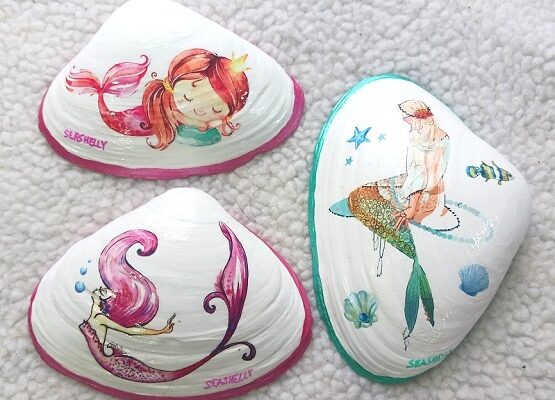
I enjoy painting and decorating seashells, especially clam shells that I pick up from the beach. I use them as decorating accents in our home, in our flower gardens, around the swimming pool, as Christmas tree ornaments, paper weights on a desk and I give 

Painted Snowman Large Clam Shell Seashell Designs

Painted Snowman Large Clam Shell Seashell Designs

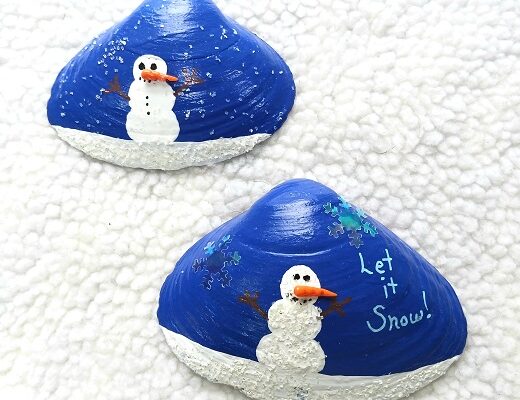
During the holiday and winter season I like to decorate my home with snowmen. I think they’re cute and sweet! They can be put out in early December and left out on display until late February. At least that’s how I do it up here 

Be My Valentine Painted Clam Shell Greeting Card Design

Be My Valentine Painted Clam Shell Greeting Card Design

Be My Valentine Painted Clam Shell Greeting Card DesignValentine’s Day is coming up and this year I decided to do something unique for my Valentine’s Day cards. This year I painted Clam Shells that I collected from the beach and decorated them with fun designs. A few days ago I posted my Valentine’s Day Gnome Designs and today I’m posting this one. I’ll be giving it to my granddaughter. Super easy to make!

* Post contains affiliate links.

You’ll need a 3″ to 4″ wide clam shell. Wash it with soapy water to remove sand and debris. Rinse with clean water and then air dry for 1-2 days. It needs to be completely dry.

Base coat the shell with 2 coats of light pink acrylic craft paint with 30 minutes of drying time between coats. I painted both the front and back sides with the light pink color.

Using a pencil I lightly drew on the design. Very simple heart shape and my version of a “stick figure” little girl. Using BETEM Acrylic Paint Markers…I colored in the design. Those paint markers are fabulous! No priming needed, no foul odors, no drips, etc. Each marker has dual tips…a fine tip for outlining and adding words along with a medium tip for coloring in the larger areas. Highly recommend them!

Once the design work is dry on the inside of the seashell flip it over. Use a black paint marker to add the additional wordage that you like. I added Love Nanny and the year 2024 on the back. Let dry. Once the paint is dry you need to seal the painted design by brushing on 2 coats of Mod Podge Clear Acrylic Sealer. I left 30 minutes of drying time between each coat. Seal both sides with the Mod Podge and let dry overnight.

* This post contains affiliate links. If you make a purchase, we may or may not receive a small commission which helps to support this site. Thank you!
Shelly's Signature

Hand Painted Gnome Valentine’s Day Clam Shell Seashell Designs

Hand Painted Gnome Valentine’s Day Clam Shell Seashell Designs

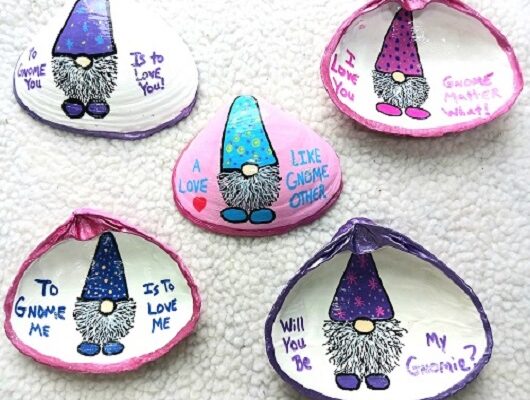
Looking for a unique Valentine’s Day decorating? How about a unique handmade Valentine’s Day seashell card! Gnomes have been one of the hottest decorating crazes the past few years and we decided to make them our theme for Valentine’s Day 2024. While the design make 

Winter Mittens Painted Seashells with Glitter Accents

Winter Mittens Painted Seashells with Glitter Accents

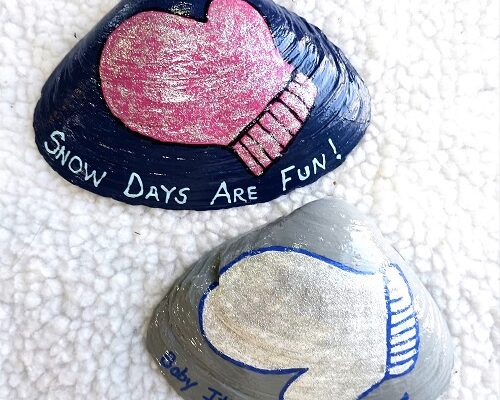
These winter mittens painted clam shells are really fun to make! You don’t need to be a professional artist or crafter to make them. You can paint the mitten design onto 4″ wide clam shells, smooth river rocks, wood or tiles. The design was free-handed,