Tag: craft projects

Whale, Fish and Shark Painted Seashell Designs

Whale, Fish and Shark Painted Seashell Designs

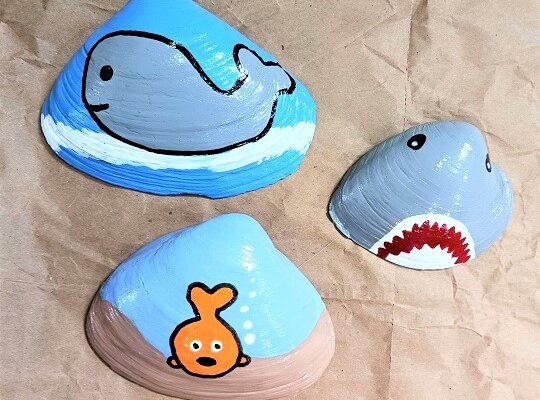
My 14 year old granddaughter was over last weekend and painted these 3 beautifull clam shells.  You don’t need to be artistic or have any painting talent to make them. Perfect and easy designs for beginners! All designs were free-handed (no template used) and then 

Decoupage Sea Animals Large Clam Seashell Designs

Decoupage Sea Animals Large Clam Seashell Designs

Painting and crafting with large clam shells is a lot of fun! All of the designs I’m featuring today can be made by any beginner. You need some acrylic craft paint, painting supplies, sealer, large clam shells and a few other supplies. They can be 

Hand Painted Kitty Cat Seashell Clam Shell Designs

Hand Painted Kitty Cat Seashell Clam Shell Designs

Hand Painted Kitty Cat Seashell Clam Shell DesignsThese hand painted kitty cat seashell designs are easy to make! You don’t need to be a professional artist or crafter to make them. The designs were painted on small 2 to 2 1/2″ wide clam shells. To keep things simple we used Acrylic Paint Pen Markers which give you excellent control when adding facial features, outlining, etc. You can use traditional acrylic craft paints and a brush if you choose to do so.

* This post contains affiliate links.

The seashells need to be washed in warm, soapy water using Dawn Liquid Dish Soap. Why Dawn? It does the best job at removing sand, debris and fishy odors. Rinse with clean water and let them air dry. They need to be completely dry before painting on them.

We base coated each shell with 2 coats of paint. One in a light beige color and one in a blue color. Let dry.

Use a pencil to free hand on the kitty cat design using our photo as a guide. It doesn’t have to be perfect! Matter of fact, I like them better with small imperfections. Use Acrylic Paint Pen Markers with medium tip and fine tips to paint the kitty cat. We did one in a light brown and one in black. Once they dry you go back and add the facial features.

Once the shells are done you need to seal-in the paint. We brushed on 2 coats of clear Modge Podge with a Glossy Finish. (allow 30 minutes of drying time between coats). This protects the painted finish and gives the seashells a nice glossy finish.

* This post contains affiliate links. If you make a purchase, we may or may not receive a small commission which helps to support this site. Thank you!

Shelly's Signature

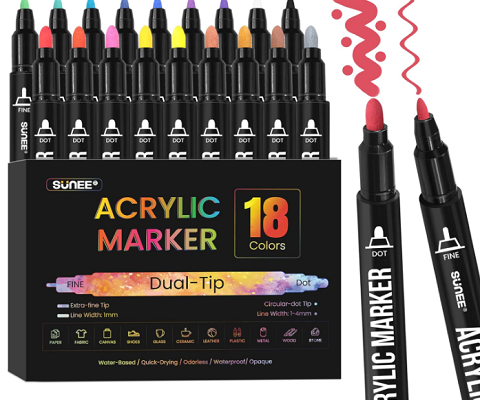
Sunee Acrylic Dual-Tip Paint Markers for Art and Craft Projects

Sunee Acrylic Dual-Tip Paint Markers for Art and Craft Projects

I do a lot of painting on ceramic, glass, tiles, seashells and smooth river rocks. I share hundreds of arts and crafts projects on the TCC blog every year. One thing that I require in the projects that I share are 1. affordability 2. Easy 

Tie Dye Painted Scallop Seashell Designs

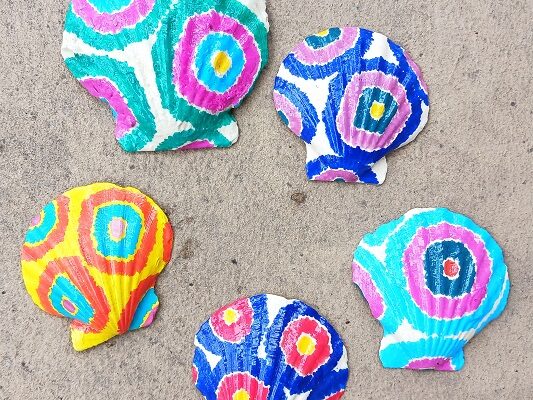
Tie Dye Painted Scallop Seashell Designs

Tie Dye has been around for decades. It was one of the hottest decorating and apparel trends during the 1970’s and early 1980’s. It’s still popular in some circles today. Tie Dye can be done in any color combination that you find pleasing to the 

Hand Painted Tropical Fish Clam and Oyster Shell Seashells

Hand Painted Tropical Fish Clam and Oyster Shell Seashells

Hand Painted Tropical Fish Clam and Oyster Shell SeashellsThese adorable tropical fish designs were hand painted onto smaller sized clam shells, oyster shells, mussels and even a broken piece of a whelk shell. Painting on seashells is a fun hobby that I really enjoy. I normally paint on large clam shells, so this project is a great way to use up all of those smaller seashells that I had lying around. They’re bright and colorful…fun to make!

** This post contains affilate links **

You’ll need a variety of smaller sized seashells (scallop shells, oysters, mussels, clams, etc). Wash them in warm soapy water using Dawn Liquid Dish Soap. Rinse with clean water and then air dry.

Next is the fun part…decorating them with craft paint! We used a combination of acrylic craft paint with a paint brush and BETEM Acrylic Paint Markers. For the larger areas we used the craft paint and brush…the design work was done with paint markers.

You can paint them any color combination that you like. Mix and match. Bright colors and Neons look great when paired with 1-2 darker shades. You don’t need to get fancy with them. Once you’re done decorating them let them dry for a few hours.

To seal the paint you need to brush 1-2 coats of Clear Mod Podge Sealer across the seashells to seal-in the paint. I like to use a foam brush to apply it. Let dry overnight.

* This post contains affiliate links. If you make a purchase, we may or may not receive a small commission which helps to support this site. Thank you!
Shelly's Signature

Adopt Don’t Shop Painted Seashells for Pet Lovers

Adopt Don’t Shop Painted Seashells for Pet Lovers

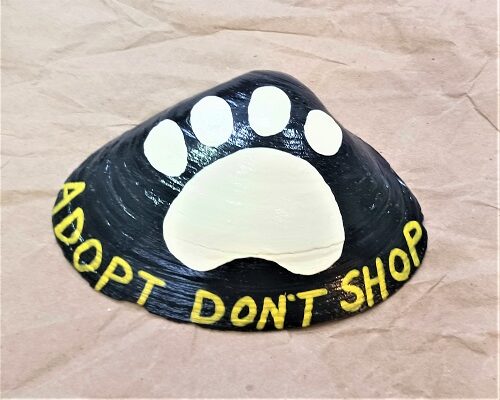
We love animals…all kinds of different animals. We’re also big believers that people need to ADOPT more pets insteady of buying them! There are millions of dogs, cats, hamsters, birds, etc. living in animal shelters just waiting to be adopted. Everyone needs to be a 

How to Turn Jigsaw Puzzles into Beautiful Wall Art

How to Turn Jigsaw Puzzles into Beautiful Wall Art

Jigsaw puzzles can be beautiful works of art throughout your home when they’re preserved. When turning a jigsaw puzzle into a piece of wall art you want to look for over-sized or poster-sized puzzles. Look for colorful designs with clear images. The design should work