Tag: craft projects

Decoupage Safari Zoo Animals Seashell Birthday Party Favors

Decoupage Safari Zoo Animals Seashell Birthday Party Favors

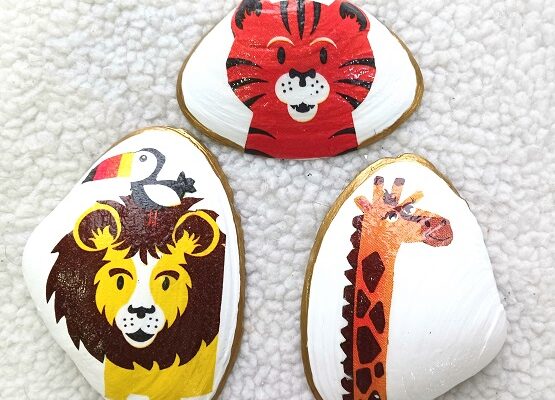
Are you hosting a child’s birthday party in a Safari Zoo Animals theme? If so, check out these easy-to-make and unique birthday party favors! You can make a dozen or so in just one weekend! Adorable party decorations that the kids can take home after 

Tropical Beach Designs Painted on Razor Clam Shells

Tropical Beach Designs Painted on Razor Clam Shells

Over the years we’ve shared dozens of different painted seashell designs on the TCC blog. The majority of those designs were painted on large Clam Shells. Today, we’re doing something a little bit different. The tropical beach designs being featured were painted on Razor Clam 

How to Apply Rub-On Decals to Painted Seashells

How to Apply Rub-On Decals to Painted Seashells

How to Apply Rub-On Decals to Painted SeashellsI’ve been painting seashells and using them in my various craft projects for the past 20+ years. Working with seashells can be challenging at times. Over the years I’ve published hundreds of different painted clam shell designs on the Two Classy Chics blog. A lot of people have told me that they can’t paint worth a lick…well, I can solve that problem for you!

* Post may contain affiliate links.

Those of you who don’t have an artistic bone in your body you can use rub-on decals to decorate the painted seashells. You can pick up rub-on decals in various craft stores, Dollar Tree, Amazon, etc. Look for packs that are inexpensive and/or on clearance.

Here’s a few tips for working with the decals:

1. Paint the seashell first. Let it dry thoroughly. I recommend at least 12 hours or overnight so that the paint “cures”.

2. Cut out the decal that you plan on transferring to make the application process easier. Smaller decals work better than larger ones since clam shells aren’t a flat surface.

3. When rubbing don’t rub too hard! You don’t want to rub off the paint that is underneath. Use the included wooden stick and gently rub until it has transferred.

4. Let the clam shells sit for 8-12 hours or overnight. Again, let everything “cure” and set up.

5. Seal the decal and paint by spraying a light coat of a clear acrylic sealer on top. Another option is to use a foam brush and apply a thin layer of Modge Podge over the top. Let dry for 12 hours to let everything cure.

All three of the painted seashells featured in my top photograph feature rub-on transfers that I applied in the manner that I just described. When looking closely at the shells you would never guess that I used rub-ons…they look just like a genuine hand-painted seashell. I made those 3 designs for a friend of mine who’s doing her Christmas decorating in pastel colors this year. Fun and unique!

* This post contains affiliate links. If you make a purchase, we may or may not receive a small commission which helps to support this site. Thank you!

Shelly's Signature

Hand Painted Large Seashells with Lighthouse Designs

Hand Painted Large Seashells with Lighthouse Designs

These lighthouse design large clam shells are easy to make! You don’t need to be a professional artist and no template or pattern is needed. The design is made using simple shapes with a combination of acrylic craft paint and paint pen markers. One design 

Hand Painted Solar System and Rockets Seashells for Kids

Hand Painted Solar System and Rockets Seashells for Kids

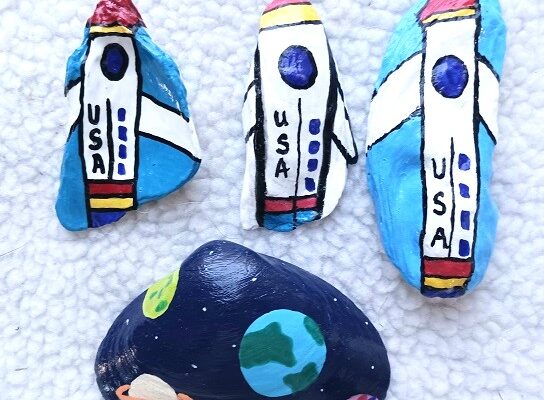
My grandson loves anything that has to do with the solar system, rockets, outerspace, etc. He’s just amazed by the fact that there are things thousands of miles up into the sky that he can’t visible see. While he enjoys cars and trucks like most 

Postive Affirmations Painted Seashells

Postive Affirmations Painted Seashells

Postive Affirmations Painted SeashellsHave you heard of painted kindness rocks and seashells? If not…there are artists who paint various cute designs on rocks and seashells. They then give them out to family, friends, strangers and hide them throughout their communities for others to find. I’ve been painting rocks and seashells for 20+ years, before “it” was even a popular thing to do!

** Post contains affiliate links **

The painted seashells that are featured today all contain positive quotes, sayings and affirmations. Two of the designs were painted onto oyster shells, one on a razor clam shell and one on a broken chunk of a large whelk shell. You need to wash all seashells and rocks before painting on them. Air dry.

Get creative with your background colors. I swirled together various acrylic craft paint colors to get interesting backgrounds (except for the gold metallic one). Easy to do with a paint brush and 2-3 complimentary acrylic paint colors. Let dry until the paint is no longer tacky.

You can look up on the internet for positive affirmations or specific themed quotes. You want to keep them on the smaller size if you’re using small shells but can do longer quotes and sayings if you’re using large shells. Keep that in mind when doing your design planning.

Writing words on seashells and rocks is a LOT easier when you use BETEM Paint Pen Markers. They have dual tips, a medium tip on one side and a fine tip on the other side. No priming is needed, no leaks or drips. No foul odors either! They contain acrylic paint in beautiful colors. I used the fine tip to write out all of the words that you see.

Once the words are dry you need to seal all of the paint by brushing on with a foam brush 2 coats of Clear Mod Podge Sealer. I used one with a glossy finish. Allow 30-40 minutes of drying time between coats. This will protect the paint and allow you to display them inside or outside of the home.

If you want to add jeweled accents (like the ones you see in the photo) I recommend that you use Gorilla Glue. Don’t use school glue, regular craft glue or hot glue. Those jewels will eventually fall off. Use a more permanent glue like Gorilla Glue or E6000. Let dry overnight.

* This post contains affiliate links. If you make a purchase, we may or may not receive a small commission which helps to support this site. Thank you!

Shelly's Signature

Decoupage and Painted Seashell Clam Shells Garden Yard Art

Decoupage and Painted Seashell Clam Shells Garden Yard Art

Looking to add some color and flair to your yard this year? Painted seashells are a great way to add color to those flower beds, garden areas, front porch, back deck, around the swimming pool and so forth. They’re very easy-to-make and ONLY cost less 

Hand Painted Gnomes Clam Seashells

Hand Painted Gnomes Clam Seashells

Gnomes are one of the hottest home and garden decorating trends. When I’m out and about I see them everywhere! Dinnerware, partyware, fashion apparel, linens, figurines, garden decor, holiday ornaments, etc. the Gnomes are everywhere! I admit, they’re darn cute! ** Post Contains Affiliate Links