Tag: craft projects

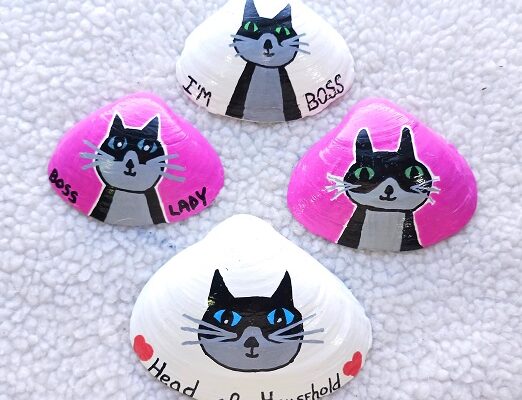
Cute Funny Painted Kitty Cat Clam Shell Seashell Designs

Cute Funny Painted Kitty Cat Clam Shell Seashell Designs

These cute and funny kitty cat seashells are really easy to make! You’ll only need a few basic supplies along with 3″ to 5″ wide clam shells collected from the beach. You don’t need a pattern or template and no professional artistic skills are needed. 

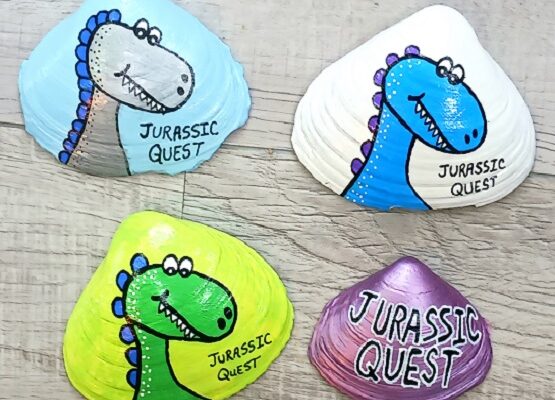
Jurassic Quest Craft Project – Dinosaur Themed Painted Clam Shells

Jurassic Quest Craft Project – Dinosaur Themed Painted Clam Shells

Jurassic Quest is the largest and most realistic dinosaur experience in North America and part of the Family Quest Entertainment portfolio. Since 2013, Jurassic Quest has entertained more than 10 million fans in more than 250 cities across the U.S. and Canada with an up 

Painted Rubber Duckie, Fish and Flamingo Clam Seashells Party Favors

Painted Rubber Duckie, Fish and Flamingo Clam Seashells Party Favors

Painted Rubber Duckie, Fish and Flamingo Clam Seashells Party FavorsHave you heard of the Cruising Ducks? They’re ducks that passengers hide while on the cruise ship for others to find. This craft project combines that along with painted seashells to make these adorable summer themed party favors. I think they’re adorable and perfect for a birthday party or backyard barbecue. Heck…pool party too!

** Post May Contain Affiliate Links.

You’ll need the following supplies to make them.

Clam Shells 4″ to 5″ wide
Acrylic Craft Paints
Paint Brush, Water Dish, Paper Towels
Rubber Duckies, Fish, Flamingos (Your Choice) 2″ in Size
Mod Podge Clear Glossy Sealer
Foam Brush
Fine Tip Acrylic Paint Markers
Gorilla Glue or E6000 Adhesive

Painted Rubber Duckie, Fish and Flamingo Clam Seashells Party Favors

Wash the clam shells in warm soapy water using Dawn Liquid Dish Soap. It’s the best for removing sand, debris and fishy odors. Rinse with clean water. Air dry overnight.

You can paint any design on the clam shell that you would like. You’ll see various ones in my photographs. You can do a solid color or paint a fancy beach scene. That’s entirely up to you and your skill level. Once you’ve designed the clam shell and painted it you need to seal the paint by brushing on 1-2 light coats of Clear Mod Podge Glossy Sealer. Let it fully dry. It will dry clear in 30-90 minutes.

Painted Rubber Duckie, Fish and Flamingo Clam Seashells Party Favors

If you want to sprinkle on some fine gold metallic glitter (like the ones you see on my beach scene to represent sand) you need to sprinkle that on while the Mod Podge is still very wet. I don’t recommend going over-board with the glitter. Make sure it’s FINE and not chunky-style or coarse glitter.

The rubber duckies, fish and flamingos that I used were 2″ in size. I purchased them from Amazon. You can get various colors and styles! To attach them to the clam shell you need to use Gorilla Glue or E6000 Adhesive. Hot Glue and regular craft glue will NOT hold. I’ve used both…but prefer Gorilla Glue over the E6000. Let them dry overnight. It takes a few hours for them to firmly set into place.

* This post contains affiliate links. If you make a purchase, we may or may not receive a small commission which helps to support this site. Thank you!

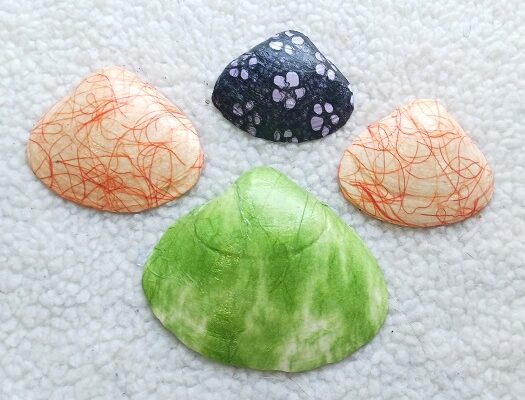
How to Use Natural Fiber Mulberry Paper to Decoupage Seashells

How to Use Natural Fiber Mulberry Paper to Decoupage Seashells

Love decorating clam shells and seashells? If so, check out these pretty designs that we made using handmade Mulberry Paper which was then decoupaged onto the seashells. The mulberry paper is semi-sheer, pliable and easy to work with. It doesn’t wrinkle like paper napkins, so 

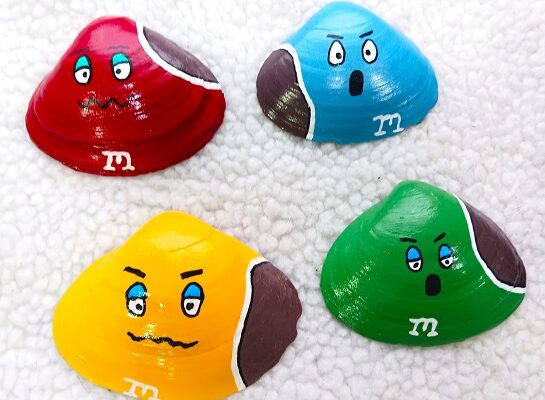
Hand Painted M & M Candy Clam Shells Seashells

Hand Painted M & M Candy Clam Shells Seashells

These hand painted M & M Candy themed seashells are super cute and easy-to-make. We painted  dozen of them to use as little party favors at my nephews birthday party. You’ll need 2 1/2″ to 3 1/2″ wide clam shells collected from the beach, acrylic 

Painting Kindness Rocks – 5 Easy Designs

Painting Kindness Rocks – 5 Easy Designs

Painting Kindness Rocks - 5 Easy DesignsOur family enjoys getting together to paint rocks and seashells for the Kindness Rocks Project. You can check out their official website to learn all about them. It’s a great way to spend time together as a family working on an arts and craft project. Plus, it’s an inexpensive one to do! You can find stones and rocks all across the world for FREE to paint!

** Post contains affiliate links.

You’ll need just a handful of supplies to get started.

Rocks and Stones (I recommend smooth rocks like river stones)
Acrylic Paint Markers
Acrylic Paint (various colors) and Paint Brushes
Clear Acrylic Sealer (see finishing notes located below)

Prep Work: Wash all of your stones in warm, soapy water. Rinse with clean water and air dry overnight. If needed, you can use an old toothbrush or a Mr. Clean Magic Eraser to losen dirt and debris. Make sure they’re completely dry before you paint them.

If you look at my photograph you’ll see that most the designs were painted onto smooth river stones. One (the beach scene) was painted on a flat rock. I personally like painting on stones and rocks that are 3″ to 5″ in size. You don’t want heavy & large sized ones which are hard to tote around.

Painting Kindness Rocks - 5 Easy Designs

Beach Design: This was painted on a rock using acrylic craft paint and a paint brush to make the sky, ocean water and beach sand. Let that dry. Do the small details like the palm tree, sand buck, shovel, the sun, seagulls, etc. using Acrylic Paint Markers. I painted all sides of the rock and then left it fully dry overnight.

Black Kitty Cat: This is an easy one! Paint an oval-shaped smooth stone with black acrylic paint (all sides) and let dry. Once it’s dry use fine-tip Acrylic Paint Markers to do the facial features and tail. Let dry overnight.

Tribal Pattern Designs: All 3 of these were done using smooth stones in various shapes and sizes. I like to base coat them with white acrylic craft paint. You may need 2 coats of paint. Let dry. I base coat because it helps the lighter colors to be more vivid when painting over-the-top. To do the design work I used medium tip and fine tip Acrylic Paint Markers. I took the design around the entire stone…so these did take me a little longer to make (drying time before flipping the stone over to paint the other side). Let dry overnight.

Finishing Up: You need to seal all of the paint by one of two ways: 1. Spray on a Clear Acrylic Sealer (in a spray cam) or  2. Brush-on Clear Glossy Mod Podge Sealer with a brush. I personally LIKE using the Clear Glossy Mod Podge Sealer and I brush on 2 coats allowing for 35-45 minutes of drying time between coats. This protects the painted finish and allows you to place them outside.

We like to pay-it-forward by leaving painted kindnress rocks every where we go! We leave them outside of retail stores, in neighborhood parks, at amusement parks, the community center, on the boardwalk, street fairs, etc. I don’t recommend leaving them inside retail stores!!! I know some people do but I don’t. I don’t want anyone picked up by security thinking that the person is shoplifting by picking up one of our rocks/stones.

* This post contains affiliate links. If you make a purchase, we may or may not receive a small commission which helps to support this site. Thank you!

Shelly's Signature

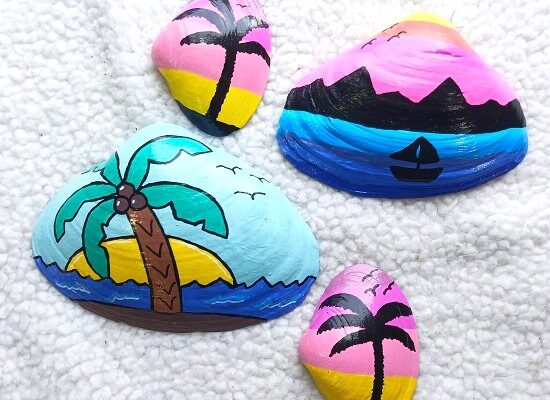
Hand Painted Tropical Palm Tree Clam Shells Seashells Designs

Hand Painted Tropical Palm Tree Clam Shells Seashells Designs

Love the beach and coastal way of life? Hosting a party in a fun tropical theme? If so, you’ll love these easy-to-make painted tropical palm tree clam shells. They can be used as table-top decorations, as party favors, place settings or display them outside when 

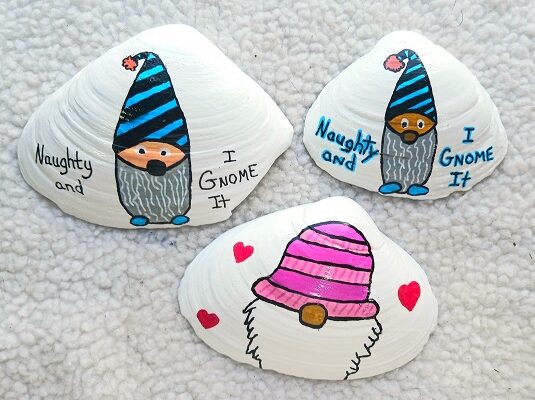
Easy to Make Painted Gnome Clam Shells Seashells

Easy to Make Painted Gnome Clam Shells Seashells

Gnomes are one of the hottest decorating accents in home decor. Every time I walk into a department store or discount store I see Gnomes everywhere! I see them on throw pillows, wall art, kitchen towels, bath linens, figural candles, painted onto the side of