Tag: craft projects

Hand Painted Spring Designs Clam Shells and Seashells

Hand Painted Spring Designs Clam Shells and Seashells

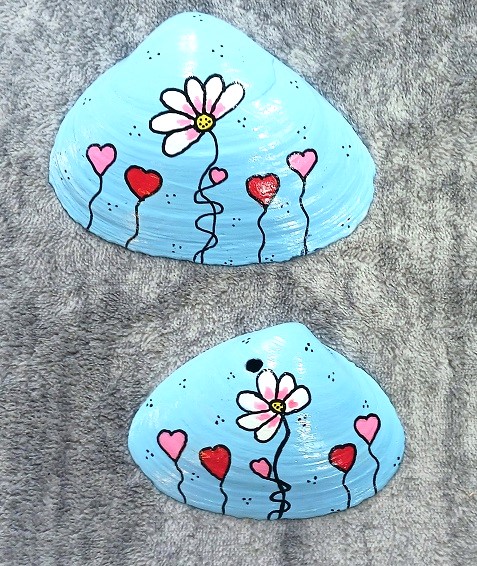
I love decorating my flower beds, front porch, back deck and around our swimming pool with seasonal yard art. It’s a great way to add flair and a pop of color to those areas. Last month I made several hand painted clam shells with a 

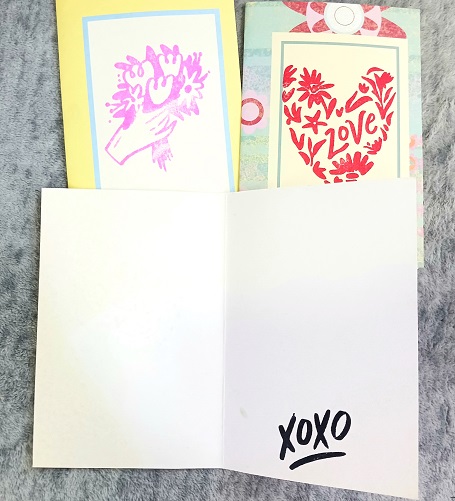
Make Easy Handmade Greeting Cards Using COLOP’S Stamping Products

Make Easy Handmade Greeting Cards Using COLOP’S Stamping Products

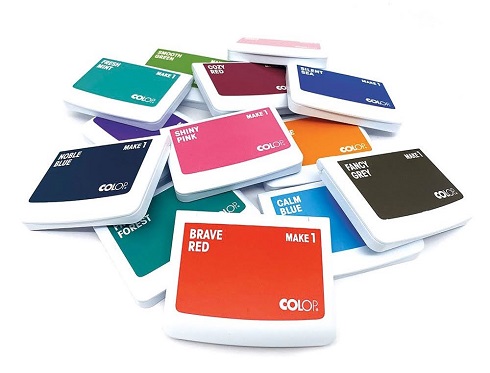
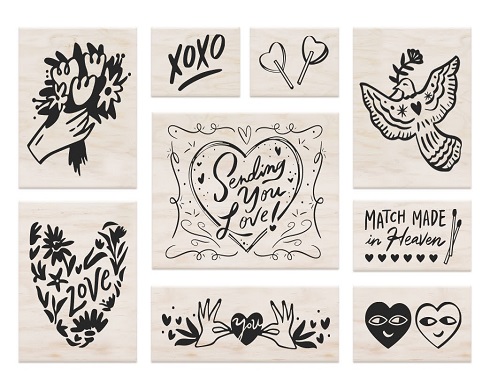
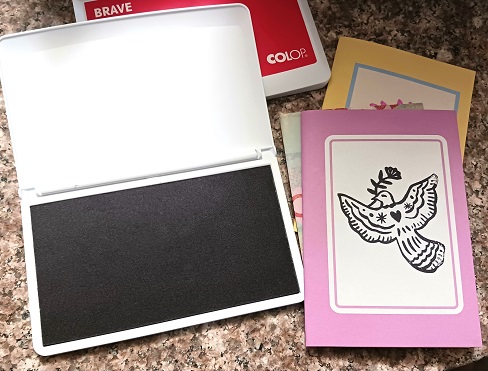
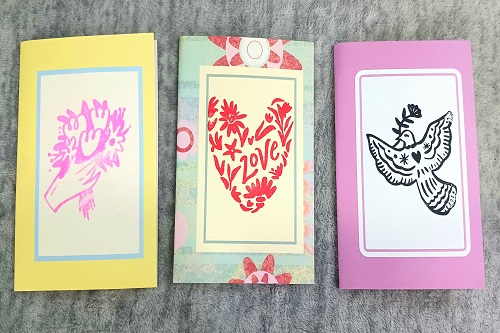
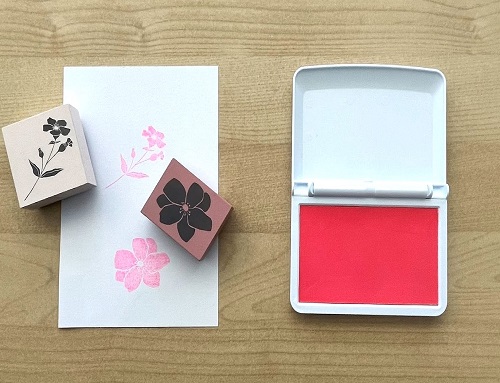
For arts and crafts lovers, COLOP’s charming stamps are multifaceted tools that leave an indelible mark on every project. From handmade cards to personalized tags and journals, these stamps make it easy to turn creative ideas into lasting pieces—perfect for gifting or keeping just for you. 

Hand Painted Faux Quilted Garden Yard Art Rocks

Hand Painted Faux Quilted Garden Yard Art Rocks

Hand Painted Faux Quilted Garden Yard Art RocksThe temperatures are starting to warm up and I’m looking forward to getting back outside into my gardens. I have 4 flower gardens and 2 vegetable gardens that I tend to throughout the growing season. Gardening is a great way to get outside for some exercise and fresh air. Plus, it’s good for your mentally too!

** Post contains affiliate links.

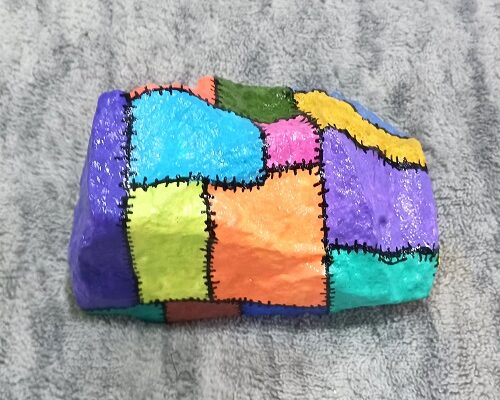
I like to decorate my outside spaces with a variety of different things with the majority of them things that I personally make. You’ll find handmade windchimes, painted seashells, solar lights, colorful painted rocks and all sorts of things that add color and charm. Today’s craft project is an easy-to-make hand painted faux quilted rock! Gotta love painting on something that you can get for FREE.

The rock that I used was one that I collected from our backyard. It measures about 6″ long, so it’s a nice size. You want to wash the rock in warm soapy water using Dawn Liquid Dish Soap. I recommend Dawn because it does a great job at removing dirty and debris. Rinse with clean water and let it dry overnight.

You don’t need a pattern or template for this project! Spray paint the rock with 1-2 light coats of white spray paint. You can brush-on 1-2 light coats of white craft paint if you prefer that. You need to cover the entire rock with the white paint. This will help the colors to really “POP” once you apply them on top. Let dry.

Hand Painted Faux Quilted Garden Yard Art Rocks

Use a pencil and draw quilt blocks onto the rock. You want squares and rectangles in a variety of different sizes. Triangles will work too. To keep the design work simple I used a pack of BETEM Acrylic Paint Markers to color in all of the squares. I purchased them from Amazon. They feature dual-ended tips (a medium tip and a fine tip), require no priming, no dripping messes, no clogged tips and no foul paint odors! Plus, they dry quickly! Once the blocks are dry you want to outline them with the fine-tip black acrylic paint marker. After outlining, go back over those lines to add your tiny stitches, like what’s shown in the photograph. Let dry.

Seal the design by brushing on 2 light coats of Clear Mod Podge Sealer with a Glossy Finish, allowing for 45 minutes of drying time between coats. You can use a Clear Acrylic Spray Sealer if you prefer that. Just make sure the paint is thoroughly dry before sealing. 

Once sealed you can display your colorful works of art outside on your front porch, back deck, around the swimming pool, in a flower garden or wherever you need to add color and design. A fun and inexpensive art project that you can make!

If you enjoy painting on seashells or crafting with seashells…you’ll find over 150+ seashell craft projects right here on the Two Classy Chics blog! We will be sharing more seashell craft projects in the future too!

* This post contains affiliate links. If you make a purchase, we may or may not receive a small commission which helps to support this site. Thank you!
Hand Painted Heart Love Kindness Rocks and Seashells

Hand Painted Heart Love Kindness Rocks and Seashells

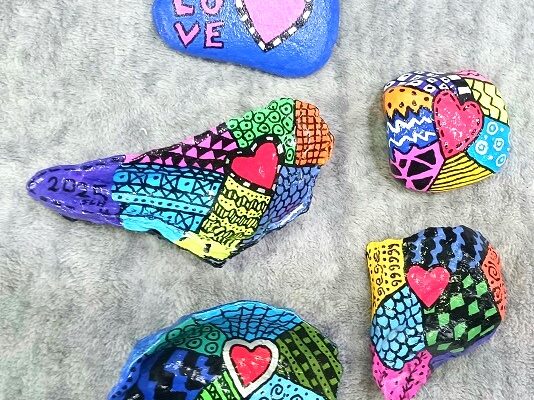
I’ve been painting kindness rocks and seashells for over 20+ years. It’s an affordable hobby that allows me to be creative and helps to reduce stress in my life. Let’s face it…we all need less stress in our lives! Today I’m going to share with 

Hand Painted Cat Pet Mom Clam Shells Seashells

Hand Painted Cat Pet Mom Clam Shells Seashells

We love cats and have adopted several over the years. Our current boy Romeo is the sweetest kitty that we’ve ever owned! He’s 4 1/2 years old and extremely loveable! He’s a valuable member of our family and spoiled rotten as he should be! ** 

Easy Hand Painted Beach Ocean Themed Seashells

Easy Hand Painted Beach Ocean Themed Seashells

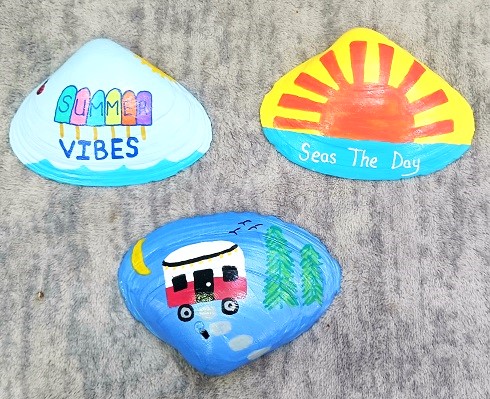
Easy Hand Painted Beach Ocean Themed SeashellsSummer is just around the corner and I’m looking forward to spending more time outdoors. During the summer we enjoy hanging in the pool, taking beach walks and collecting seashells. I love everything that has to do with the beach and summertime living.

** Post contains affiliate links.

These hand painted seashells are super easy to make! You’ll want to collect 4″ to 5″ wide clam shells from the beach. Wash them with Dawn Liquid Dish Soap to remove the sand, debris and fishy odors. Rinse with clean water and air dry.

You can paint the background any color that you would like. I like the seaglass color and went with that. I applied 2 coats of acrylic craft paint onto the outside of each clam shell. You’ll need 30-45 minutes of drying time between coats. 

To keep the decorating easy…I purchased a pack of rub-on ocean and beach themed decals from Amazon. You simply cut out the image and use a popsicle stick to rub the image onto the seashell. Easy!!! You can apply one, two or multiple images to make a complete scene. I used rub-on transfers on most of the shells that you see in the photographs.

Easy Hand Painted Beach Ocean Themed Seashells

On one shell I added a hand-painted wood turtle. I had purchased a pack of 3 unfinished mini wood turtles from our local Dollar Tree. Yes, they sell craft supplies too! I painted it and then used Gorilla Glue to adhere it to the shell. You don’t want to use hot glue because it will eventually fall off. Please…use Gorilla Glue or E6000 when adhering items to the seashells.

After you’ve done all of the design work you need to protect it. I brushed on 2 light coats of Clear Mod Podge Sealer in a glossy finish. Allow for 30-45 minutes of drying time between coats. I applied it to both sides which will help to protect the paint, decals, etc. Plus, gives each one a nice glossy finish.

If you enjoy painting on seashells or crafting with seashells…you’ll find over 150+ seashell craft projects right here on the Two Classy Chics blog! We will be sharing more seashell craft projects in the future too!

* This post contains affiliate links. If you make a purchase, we may or may not receive a small commission which helps to support this site. Thank you!
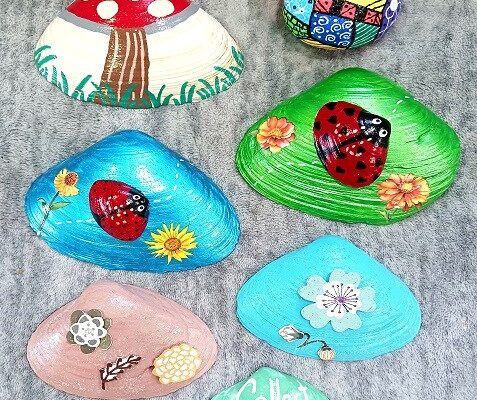
Lady Bug Painted Clam Shells Seashells Garden Art for Spring

Lady Bug Painted Clam Shells Seashells Garden Art for Spring

Looking to add a pop of color to your garden this year? If so…check out these beautiful lady bag painted clam shells aka seashells that are easy to make! You’ll need to collect small and medium sized clam shells from the beach. You’ll need a 

Turn Broken Seashells into Beautiful Painted Works of Art

Turn Broken Seashells into Beautiful Painted Works of Art

When walking the beach I see a lot of people just walk by the broken seashells not giving them a second look. Personally, I see beauty in broken shells and love to collect them for my various art and craft projects. The broken shells you