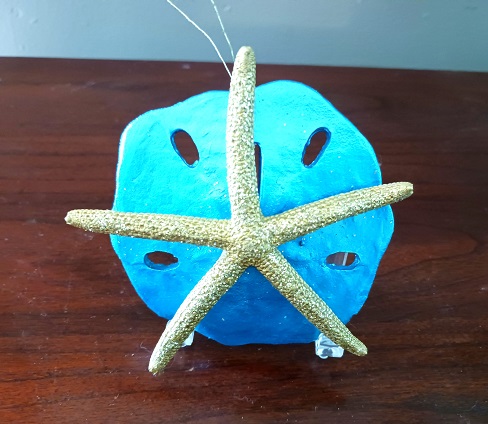
Every year I put up a 7 foot tall Christmas tree that is 100% decorated with coastal and beach Christmas ornaments. My tree topper is an Angel (beach theme) and my tree collar is one that my husband made for me. Guests who visit our home during the holiday season pay me a ton of compliments on our … [Read more...] about Hand Painted Sand Dollar and Starfish Christmas Tree Ornaments
Christmas
Christmas and Holiday Lights in Marysville
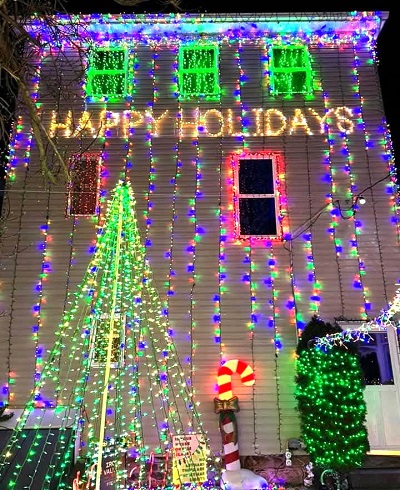
Christmas is such a wonderful time of the year for families to get together. Our family enjoys loading up our cars with the kids and heading out to see the Christmas light displays in our area. These light displays can be small ones in various neighborhoods or larger ones that you can walk or … [Read more...] about Christmas and Holiday Lights in Marysville
12 Classy Ways to Decorate Your Home This Christmas
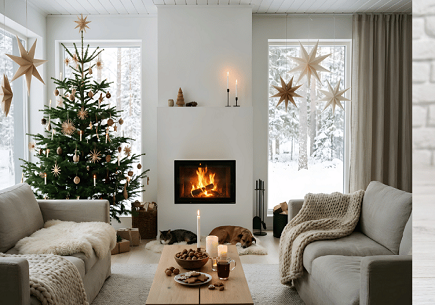
Christmas is that magical time of the year when we come together to celebrate, reflect, and, of course, decorate! While many may stick to traditional red and green, why not break the mold and opt for something a bit more elegant and refined this holiday season? It doesn’t matter if you’re hosting a … [Read more...] about 12 Classy Ways to Decorate Your Home This Christmas
ZenTangle Designs Painted Christmas Themed Seashells

New to Zentangle art? If so, these painted Christmas themed seashells would be a great project for beginners...like me! For this art and crafts project I used 4" and 5" clam shells seashells that I collected from the beach. You'll then need a few basic painting supplies to make them. You can make … [Read more...] about ZenTangle Designs Painted Christmas Themed Seashells
A Paw Patrol Christmas Debuts November 28th
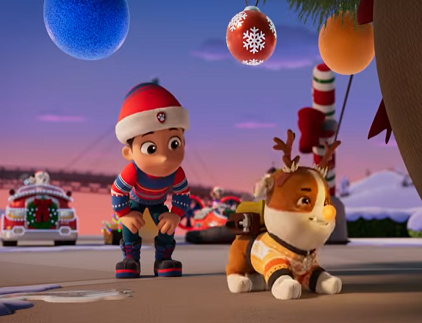
Get ready for a holly jolly rescue, because the PAW Patrol is here to save the holiday season! In celebration of the brand-new animated special, A PAW Patrol Christmas – premiering Friday, November 28th, 2025 at 8PM ET/PT on the CBS Television Network and streaming live and on demand on … [Read more...] about A Paw Patrol Christmas Debuts November 28th
Marchpower Indoor Outdoor Cluster Christmas Lights String
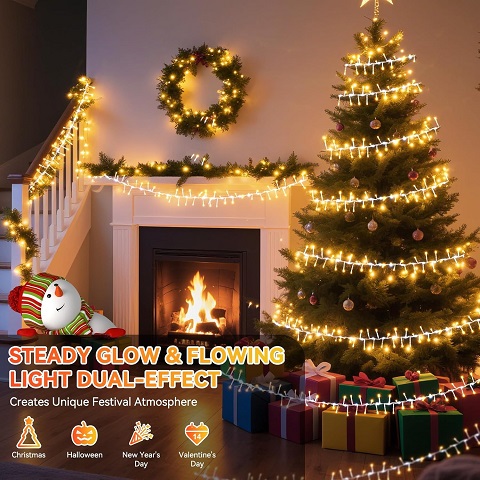
Starting in early October I work on our outside Christmas and holiday decorations. Every year I like to put out hundreds upon hundreds of Christmas lights, a dozen inflatables, 10-14 light-up blow molds, pine swags and other decorations. I'm in charge of decorating the front and back yards while my … [Read more...] about Marchpower Indoor Outdoor Cluster Christmas Lights String
Painted Snowman Holiday Design Clam Shells Seashells
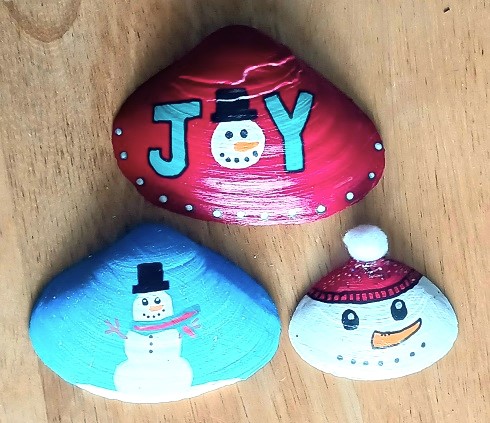
During the holiday and Christmas season I decorate our home in a coastal cottage beach-style. Every year I look forward to putting up our Christmas tree and hanging 300+ coastal style ornaments on it. Our front and back doors have beach themed wreaths and all kinds of other holiday decor is in the … [Read more...] about Painted Snowman Holiday Design Clam Shells Seashells
Elegear Christmas Outdoor Shivering Snowman Inflatable Decoration
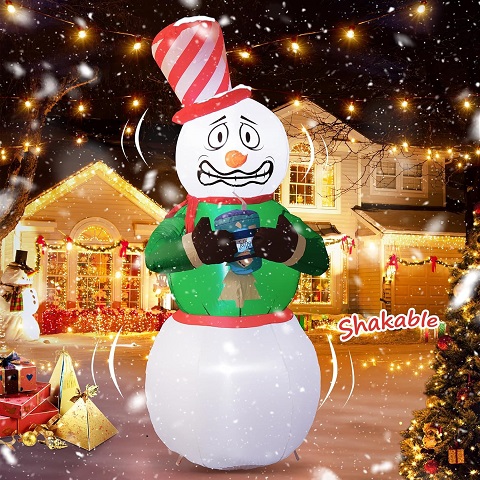
Every year my neighborhood goes way out with outdoor Christmas and holiday decorating. Every home in our sub-division puts out various holiday lights and Christmas inflatables. We're always adding new items to our collection and trying to out-do one another with having the largest and best holiday … [Read more...] about Elegear Christmas Outdoor Shivering Snowman Inflatable Decoration