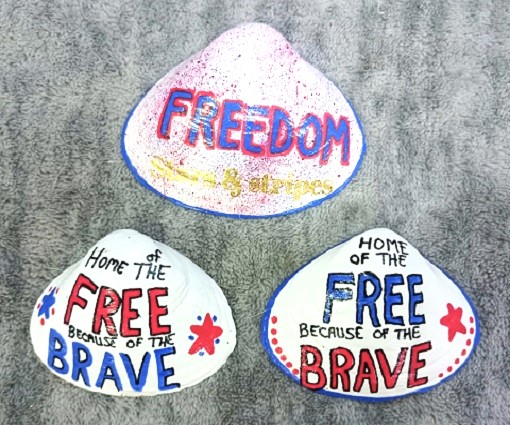
Veteran's Day is just around the corner so I decided to paint a dozen patriotic themed clam shells to leave around my community to show my appreciation to our veterans. I like to "drop" these designs at community Veteran's Day events and at memorials in our hometown. You can leave them at Veteran's … [Read more...] about Painted Patriotic Seashells for Veteran’s Day
arts and crafts
Hand Painted Halloween Themed Seashells Party Decor

Hosting a Halloween party this year? Looking for some cute little Halloween themed home decor accents that you can easily make yourself? If so, you'll love this project! You can paint the designs on clam shells, oyster shells, smooth river rocks or other items. You don't need any patterns or … [Read more...] about Hand Painted Halloween Themed Seashells Party Decor
Ghost, Pumpkin and Candy Corn Painted Halloween Seashells Party Decor

Last month I got to work on hand painting a dozen clam shellls and seashells for an upcoming Halloween party. These cuties will be used as table decor and party favors. All of them are super-easy to make and ONLY require a few basic art supplies. The designs can be painted onto seashells, smooth … [Read more...] about Ghost, Pumpkin and Candy Corn Painted Halloween Seashells Party Decor
How to Make Your Own Halloween Ceramic Plates Yard Art
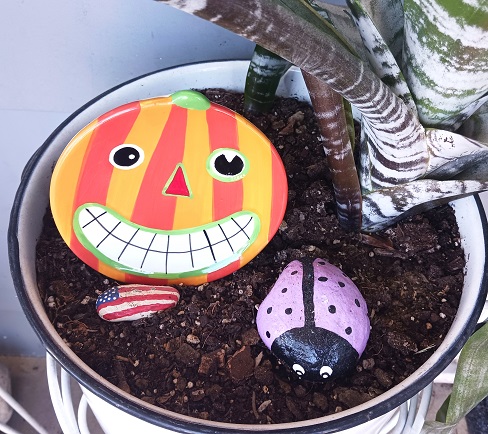
Looking for an easy-to-make Halloween craft project? If so, check out this one! You'll only need a few supplies and you can make dozens of them in just one weekend. You can use them to decorate your front and back yards or stick a few into a few larger sized houseplants. ** This post contains … [Read more...] about How to Make Your Own Halloween Ceramic Plates Yard Art
Hand Painted Dracula, Frankenstein and Skeleton Halloween Seashells
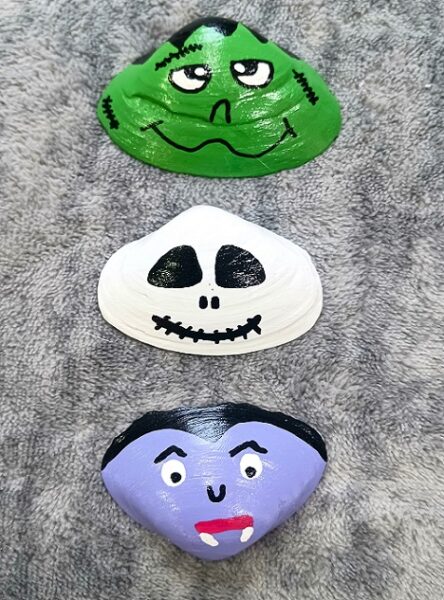
Halloween is almost here! Two weeks ago I sat down and painted a dozen seashells all in a Halloween theme. My granddaughter's GS troop is hosting a little Halloween party and these seashells will be used as party favors. They will be placed on the table and the girls can take them home after the … [Read more...] about Hand Painted Dracula, Frankenstein and Skeleton Halloween Seashells
Spiders, Ghosts and Bats Painted Halloween Seashells for Party Decor
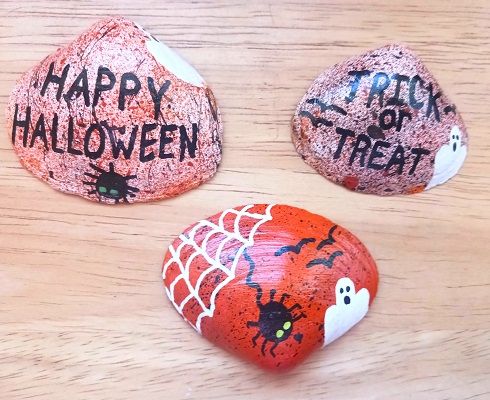
Planning a Halloween party? Just looking to add some unique decorations to your Halloween home decor? These hand painted sheashells are easy to make and super cute! We painted the designs onto medium sized clam shells seashells, but you could certainly paint them onto smooth river rocks or ceramic … [Read more...] about Spiders, Ghosts and Bats Painted Halloween Seashells for Party Decor
Hand Painted Black Cat, Spider and Bats Halloween Seashell Decorations

Halloween is just around the corner. It's time to get those arts and craft projects rolling. Last weekend I hand painted these three seashells. Each design was done on small clam seashells. You could use other vatieties of shells too. You don't have to be a professional artist to make them. All … [Read more...] about Hand Painted Black Cat, Spider and Bats Halloween Seashell Decorations
Flowers and Birds Rub-On Transfers for Crafts
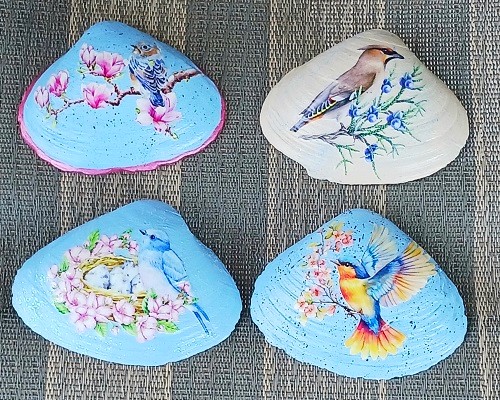
Rub-on Transfers are an excellent way to decorate some of your arts and craft projects. The transfers are easy to apply and can be applied to a wide variety of different surfaces. Try them on wood, glass, mirrors, ceramic tiles, seashells, smooth river rocks, art canvas boards, ceramic mugs, wax … [Read more...] about Flowers and Birds Rub-On Transfers for Crafts