Tag: arts and crafts

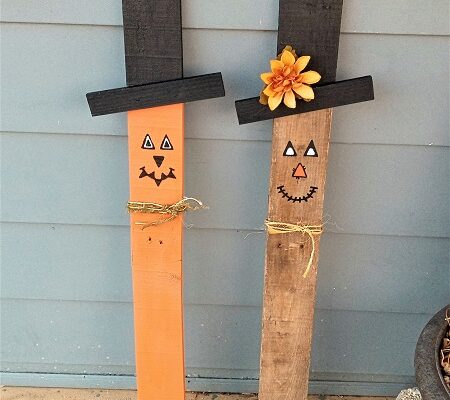
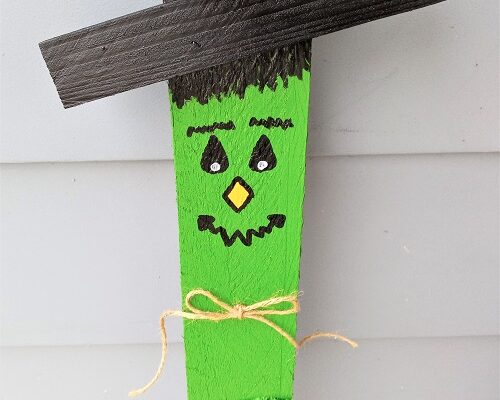
Halloween Frankenstein Porch Leaner Made from Upcycled Pallet Wood

Halloween Frankenstein Porch Leaner Made from Upcycled Pallet Wood

Pallet Wood is cheap wood that you can upcycle into new projects to use in and outside of your home. We like to tear apart the pallets and use them in craft projects like the one that I’m featuring today on the blog. This Frankenstein 

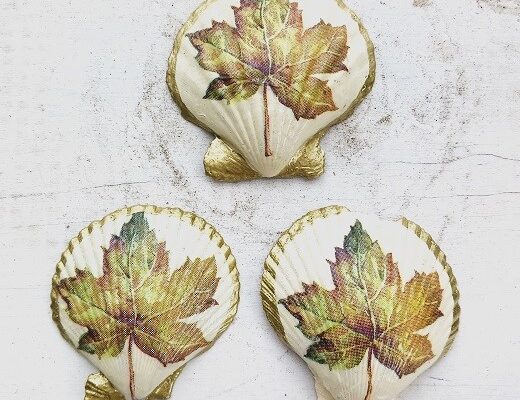
Autumn Maple Leaf Decoupage Scallop Seashells

Autumn Maple Leaf Decoupage Scallop Seashells

Autumn is here and I’m excited to work on some new fall themed craft projects. I’m hosting a little get together next weekend and made these adorable decoupage scallop seashells with maple leafs on them. They were super easy-to-make and I made a dozen of 

15 Painted Halloween and Autumn Seashell Designs

15 Painted Halloween and Autumn Seashell Designs

15 Painted Halloween and Autumn Seashell DesignsTime to decorate for the Autumn season and Halloween. We made 15 different designs that were painted onto large clam shells and oyster shells. These same designs can be painted onto smooth river rocks too. All of them are great for beginners, no artistic experience really required. You’ll need a few supplies to get started which are listed below.

Clam Shells
Oyster Shells
Razor Clam Shell (long slender seashell)
Smooth River Rocks
Acrylic Craft Paints
Paint Brush, Water Dish, Paper Towels
Acrylic Paint Pens
Pencil and Eraser
Mod Podge Clear Sealer in Glossy Finish
Foam Brush

Painted Halloween Autumn Clam Shell Seashells Designs

Decide which designs you want to make. You need to give the seashell or rock 2-3 coats of the base coat color, allowing for 30-45 minutes of drying time between coats.

Use a pencil to sketch the design onto the shell. Just free-hand it like we did. We weren’t fancy with any of the designs featured in this post. They don’t have to be perfect!

We used a combination of acrylic craft paint with a paint brush and acrylic paint pens to do all of the design work decorating. You don’t want to use regular markers or Sharpies. They run and don’t hold up well. Please use acrylic paint! Once the design work is done let them dry for several hours to allow the paint to cure.

Brush 1-2 coats of clear Mod Podge Sealer in a Glossy Finish over the painted surface of each shell. Let dry. Flip it over and give it another 1-2 coats on the unpainted side. Let dry. This protects the painted finish from chipping, cracking, sun fading, etc. It can also make your colors a little bit brighter and more vivid. Let them completely dry. You can use them inside or outside your home to decorate.

* This post contains affiliate links. If you make a purchase, we may or may not receive a small commission which helps to support this site. Thank you!

Shelly's Signature

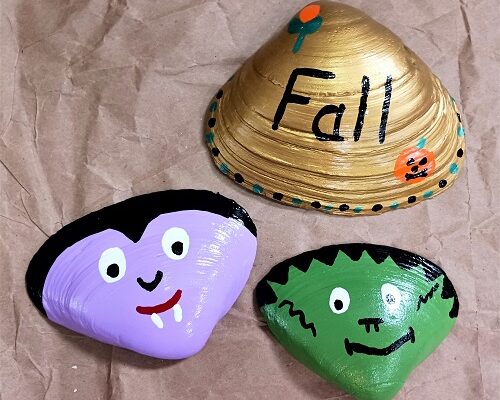
Kids Crafts Painted Halloween Designs Seashells

Kids Crafts Painted Halloween Designs Seashells

Got some seashells sitting around from summer vacation? Live near a beach? If so, here’s a fun craft project to keep the kids busy this fall. These hand painted Halloween design seashells are super easy to make! We made them using 4″ and 5″ wide 

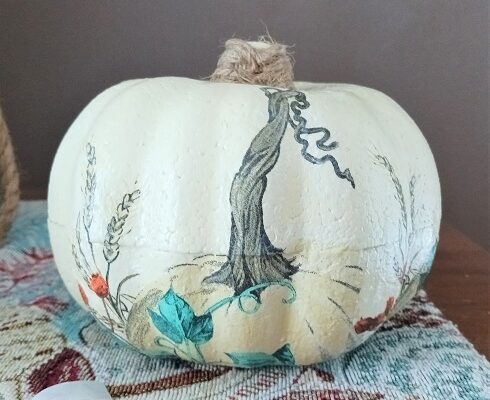
Autumn Decorating: Decopauge Foam Pumpkins for Fall

Autumn Decorating: Decopauge Foam Pumpkins for Fall

These Decopauge Foam Pumpkins are super-easy to make! You can make several of them in just one weekend. Plus, they’re affordable! Each one will cost you less than $4.00 to make. A nice Autumn and Fall craft projects for older children, teens, adults and seniors 

Halloween Wood Graveyard Headstone Craft Project

Halloween Wood Graveyard Headstone Craft Project

Halloween Wood Graveyard Headstone Craft ProjectCheck out this EASY Halloween Wood Graveyard Headstone craft project that I made by upcycling an old table-top wooden ironing board! Don’t have one sitting around? Don’t worry, you can simply cut it from a piece of plywood or other scrap wood you have lying around.

When making graveyard headstones you should vary the height and width when making them. No graveyard has the same size. You can decorate them elaborately or keep it simple like I did.

** Post Contains Affiliate Links **

We cut the ironing board in half and removed the metal legs. Toss out any padding or covers that come with it or scrap them for future project. I opted to NOT sand down or smooth the surface as I liked the texture and roughness to it.

I use silver metallic spray paint and gave it two coats of paint…front, back and sides. You’ll need 1-2 hours of drying time between coats. Using a foam brush…I pounced on black acrylic paint around the edges and the 1/2″ width sides. You want to be messy with it and make an uneven outline. Let dry. Next, I dipped an old toothbrush into black acrylic paint and splattered it across the front of the headstone to add interest and texture. Let dry.

Halloween Wood Graveyard Headstone Craft Project

To make the heart decoration, the name of Barry M. Alive and the date I used a black acrylic paint pen with a medium tip. While that’s drying…I used Gorilla Glue to glue on the 3″ diameter plastic spider that I picked up at Dollar Tree. I got 6 spiders in the pack. I’ll use the other 5 in other projects.

Once everything is dry you need to spray it with 2-3 coats of a clear acrylic spray sealer. You can use one with a glossy or matte finish, whatever you prefer. Allow for 1 hour of drying time between each coat.

So that it would sit upright my husband drilled holes into the bottom end and attached a set of the ironing board’s folding metal legs. Worked perfectly and acts like an easel-type of stand. You’re done, and it’s now ready to be displayed outdoors with all of your other spooky Halloween decorations!

* This post contains affiliate links. If you make a purchase, we may or may not receive a small commission which helps to support this site. Thank you!

Shelly's Signature

Halloween Porch Leaners Made from Upcycled Pallet Wood

Halloween Porch Leaners Made from Upcycled Pallet Wood

Pallet Wood is cheap wood that you can upcycle into new projects to use in and outside of your home. We like to tear apart the pallets and use them in craft projects like the one that I’m featuring today on the blog. These two 

Tooli-Art 18 Acrylic Paint Pens with Dual Tips

Tooli-Art 18 Acrylic Paint Pens with Dual Tips

Over the past 12+ years I’ve shared hundreds of various arts and crafts projects on the TwoClassyChics blog. A lot of them involve seashell and rock painting. When working on those projects I use a combination of Acrylic Craft Paint (comes in a bottle and