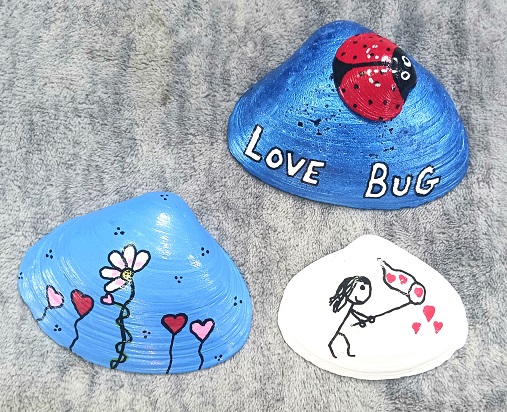
This year I've decided to make something special for my family and friends for Valentine's Day. Usually, I'll buy a greeting card or a little gift at a retail store but this year is different. I hand-painted these cute seashells which serve as the greeting card and gift in one! They can use it year … [Read more...] about 3 Hand-Painted Valentine’s Day Seashell Greeting Cards
arts and crafts
Metallic Paint Pour Colorful Painted Crab Shells

A few months ago I purchased a Metallic Acrylic Paint Pouring Set from Amazon. This kit has the prettiest metallic colors and the paint pouring medium is already mixed into the paints! You can use the paint on art canvas, rocks, seashells, paper, wood and on other items. I've been using it on clam … [Read more...] about Metallic Paint Pour Colorful Painted Crab Shells
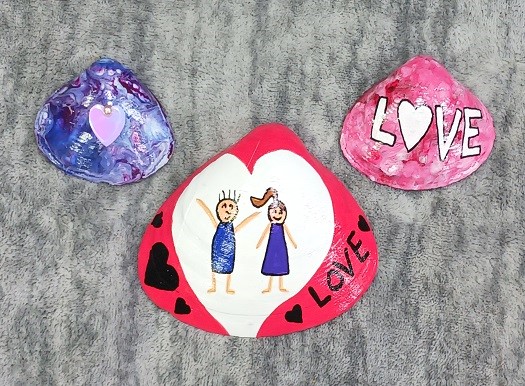
3 Hand-Painted LOVE Valentine’s Day Clam Shells Seashells
Looking for a new art and craft project for Valentine's Day? Need a few little new home decor pieces or just want to make some unique Valentine's Day greeting cards? If so, I think you'll love this easy-to-make project. The designs can be painted onto any type of seashell, river rock, mini canvas or … [Read more...] about 3 Hand-Painted LOVE Valentine’s Day Clam Shells Seashells
3 Easy to Paint Snowman Seashells for Winter Decor
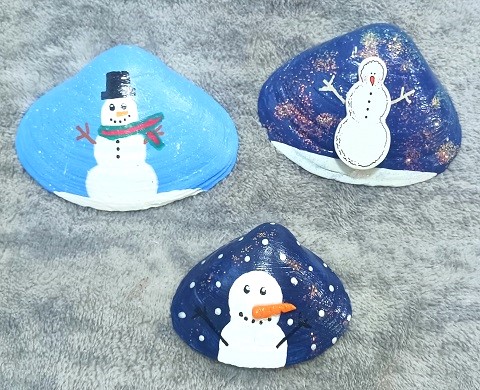
Once Christmas and the holidays are over...I look forward to putting out a few pieces of general winter decor. You know...things that don't scream Christmas! That's when I turn to home decor that features sleds, mittens, gloves, winter boots, snowmen, scarves, snowflakes, etc. Just like other … [Read more...] about 3 Easy to Paint Snowman Seashells for Winter Decor
Hand Painted Snowman and Winter Themed Seashells
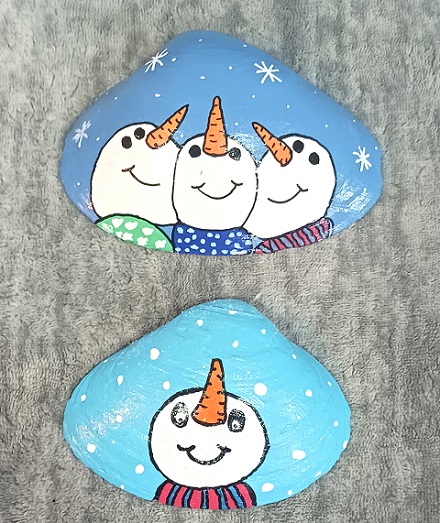
Winter is here and I'm spending more time indoors. To keep myself busy I've been painting some seashells in cute snowman and winter themed designs. They add a nice pop of color to my winter home decor without being holiday related. All of these designs are GREAT for beginners. You can paint on clam … [Read more...] about Hand Painted Snowman and Winter Themed Seashells
Painting on Broken Seashells – A Great Beginner’s Project

Taking walks on the beach is one of my favorite outdoor activities to do. While I'm walking...I'm often picking up seashells to use in various arts and craft projects around my home. One thing that I always notice while out on the beach is how other people toss back the broken shells or just leave … [Read more...] about Painting on Broken Seashells – A Great Beginner’s Project
Creating Artwork by Doodling and Painting on Seashells
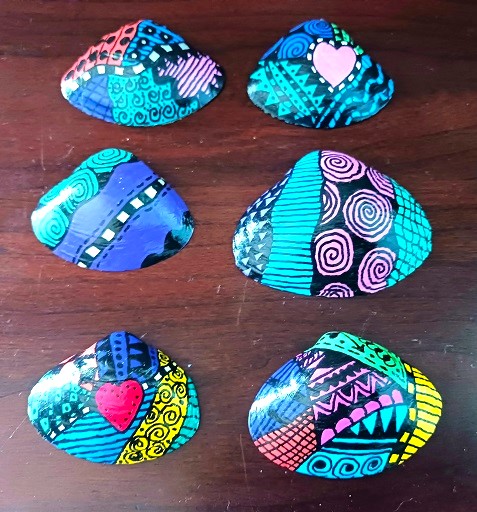
The winter season is here and I'm spending more time indoors working on various arts and craft projects. Last week I sat down and did some doodling onto small sized clam shells and then painted them. This type of artwork doesn't require any artistic skills. You simple draw and doodle what appeals to … [Read more...] about Creating Artwork by Doodling and Painting on Seashells
Ice Skates, Mittens and Snowflakes Painted Clam Shells Winter Decor
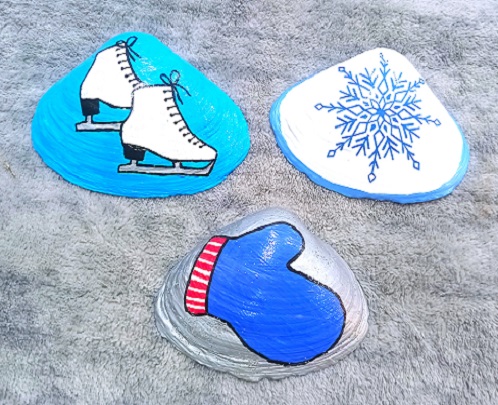
Looking to add a few little winter decor accents to your home? If so, I have an easy arts and crafts project for you today. These hand painted clam shells seashells are the perfect little accents for bookshelves, tables, used as wall art, etc. You don't have to be a professional painter or crafter … [Read more...] about Ice Skates, Mittens and Snowflakes Painted Clam Shells Winter Decor