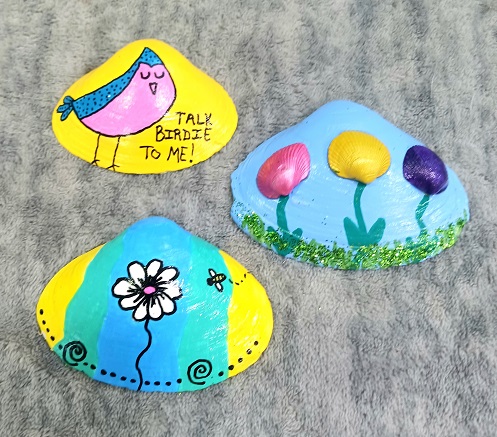
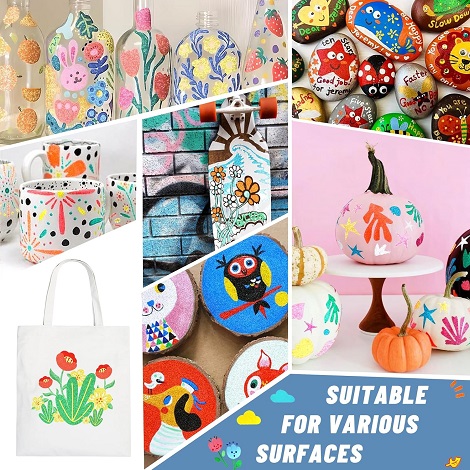
Spring is just around the corner and I'm in the mood for some springtime crafts! Today's arts and craft project is super easy to make! You'll need some seashells that you collected from a beach or purchased from Amazon. You'll need acrylic craft paint, gorilla glue, glitter and some Mod Podge … [Read more...] about Painted Flowers and Birds Seashells for Spring Decorating
arts and crafts
6 Quick and Easy Painted Clam Shell Seashell Designs
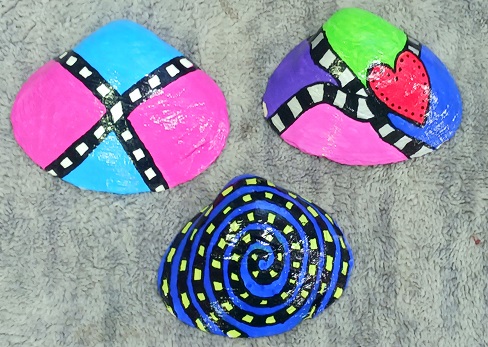
Looking to get into the popular hobby of painting kindness rocks and kindess seashells? If so, we have 6 quick and easy designs to share with you today. All of these designs were painted using 2 packs of Acrylic Paint Markers which I'll tell you about below. You can paint on smooth river rocks, clam … [Read more...] about 6 Quick and Easy Painted Clam Shell Seashell Designs
Painted Patriotic Design Seashells to Celebrate America’s Birthday America250
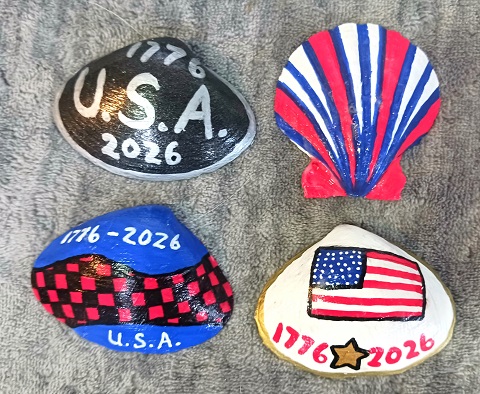
The United State of America has a big birthday coming up this year! America will be celebrating it's 250th birthday!!! A lot of people are referring to it as America250. There are festivities planned nationwide for July 4th, 2026 to celebrate! To get ready for the celebrations I've started working … [Read more...] about Painted Patriotic Design Seashells to Celebrate America’s Birthday America250
Decoupage Fabric and Painted Seashells Craft Project
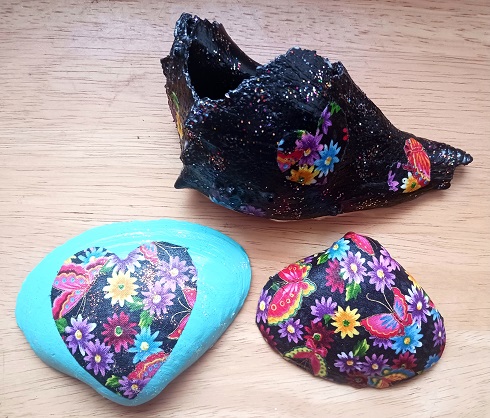
This arts and craft projects utilizes scraps of fabric, seashells and acrylic craft paints. That's basically what you need along with a bottle of Mod Podge Clear Sealer and a paint brush. Once completed you can use them as little home decor accents or use them to decorate your garden. They're great … [Read more...] about Decoupage Fabric and Painted Seashells Craft Project
Tips for Buying Acrylic Paint Markers
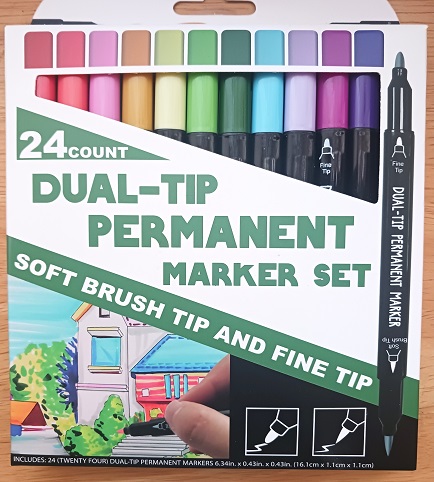
We use a lot of acrylic paint markers in the various arts & craft projects that we make and share on the TCC blog. With that said, not all are created equal. There are some really awful markers for sale out in the retail marketplace and others that are way over-priced for what they deliver. When … [Read more...] about Tips for Buying Acrylic Paint Markers
Easy Painted Checkerboard Pattern Seashells
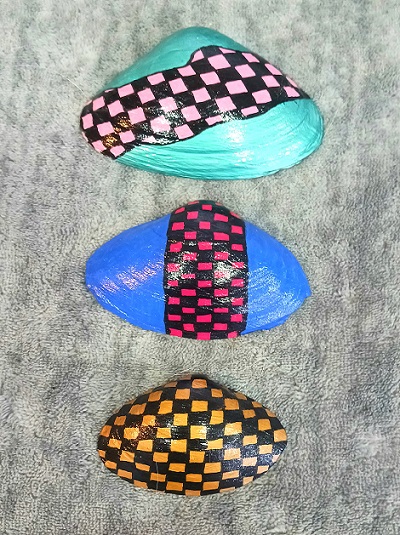
Last month I had 2 readers contact me asking me to post EASIER painting on seashells craft projects. This project is one of them...easy and no patterns or templates are needed. All you need are the clam shells, acrylic paint markers, Mod Podge and a foam brush. You can make a dozen of them in just … [Read more...] about Easy Painted Checkerboard Pattern Seashells
2 Hand Painted Valentine’s Day Seashells
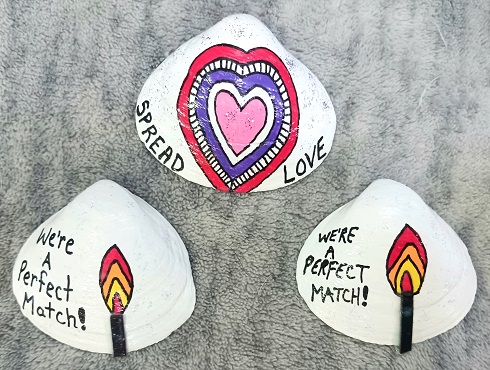
The past few weeks I've published a few Valentine's Day designs painted seashells. Well, I'm back one more time with two more designs! All are easy-to-make! You can use them as little greeting cards, giveaways, home decor accents or for your painted kindness rocks and shells community projects. … [Read more...] about 2 Hand Painted Valentine’s Day Seashells
Tanmit Metallic Colors Acrylic Paint Markers
One of my favorite hobbies is to sit down and paint kindness rocks and kindness seashells. I paint hundreds of them every year and leave them everywhere that I go. It's a way to pay--it-forward...strangers love finding a little piece of artwork for FREE. It brings a smile to their face and something … [Read more...] about Tanmit Metallic Colors Acrylic Paint Markers