Author: Shelly

How to Make Painted Seashell Keychains and Purse Charms

How to Make Painted Seashell Keychains and Purse Charms

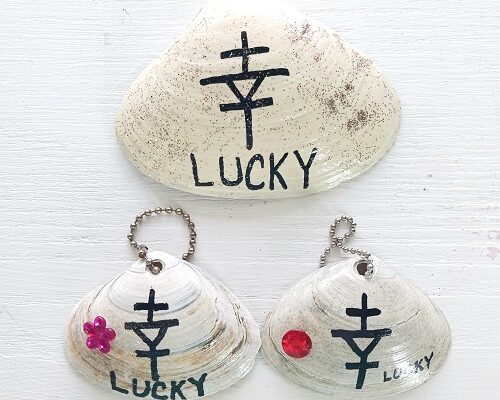
Looking to make a few stocking stuffers for the upcoming Christmas holiday? If so, consider making a few of these adorable painted seashell keychains and purse charms. You’ll need to collect a few 2″ wide small clam shells from the beach. The ones that we 

Hand Painted Gingerbread House Clam Shells Seashells

Hand Painted Gingerbread House Clam Shells Seashells

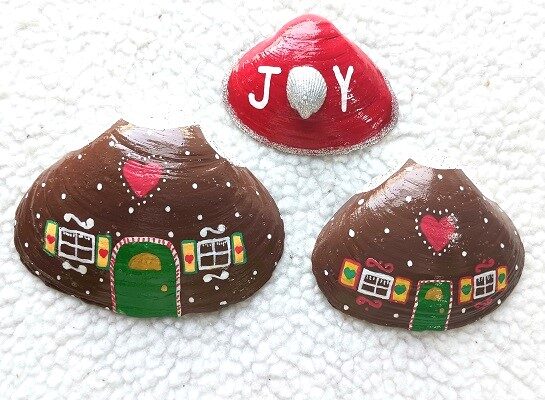
Decorate your home for the holidays in a Gingerbread House theme? Just love the cuteness of gingerbread? If so, check out these easy-to-make Gingerbread House painted clam shells! You can use these painted seashells as Christmas decor accents, as table settings, Christmas tree ornaments and 

Easy Painted Christmas Themed Clam Shells Seashells

Easy Painted Christmas Themed Clam Shells Seashells

Hand Painted Winter Snowman Seashell Clam ShellsLooking for a few last-minute homemade gifts to make this holiday season? If so, these hand-painted Christmas themed clam shells take only 1 day to make. You don’t need any artistic skills to make them! A great project for older children, adults and seniors to make. They can be used as home decor accents, paper weights on a desk, or place them outside on a front porch as part of your holiday decorating.

Snow Man Clam Shell

Base coat the entire shell with 2 coats of bright navy blue acrylic craft paint allowing for 45 minutes of drying time between coats. Use acrylic paint markers (we like the BETEM Acrylic Paint Markers with Dual Tips) to add all of the design work. You’ll want to make a snowman, the snow on the ground, etc. You can decorate it however you like.

Easy Painted Christmas Themed Clam Shells Seashells

Christmas Candy Canes Shell

Base coat the clam shell with 2 coats of lime green acrylic craft paint allowing for 45 minutes of drying time between coats. Once dry, use a pencil to outline 2 candy can shapes in the middle of the seashells. Use Acrylic Paint Markers to color them in and then outline in black. Underneath the candy canes we wrote “Sweet but Twisted!”

Holiday Lights Shell

Base coat the clam shell with 2 coats of lime green acrylic craft paint allowing for 45 minutes of drying time between coats. Once dry, use a pencil to lightly draw on 3 bulb shaped holiday lights. Use Acrylic Paint Markers to color them in (we used green, yellow, and red). Use a silver metallic paint marker for the hanging cord and then outline everything with black. Underneath this one we wrote Ready, Set, Glow.

Once all of the paint has dried you need to seal the seashells with 1-2 light coats of Glossy Clear Mod Podge Sealer. I like to brush it on with a foam brush. Allow 20-30 minutes of drying time between coats. This will help to protect the painted surface and give the shells a nice glossy shine.

* This post contains affiliate links. If you make a purchase, we may or may not receive a small commission which helps to support this site. Thank you!

A Family Outing to Visit with Santa – Family Traditions

A Family Outing to Visit with Santa – Family Traditions

Every year when the Christmas holiday rolls around we try to get out to visit with Santa Claus. Yes, we’re adults but we still enjoy getting our photograph taken with Santa! Along with our photograph we like to get one with each of our grandchildren 

Hand Painted Santa Clam and Oyster Shells Christmas Ornaments

Hand Painted Santa Clam and Oyster Shells Christmas Ornaments

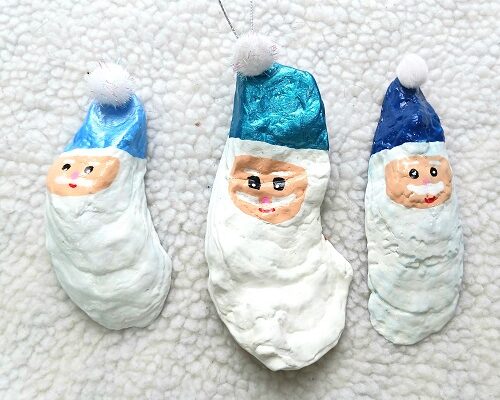
These hand-painted santa and snowmen seashell Christmas tree ornaments are easy to make! You’ll need smaller sized clam shells and oyster shells to make them along with basic painting supplies. You can make a dozen of them in just one weekend! They’re perfect to hang 

Hugl – A Supportive and Cooling Body Pillow

Hugl – A Supportive and Cooling Body Pillow

Hugl - A Supportive and Cooling Body PillowBefore I get started with this review I want to give you a little big of medical history about myself. Over the past 15 years I’ve had 9 surgeries which include a right hip replacement, a left knee replacement, a left wrist replacement and recents a left hip replacement. Orthopedic surgeries tend to be the most painful surgeries that I’ve ever experienced. Not only are they painful to go through, the recovery period is hard!

** Complimentary product received for review.

Two months ago I underwent my 4th total joint replacement surgery on my left hip. The surgery itself was complicated and took twice as long as a typical replacement. My surgeon was prepared and got me through it. With that said, the recovery has been long and difficult with several complications along the way. To this day…I’m still in quite a bit of pain.

Hugl - A Supportive and Cooling Body Pillow

A week after my surgery I was given the Hugl Supportive and Cooling Body Pillow to review. It arrived at the perfect time!!! The first thing that I noticed about it was how large it was…it’s not a flimsy rinky-dink body pillow like you find out in retail stores. Oh no, you know this is a premium body pillow just by looking at it! Then you notice the shape…it’s u-shaped. That shape means you can use the body pillow in a variety of different ways.

It’s covered in a self cooling PE fabric to help you sleep cool all night long. At my age (57 years old) I’m a hot sleeper thanks to menopause. Those night sweats are absolutely miserable…so anything that will help me to sleep cooler…I’m all for! Inside the body pillow you’ll find a combination of fiber fill and memory foam. This allows each individual to get a “custom” experience when using it. It’s supportive while being comforting at the same time. Up in the U-Shaped area you’ll notice the fabrication is different, that’s bamboo fiber to help with moisture wicking, breathability and it feels soft against your skin.

Hugl - A Supportive and Cooling Body Pillow

Two sizes are available: Standard and Large. Two colors: White and Gray.

As an added bonus to this awesome body pillow is that the cover is removable…which means you can machine wash it. That’s right, keep it looking nice and germ-free by laundering the cover in your washing machine. If you want to take it with you while traveling it easily folds in half and you hook to button-straps together to hold it into place. You can take it with you when traveling or make it more portable moving it from room to room.

How have I been using the Hugl? Well, I’m going to tell you. I sleep my head on it and the bottom portion between my legs. It takes pressure off my hips and knees. No fussing with multiple bed pillows sliding around. During the day when I’m sitting up in bed…we fold it up like a supportive back rest. I can watch TV, read a book or get onto my tablet for a little bit. Without it, sitting up comfortably would be difficult right now.

Hugl - A Supportive and Cooling Body Pillow

Hugl - A Supportive and Cooling Body Pillow

I’m no doctor or healthcare professional but I can honestly tell you that the Hugl is helping me get through this difficult surgery and recovery process. I’m more comfortable using it. I wish I had it when I went through the previous three joint replacement surgeries. Yes folks, it’s made that much of a difference in my life right now. I highly recommend it!!!

The Hugl can help relieve back pain, leg pain, knee and hip pain, snoring, insomnia and I bet that pregnant women would sleep more comfortably using the Hugl too. Check out the company’s website to read all of the great reviews!!!  You can connect with the company on Facebook and Instagram.

Disclaimer: Shelly received a complimentary product as featured in this blog post. Shelly’s thoughts and words are 100% her own unbiased opinion on the company & products being featured today. The Two Classy Chics are not responsible for prize shipment or fulfillment. This post may contain affiliate links. Please read the blog’s full disclosure policy. 
Painted and Decoupage Dog and Cats Christmas Seashells

Painted and Decoupage Dog and Cats Christmas Seashells

Are you an animal lover? Love dogs, cats and birds? If so, you’ll love these adorable painted and decoupaged seashells! They were made using 4″ to 5″ wide clam shells, craft paint, fabric and Mod Podge! I was able to complete all 4 of them 

Hand Painted Santa Claus Clam Shell Seashells Christmas Ornaments

Hand Painted Santa Claus Clam Shell Seashells Christmas Ornaments

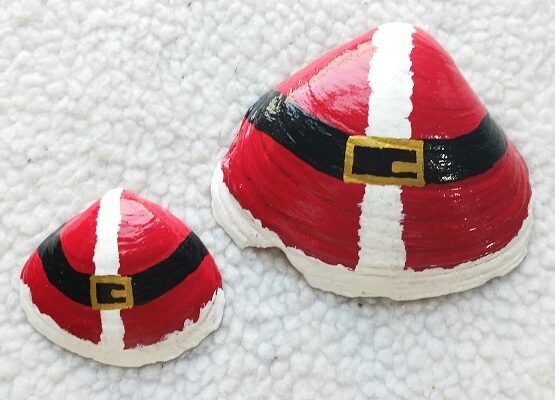
These hand painted Santa Claus red coat ornaments are adorable! They’re super easy-to-make using Clam Shells Seashells that you collect from the beach. Don’t live near a beach? Don’t worry, you can buy inexpensive shells from Amazon. Perfect Christmas Tree Ornaments, package tie-ons, table place