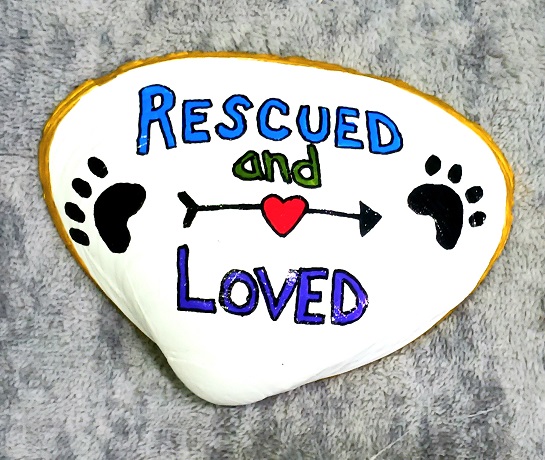
Are you a dog lover or know someone who is? Work with a rescue group or need a little gift for a vet or vet tech in your life? If you answered YES to any of those questions...we've got the perfect art and crafts project for you today. These hand painted clam shells all feature simple dog designs! … [Read more...] about Dog Lover Hand Painted Clam Shell Seashell Designs
Sun and Moon Designs Hand Painted Clam Shells Seashells
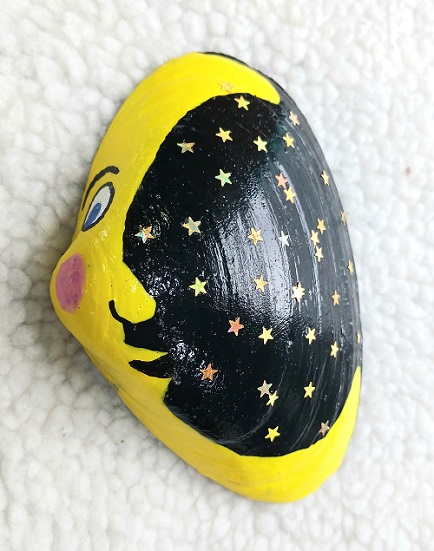
Love celestial symbols? If so, you'll love these hand-painted Sun and Moon designs clam shells seashells. These designs are easy to make and don't require any templates or patterns. You'll need 3" to 5" wide clam shells, acrylic craft paint, paint brush, Mod Podge Sealer and metallic star shaped … [Read more...] about Sun and Moon Designs Hand Painted Clam Shells Seashells
Hand Painted Elephant Clam Shell Seashell Party Favors
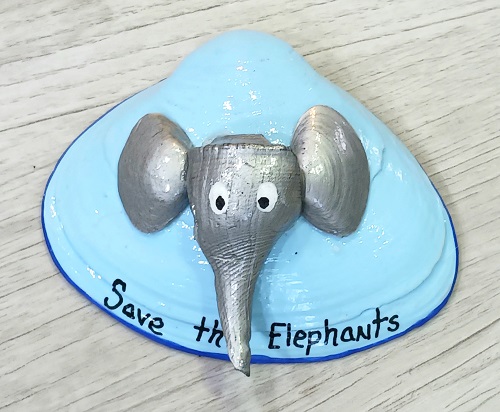
A friend of mine hosted a Zoo themed birthday party for her 8 year old son. She asked me to come up with some unique party favors and table decor to go along with her Zoo animal theme. Well, I got busy and this Elephant is one of the many animals that I created. *** Post contains affiliate … [Read more...] about Hand Painted Elephant Clam Shell Seashell Party Favors
Hand Painted Piano Keyboard Clam Shell Seashell Designs
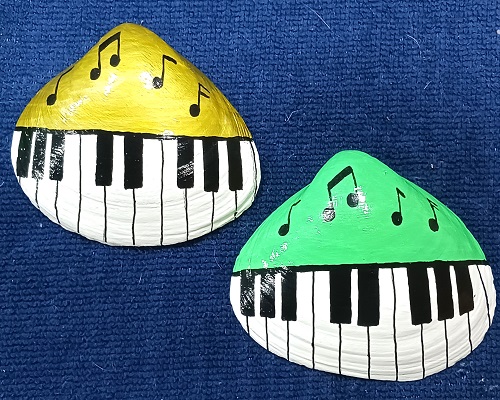
I've been hand-painting on seashells for over 20+ years. When I first started out I would just paint them solid colors or a very simple stripe or polka dot pattern. Over the years I've learned to do better designs that really stand out. If you enjoy crafting with seashells you'll find over 200+ … [Read more...] about Hand Painted Piano Keyboard Clam Shell Seashell Designs
Hand Painted St. Patrick’s Day Shamrock Design Clam Shells Seashells
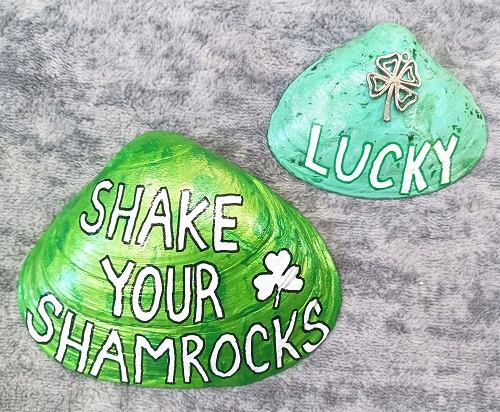
St. Patrick's Day is just a few days away. You still have time to make these beautiful hand painted St. Patrick's Day Shamrock Design seashells. The designs were painted onto 4" to 5" wide clam shells collected from the beach. You don't need any patterns or templates to make them. Great for the … [Read more...] about Hand Painted St. Patrick’s Day Shamrock Design Clam Shells Seashells
Hand Painted Spring Flowers Clam Shell Seashells Designs
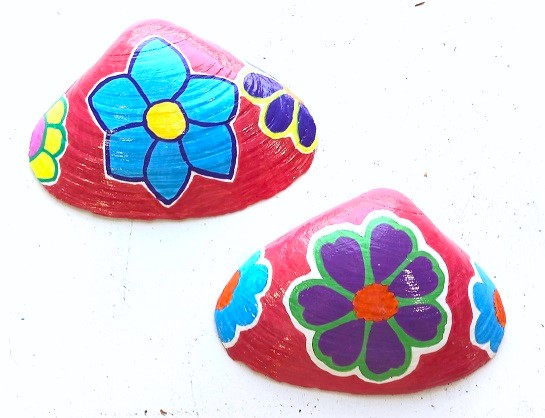
It's time to get ready for some colorful spring decorating. This year I painted 6 colorful clam shells seashells to place in my flower garden. They add that nice pop of color until my spring flowers start blooming. Once they start blooming, I'll be moving the painted clam shells to our back deck. … [Read more...] about Hand Painted Spring Flowers Clam Shell Seashells Designs
Hand Painted Zoo Animals Seashell Designs
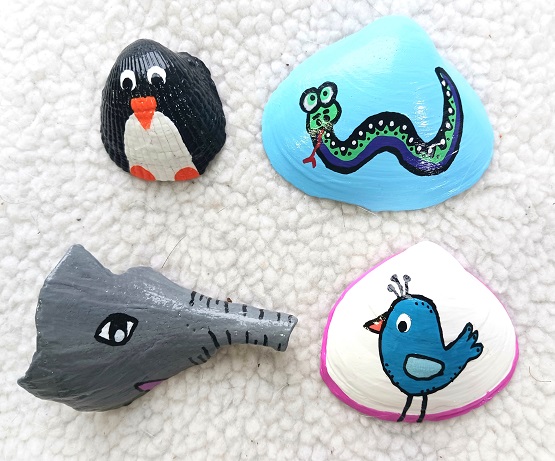
Looking for an arts and crafts project to do with the kids? Love zoo animals? If so, check out these easy-to-make painted seashells! You'll need a variety of clam shells, oyster shells and other type's of seashells to make them. If you don't live near a beach...you can buy a bag of shells from … [Read more...] about Hand Painted Zoo Animals Seashell Designs
Paint Pouring Hand-Painted Seashells with Inspirational Sayings
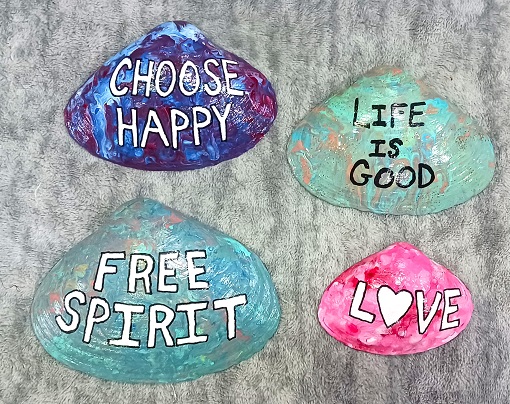
Looking for an inexpensive craft project? If so, we have one for you today! These hand-painted seashells with Inspirational Sayings are the perfect give to gift to a loved one or to keep for yourself. You don't need any artistic ability to make them! Don't have large clam shells or seashells … [Read more...] about Paint Pouring Hand-Painted Seashells with Inspirational Sayings