Author: Shelly

Doodle Art Hand Painted Seashell Designs

Doodle Art Hand Painted Seashell Designs

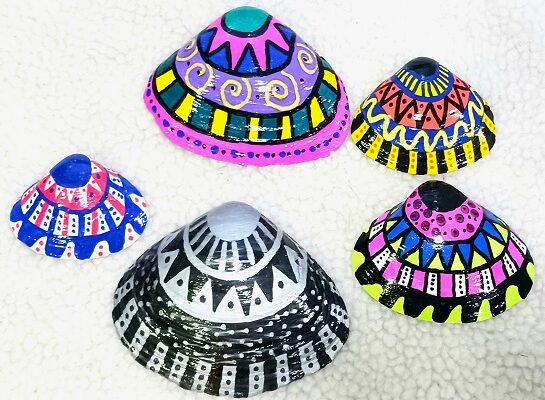
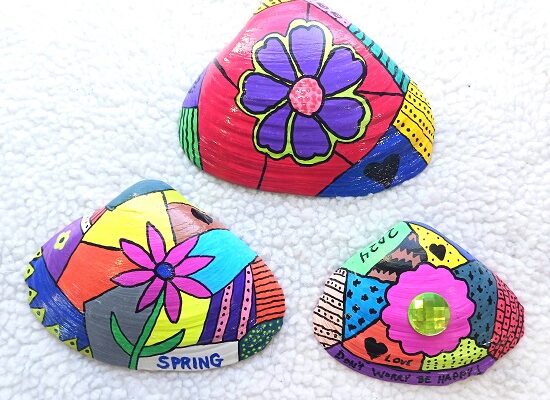
Do you enjoy doodling? Love seashells? If you answered YES to both of those questions this beautiful craft project is for you! Doodling is such a fun hobby to get into and anyone can do it! No experience needed. You can doodle all kinds of 

Vacation Memories Beach Themed Painted Rocks

Vacation Memories Beach Themed Painted Rocks

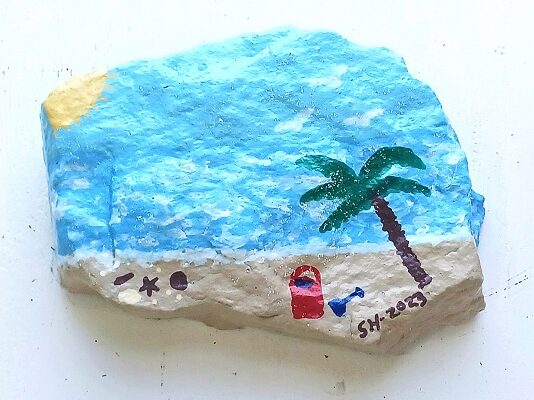
This vacation memories craft project is an inexpensive and easy project to do with the kids. When on vacation have them collect a medium sized rock with at least 2 flat semi-even sides. Wash the rock and pack it for the trip home. Once home 

Peach Pork Chops Slow Cooker Crockpot Recipe

Peach Pork Chops Slow Cooker Crockpot Recipe

Peach Pork Chops Slow Cooker Crockpot RecipeDuring the busy weekdays I use my slow cooker a lot to prepare my family’s meals. I get up in the morning and load ingredients into the crockpot and let it slow cook all day long. At dinner time the main meal is done and I can get dinner onto the table quickly.

Last month I made Peach Pork Chops in the slow cooker and it was delicious! You only need a few ingredients to make this recipe. There’s no messy prep time. Just toss the ingredients into the pot and you’re done.

Peach Pork Chops Slow Cooker Crockpot Recipe

Peach Pork Chops Slow Cooker Crockpot Recipe

4-5 Large Pork Chops
1 Large Can of Canned Peach Slices with Syrup
1 Cup Sweet Baby Ray’s Barbecue Sauce
2 tsp. Light Brown Sugar
Pinch of Salt
Pinch of Ground Black Pepper
1 tsp. Parsley
1 to 1 1/2 Cups of Water

Place the pork chops into the crock pot. Add 1 to 1 1/2 cups of water. You need just enough water to barely cover the pork chops. Add the can of canned peach slices along with the syrup from the can. Just dump it all into the slow cooker. Add the barbecue sauce, brown sugar, salt, ground black pepper and the parsley. Stir so that everything is combined together. Place the lid on top.

Slow cook on the low setting for 6-7 hours or on the high setting for 3 hours. If you’re using bone-in pork chops the bones will fall right out when the meat is done. Serve with your favorite sides. We like it served with mashed potatoes and either lima beans or green beans.

* This post contains affiliate links. If you make a purchase, we may or may not receive a small commission which helps to support this site. Thank you!

Shelly's Signature

Supporting Artists in Your Local Community

Supporting Artists in Your Local Community

We love supporting artists and craft persons in our local community. It’s a way that we can support small business owners in our area. We will often visit little art galleries, fairs and festivals where many of them sell their wares. I love finding unique 

Hand Painted Gnome Clam Shell Seashells

Hand Painted Gnome Clam Shell Seashells

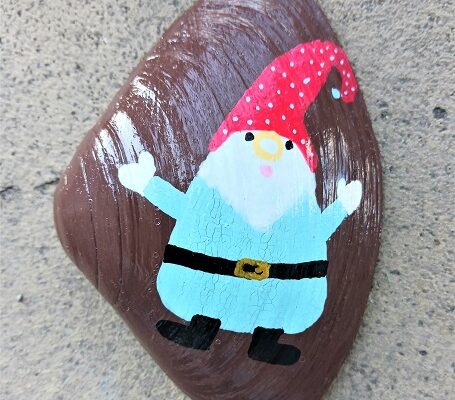
Gmomes are one of the hottest decorating trends going on in the USA and continue to grow in popularity. I personally think they’re adorable! I like using them as decorating accents on my front porch, back deck and in my flower gardens. You can make 

Painted Kitty Cat Clam Shell Seashell Designs

Painted Kitty Cat Clam Shell Seashell Designs

Painted Kitty Cat Clam Shell Seashell DesignsAre you a kitty cat lover? Know someone who is? If so, you’re going to love this easy-to-make arts and craft project! To make these adorable painted kitty cat clam shell seashell designs you’ll only need a handful of supplies. Don’t have access to seashells? Smooth river rocks and stones will work nicely too!

** Post contains affiliate links.

Prep Work: Wash all seashells in warm, soapy water using Dawn Liquid Dish Soap. Dawn is great at removing sand, debris and fishy odors. Rinse with clean water. Let them air dry overnight. The shells need to be completely dry before you paint on them!

Base coat all of the clam shells with white acrylic craft paint using a paint brush. I used 2 coats of paint with 45 minutes of drying time between coats. The paint is dry when it’s no longer tacky.

Use a pencil to lightly sketch the design onto the shell. No patterns or templates were used. As you can see, simple shapes is all you need!

To keep things easy…use BETEM Acrylic Paint Markers to color in the design. These acrylic paint markers are fantastic! They have dual-ended tips (medium and a fine tip), don’t need priming, no drippy or leaky messes and no foul paint odors. Plus, they dry super-fast! Use the medium-tip for coloring in larger areas. Use the fine-tip for outlining, adding facial features and writing wordage. Let dry for 1 hour to let the paint “cure”.

You need to seal the paint to protect it from chipping, cracking and the colors from fading. Plus, you’ll be able to display the painted seashells outside if you choose! I like to use Clear Glossy Mod Podge Sealer which gives them a nice shine and helps to make the colors more vivid. Brush on 1-2 light coats across the entire surface area of the seashell. Let dry. Flip it over and do the other side. Let dry overnight to allow everything to “cure”.

* This post contains affiliate links. If you make a purchase, we may or may not receive a small commission which helps to support this site. Thank you!
Shelly's Signature

Hand Painted Tribal Design Clam Shells Seashells

Hand Painted Tribal Design Clam Shells Seashells

These hand painted clam shell seashells were inspired by tribal style art. They’re very easy to make and you don’t need to be a professional artist to make them. You’ll need regular acrylic craft paint, a paint brush and a pack of acrylic paint pen 

Chocolate Corn Flakes No Bake Cereal Snack Mix Recipe

Chocolate Corn Flakes No Bake Cereal Snack Mix Recipe

During the warmer months of the year I like to make no-bake cookies and snack mixes for my family to enjoy. Let’s face it, when it’s 90 degrees outside…the last thing that I want to do is heat up my kitchen by using the oven.