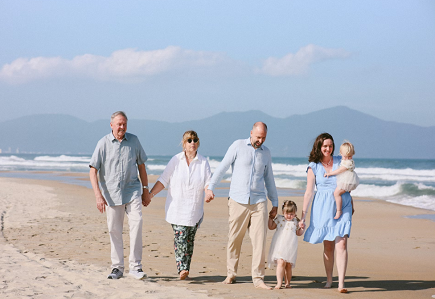
Multi-generational travel, where grandparents, parents, and kids vacation together, has exploded in popularity over the past decade. Honestly, it’s not hard to see why. Families are busy, spread out across states or even countries, and rarely get large chunks of uninterrupted time together. A … [Read more...] about What are the Top U.S. Spots for a Perfect Multi-Generational Getaway
Painted Patriotic Seashells for Veteran’s Day
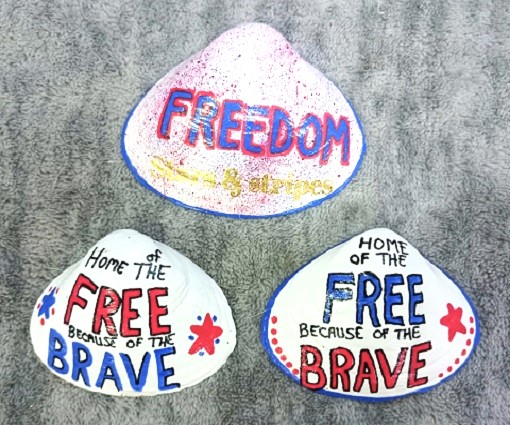
Veteran's Day is just around the corner so I decided to paint a dozen patriotic themed clam shells to leave around my community to show my appreciation to our veterans. I like to "drop" these designs at community Veteran's Day events and at memorials in our hometown. You can leave them at Veteran's … [Read more...] about Painted Patriotic Seashells for Veteran’s Day
Briarwood Lane Seaside Escape Beach Themed Swedish Dishcloths
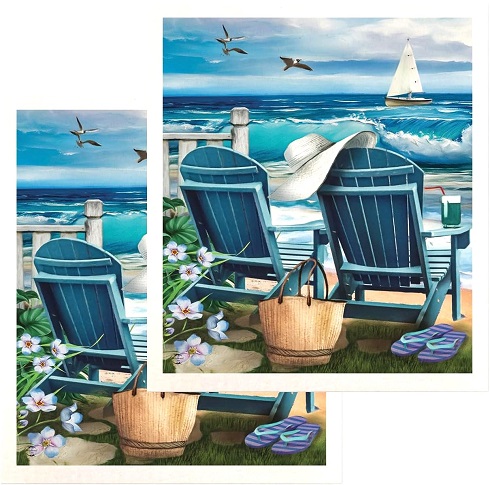
A year ago I discovered Swedish Dishcloths for the first time and have never looked back. I've been using them to hand-wash dishes, to wipe up my kitchen counters, etc. ever since! Once they start looking shabby, I retire them to my cleaning bin and use them all around the house when I'm cleaning. … [Read more...] about Briarwood Lane Seaside Escape Beach Themed Swedish Dishcloths
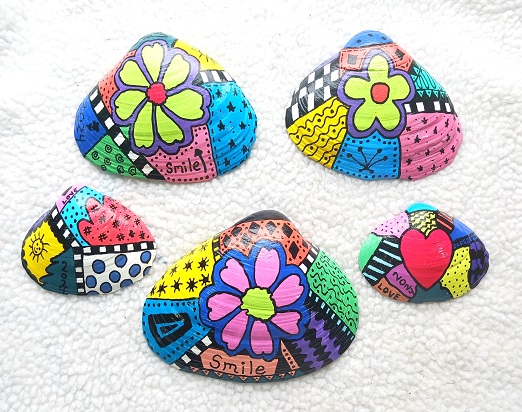
Hand Painted Spring Designs Clam Shells and Seashells
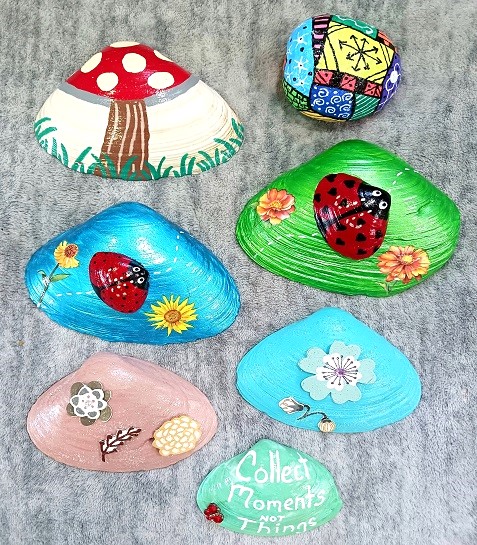
I love decorating my flower beds, front porch, back deck and around our swimming pool with seasonal yard art. It's a great way to add flair and a pop of color to those areas. Last month I made several hand painted clam shells with a SPRING THEME to decorate until summertime arrives. All of these … [Read more...] about Hand Painted Spring Designs Clam Shells and Seashells
Home Canning Blueberries with Recipe and Tips
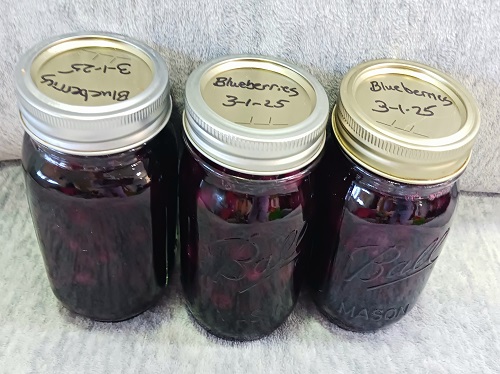
Last month I obtained 16 packs of fresh blueberries from the local Farmer's Market at a bargain price! I got 16 large packs for only $10.00. Wow, what a deal. Once I got home I decided to process the blueberries in a light syrup so that I could use them later on in various recipes. You can use them … [Read more...] about Home Canning Blueberries with Recipe and Tips
Hand Painted Zentangle Kindness Rocks and Seashells
Have you ever heard of the art form called Zentangle? Last year I heard about it for the first time and decided to give it a try. You can find all kinds of beginner's information, lessons, resources, classes, etc. online by visiting this Zentangle website. Zentangle is an art form that anyone can … [Read more...] about Hand Painted Zentangle Kindness Rocks and Seashells
5 Hand Painted Kitty Cat Designs on Clam Shells Seashells

Love cats? Got a kitty fur baby in your family? Check out this collection of 5 hand painted kitty cat designs! All of them have been painted onto medium and large clam shells that were collected from the beach. All of them are great for beginners who are just getting into seashell art. No patterns … [Read more...] about 5 Hand Painted Kitty Cat Designs on Clam Shells Seashells
Easter Bunny Painted Clam Shells Seashells
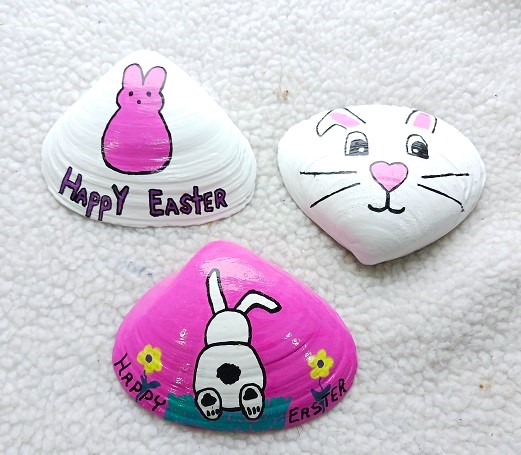
These hand painted Easter bunny themed clam shells seashells are adorable! They would look cute sitting on your dinner table as pace settings (name cards), sprinkled in a tablescape or just used as little home decor accents. You can let each guest take one home after dinner which makes for a nice … [Read more...] about Easter Bunny Painted Clam Shells Seashells