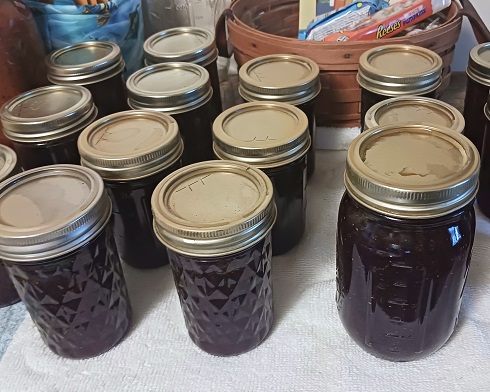
My grandmother and mother always made homemade jam. I can’t remember a time that they ever purchased store-bought jam! Over the past 30 years…I’ve been making fruit jams for my own family to enjoy. For this strawberry jam recipe you’ll need basic home canning supplies, glass mason jars and a water bath canner. You’ll need 8 cups of fresh strawberries to make it. I got approximately 7-8 jars from each batch. I used 8 oz. glass jam jars.
Tips: Prepare all of your canning supplies, glass jars, pots & pans, bowls, etc. ahead of time. I recommend thoroughly washing strawberries under cool running water in a colander. To save time, I use a strawberry huller to remove the stems. To crush-up the strawberries I like to use a potato masher. Canning is a messy job! Wear an old t-shirt or an apron while canning. Once you place the jars on the counter-top to cool…don’t touch them or move them! Some jars can seal quickly while others take a few hours to seal. After 24 hours check the jars. Any unsealed jars you’ll need to refrigerate those contents and use immediately.
** Post contains affiliate links.
Strawberry Jam Home Canning Recipe
4 cups crushed strawberries
7 cups granulated sugar
1/2 tsp. butter or margarine
1 pouch of Certo Premium Liquid Pectin
Use a measuring cup to measure the exact amount of crushed strawberries that are needed. Place them into a large cooking pot. Measure out the exact amount of granulated sugar that you’ll need and place that in a bowl. All measurements need to be EXACT to ensure you reach the gel-point and proper setting of the jam.
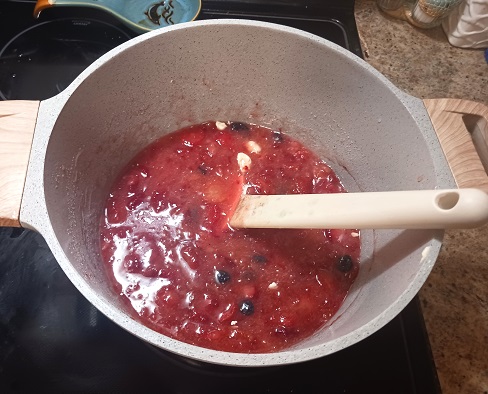
Add the granulated sugar and butter in with the crushed strawberries, stirring often over medium to medium-high heat. The butter helps to reduce foaming during the cooking process. Bring the mixture to a full rolling boil and boil for exactly 1 minute, stirring constantly to prevent sticking. Stir in the Certo Premium Liquid Pectin. Return to a full rolling boil and boil an additional 1 minute, stirring constantly. Turn off the heat, remove the pan from the burner. Skim off any foam with a spoon.
Ladle the jam into your prepared glass mason jars leaving a 1/4″ headspace. Remove air bubbles. Wipe jar rim and threads with a clean cloth. Place the seal on top and then the ring. Adjust the ring until it’s finger-tip tight.
Place the jars on an elevated rack in the water bath canner. Continue to fill all jars. Lower the rack into the canner. Water must cover the jars by at least 2″ in depth. Cover the canner. Bring the water to a gentle boil over medium to medium-high heat. Process the jars for 10 minutes. Turn off the heat. Lift the rack up out of the water letting it rest on the rim of the pan for 5 minutes.
Lay a clean and dry cotton towel down on your kitchen counter-top. Carefully remove the jars from the canner and place them onto the towel to cool.
Storage: Label jars with contents and date. Place jars in your pantry which should be a cool, dry and dark place. If sealed properly, they should be shelf-stable for up to 1 full year.
Looking for easy to make home canning recipes? We’ve got over 50 on the Two Classy Chics blog! Soups, stews, desserts, baked goods, jams, jellies, coleslaws, salsa, vegetables, fruits, etc.