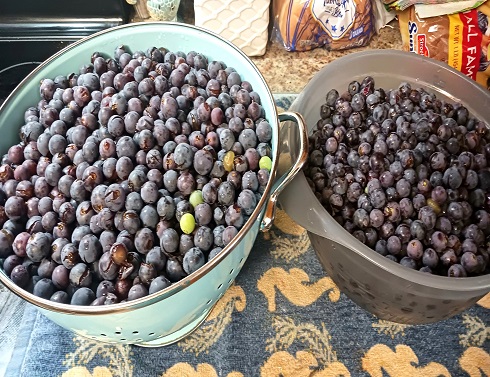
 Five years ago we planted 6 grapevines in our backyard. We’ve been patiently waiting for a good crop of concord grapes and finally got a full crop this year! One grapevine gave us 4 full large bowls of delicious grapes!!! Finally, I had enough to can some old fashion Concord grape jam!!! Enjoy home canning? You’ll find tons of home canning recipes on the TCC blog.
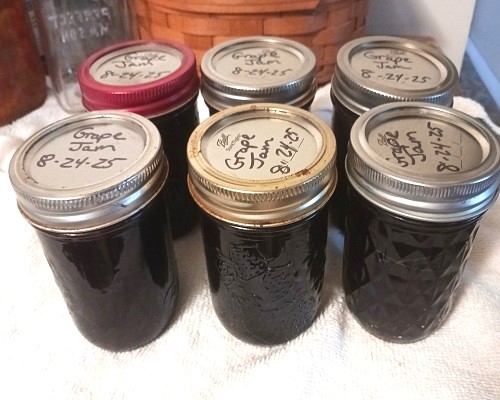
Before we get started…you will need basic home canning supplies along with a water bath canner to make this recipe. In addition, you’ll need 6-7 jelly (glass mason jars)…the ones that hold 8-ounces. This recipe doesn’t use pectin and is the way our grandmothers and great-grandmothers used to make their homemade jam. I used the recipe from my BerNardin Complete Book of Home Preserving. Recipe will yield approximately six 8 ounce jars.
** Post contains affiliate links.
Old Fashion Concord Grape Jam Canning Recipe
8 cups stemmed Concord grapes
6 cups granulated sugar
You need to remove the grapes from the skins by pinching them between your fingers. Place the grape pulp in one saucepan and the skins in another. Bring grape pulp to a boil over medium heat and boil, stirring frequently, until soft. This process takes about 10 minutes or so. Press the pulp through a fine sieve and discard the seeds. Set aside.
Add a little bit of water to the saucepan that contains the grape skins. Just enough water to prevent sticking. Trust me, you don’t need a lot of water. Bring the skins & water to a boil over medium heat. Reduce heat, cover and boil gently until the skins have softened and the liquid has nearly evaporated (about 10 minutes or so).
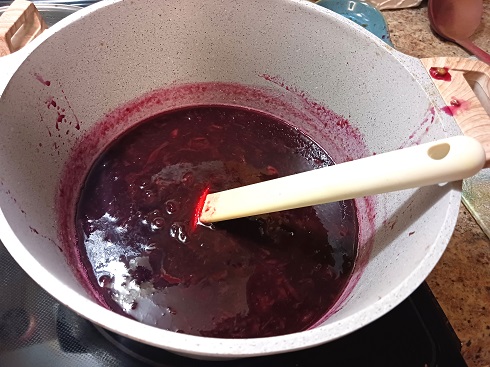
Combine the grape pulp and skins together in a large saucepan. Over medium heat stir in the 6 cups of granulated sugar. I did add 1 tsp. lemon juice (my own addition). Bring the entire mixture to a boil, stirring frequently to dissolve the granulated sugar. Boil until the mixture thickens. You need the mixture to reach the gel stage. Once it has reached gel stage, reduce heat to low.
Ladle the hot grape jam into hot jars leaving 1/4″ headspace. Remove air bubbles. Wipe the rims, add the lid and then add the ring adjusting it until it’s finger-tip tight.
Place the jars in a prepared water bath canner that contains hot simmering water. You need enough water in the canner to cover the jars by at least 2″ over-the-top. Continue filling all of the jars. Lower the rack into the water. Cover the canner. Turn up the heat to get the water boiling. Process for 10 minutes. Turn off the heat. Remove the lid. Let the jars sit in the hot water for 5 additional minutes and then pull the rack up to the top. Carefully remove the jars. I like to sit the jars on a cotton towel laying on my kitchen counter-top to cool.
Important: Do NOT touch the jars, do NOT move the jars for 24 hours. Some jars may take longer to seal than others. After 24 hours check them. Any that haven’t sealed need to be refrigerated and used or reprocessed. Store your cooled jrs in the pantry for up to 1 year.