 Doing a lash lift at home offers a practical option for women who juggle work, family, and personal time. It lets you shape and curl your lashes when it suits you instead of booking an appointment. With the right products and a steady hand, the process can feel almost meditative. Each step gives you control over how lifted and polished your lashes look.
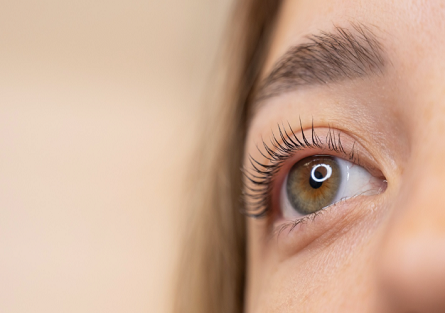
What a Lash Lift Is
A lash lift reshapes your natural lashes so they appear longer and more defined without adding extensions. Using a lash lift kit you apply gentle solutions that soften the lash hairs, mold them into an upward curve, and then lock the shape in place. Think of it as giving your lashes a supportive framework so they hold a graceful arc. Doing it yourself lets you decide on the level of curl and timing of each step, which can be especially helpful when your schedule is tight.
Safety and Prep
Prepare your space and materials before beginning. Perform a patch test at least 24 hours ahead by applying a small amount of each solution to the inside of your arm to check for sensitivity. Remove your contact lenses to prevent discomfort or accidental damage during the session. Work near a window or in a well-ventilated space to avoid irritation from water fumes that may rise from the solutions. Lay out all items on a clean towel so you can reach them easily without touching other surfaces.
Good lighting helps you see each lash clearly. Keep tissues nearby to wipe spills quickly. Tie back your hair so it doesn’t fall forward while you work. Taking these small measures before you start sets you up for a smoother application and keeps the products fresh.
Tools and Products
Gathering what you need before you start turns the lift into a smoother, more focused session. Think of this as laying out your kit so you can move from step to step without breaking concentration.
Lash cleanser – clears oils and debris from the lash line so products can grip.
Micellar water – lifts away leftover makeup without rubbing or pulling.
Lift pads – come in different sizes and control how strong the curl appears.
Silicone pads – flexible bases that sit comfortably against your eyelid.
Cotton buds – allow precise application and quick cleanup of excess product.
Perming agent – softens the lash structure so you can mold it into position.
Fixation lotion – locks the new shape in place after the perming agent.
Eyelash kit – bundles key products together for convenience.
Lash glue – secures the pads to the eyelid so they don’t shift.
Eyelash curlers – optional for touch-ups or prepping lashes before treatment.
Cling film – covers lashes during processing to keep solutions moist.
Tinting kit – lets you add color once the lift is complete.
Mini kit – handy for travel or small touch-ups between full lifts.
You can also use this list as a quick checklist right before starting, so nothing gets left behind in the middle of the procedure.
Steps for Application
Doing the lift in clear stages helps you stay organized and produce a consistent curl. Gather your products, take a breath, and move through each step slowly.
Clean and prep: Make sure your lashes are free from makeup and oils. Use a lash cleanser or micellar water to clear away residue, then dry them gently.
Set up the pads: Choose lift pads or silicone pads that fit your eye shape. Secure them to your eyelids with lash glue so they sit snugly without gaps.
Attach and position lashes: Brush your lashes upward onto the pads, spacing them evenly. Good placement now creates an even curl later.
Apply perm solution: Spread the perm solution only on the lower two-thirds of your lashes. Avoid the tips to keep them healthy. Cover lightly with cling film if your kit recommends it, and watch the time carefully.
Remove and fix: After the recommended processing time, wipe away the perm solution with a cotton bud. Apply the fixation lotion to lock the new shape in place and let it process as directed.
Clean and reveal: Gently remove the pads, clean off residue with micellar water or lash cleanser, and brush through your lashes with a clean spoolie to see the lift.
Moving through the steps one by one gives the solutions time to work and reduces mistakes. You’ll start to develop a rhythm, and the application will feel smoother with each session.

Getting Salon-Style Results
Take your time during the application process to line up every lash. Even small adjustments at the start affect the finished look. Once you’re done, avoid water, steam, or heavy creams on the eye area for at least a day to secure salon-style results. This waiting period helps create a long-lasting curl that holds for weeks.
Gently comb your curled lashes each morning with a clean brush to keep them neat. Use oil-free makeup removers so the lift lasts as long as possible. Plan your next lift based on your natural lash growth; for most people, six to eight weeks between sessions works well. Over time, your hands will learn the motions, and the process will feel less like a chore and more like a skill you’ve mastered.
Conclusion
An at-home lash lift can fit seamlessly into a busy routine when approached with patience and the right products. Laying out your tools, testing for sensitivity, and following each step methodically all contribute to a reliable outcome. With practice, you’ll see consistent lifts that frame your eyes and save you regular salon visits.