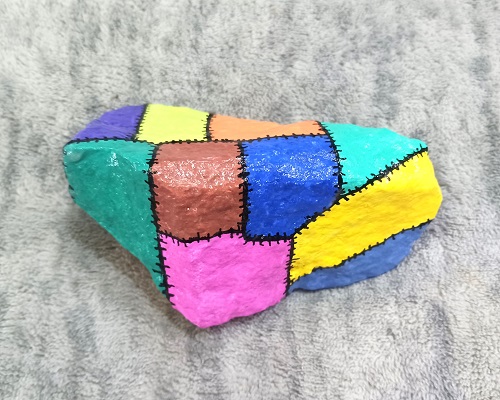
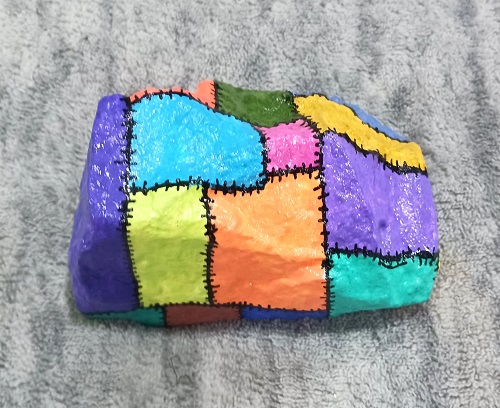
Hand Painted Faux Quilted Garden Yard Art Rocks
 The temperatures are starting to warm up and I’m looking forward to getting back outside into my gardens. I have 4 flower gardens and 2 vegetable gardens that I tend to throughout the growing season. Gardening is a great way to get outside for some exercise and fresh air. Plus, it’s good for your mentally too!
** Post contains affiliate links.
I like to decorate my outside spaces with a variety of different things with the majority of them things that I personally make. You’ll find handmade windchimes, painted seashells, solar lights, colorful painted rocks and all sorts of things that add color and charm. Today’s craft project is an easy-to-make hand painted faux quilted rock! Gotta love painting on something that you can get for FREE.
The rock that I used was one that I collected from our backyard. It measures about 6″ long, so it’s a nice size. You want to wash the rock in warm soapy water using Dawn Liquid Dish Soap. I recommend Dawn because it does a great job at removing dirty and debris. Rinse with clean water and let it dry overnight.
You don’t need a pattern or template for this project! Spray paint the rock with 1-2 light coats of white spray paint. You can brush-on 1-2 light coats of white craft paint if you prefer that. You need to cover the entire rock with the white paint. This will help the colors to really “POP” once you apply them on top. Let dry.
Use a pencil and draw quilt blocks onto the rock. You want squares and rectangles in a variety of different sizes. Triangles will work too. To keep the design work simple I used a pack of BETEM Acrylic Paint Markers to color in all of the squares. I purchased them from Amazon. They feature dual-ended tips (a medium tip and a fine tip), require no priming, no dripping messes, no clogged tips and no foul paint odors! Plus, they dry quickly! Once the blocks are dry you want to outline them with the fine-tip black acrylic paint marker. After outlining, go back over those lines to add your tiny stitches, like what’s shown in the photograph. Let dry.
Seal the design by brushing on 2 light coats of Clear Mod Podge Sealer with a Glossy Finish, allowing for 45 minutes of drying time between coats. You can use a Clear Acrylic Spray Sealer if you prefer that. Just make sure the paint is thoroughly dry before sealing.
Once sealed you can display your colorful works of art outside on your front porch, back deck, around the swimming pool, in a flower garden or wherever you need to add color and design. A fun and inexpensive art project that you can make!
If you enjoy painting on seashells or crafting with seashells…you’ll find over 150+ seashell craft projects right here on the Two Classy Chics blog! We will be sharing more seashell craft projects in the future too!
* This post contains affiliate links. If you make a purchase, we may or may not receive a small commission which helps to support this site. Thank you!
