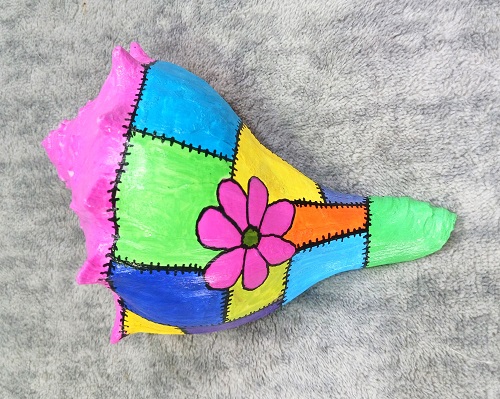
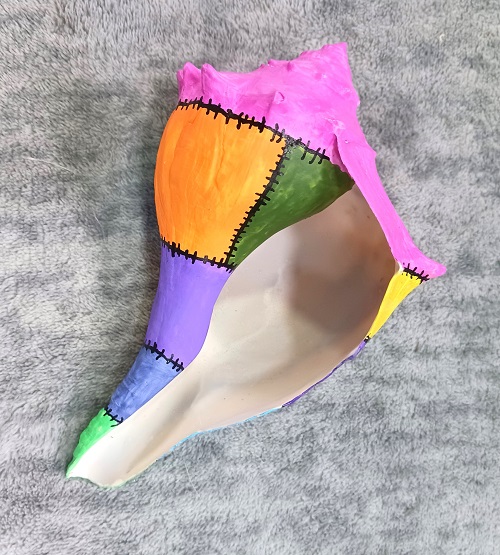
Hand Painted Faux Patchwork Quilted Whelk Shells Conch Seashells
Last month I decided to try something a little bit different when it comes to hand painting seashells. I decided to do a patchwork quilt design on the outside of a large knobby whelk shell. Some people incorrectly call them Conch seashells, but they’re really called Knobby Whelks. I ONLY collect vacant shells that I find on the beach. You never EVER want to take occupied seashells and you NEVER want to take too many. You ONLY need a few!!!
If you enjoy painting on seashells or crafting with seashells…you’ll find over 150+ seashell craft projects right here on the Two Classy Chics blog! We will be sharing more seashell craft projects in the future too!
**** Post contains affiliate links.
You need to wash the seashell in warm soapy water using Dawn Liquid Dish Soap. If needed, you can use a Mr Clean Magic Eraser to remove any tough grime or stains. Rinse with clean water and let them air dry overnight. I recommend using Dawn because it’s the best at removing sand, debris and fishy odors.
Take the seashell outside. Spray it with 1-2 light coats of a white flat spray paint. Don’t use one with a glossy or semi-gloss finish. You need it to give you a flat finish. By giving it a white base coat…it will allow all of your paint colors that you’re placing on top to really POP in color. It’s a step I highly recommend that you do. Let dry until the paint is no longer tacky.
I like to use a pencil to sketch out the sections on the top of the seashell. Since I was trying to replicate a patchwork design I made square and rectangle shapes. To add a little bit of extra interest I drew on a simple flower shape in the center. You can totally skip that if you’re going for just a classic quilted look.
Time to get busy coloring in all of the sections! I like to use BETEM Acrylic Paint Markers to color-in all of the sections. For this particular shell I went with bright vivid colors that remind me of a tropical paradise. Go with a color scheme that appeals to you. Once dry, you need to do the outlining and stitch work with a Tooli-Art Fine Tip Black Acrylic Paint Marker. I did the outlining first and then went back to add the tiny little slashes to represent the faux sewn stitches (lines). I do recommend that you keep those faux stitches small and neat with a little bit of space between each one.
Color-in the flower (if you added one) and the top section of the seashells. I did the top section in a pretty neon pink color to match the flower…gave it a more cohesive look. Let all of the paint dry for several hours.
Seal the painted surface one of two different ways:
Clear Acrylic Spray Sealer – I like using one with a glossy finish. I sprayed 2 light coats around the entire circumference of the seashell. Let dry overnight. This needs to be done outside!!!
Mod Podge Clear Sealer – If the weather isn’t cooperating…you can brush-on 2 coats of Mod Podge Clear Sealer with a glossy finish. Allow for 30-45 minutes of drying time between coats.
Don’t skip the above step! You need to seal-in that paint to help prevent chips, scratches and the colors from fading. PLUS, by sealing the shells…you can display them inside or outside of your home. Perfect for summertime decorating!
* This post contains affiliate links. If you make a purchase, we may or may not receive a small commission which helps to support this site. Thank you!

