Kid’s Crafts – Tissue Paper Snowflakes
My grandson is 5 year’s old and loves to work on arts & craft projects with me. He will sit for hours painting, working with clay, folding papercrafts, gluing things together, etc. Crafting together is a great way for us to bond and it teaches him valuable skills that he can use later in life.
Last weekend we sat down to make Tissue Paper Snowflakes which was a lot of fun! I had saved a lot of tissue paper from Christmas to use in projects like this. A great way to recycle it. This project is really easy and barely costs any money. Here’s what you’ll need.
Kid’s Crafts – Tissue Paper Snowflakes
White Poster Board or Cardstock
Snowflake Template
Tracing Pencil or Pen
Scissors
Blue and White Tissue Paper
All-Purpose Quick-Drying Craft Glue (dries clear)
Paint Brush
Plastic Lid (from butter bowl)
Paper Towels
Water
Snowflake Template: We did an image search via Google to find a free snowflake template. You’ll find a ton of them. Select one or two that you like. Enlarge or shrink the image to the size that you want. Print it out. Use scissors to cut out your template and then trace around the template onto your poster board. Use scissors to cut out your poster board snowflake.
Cut or rip your tissue paper into small pieces. Separate the pieces by color by placing them on two different piles.
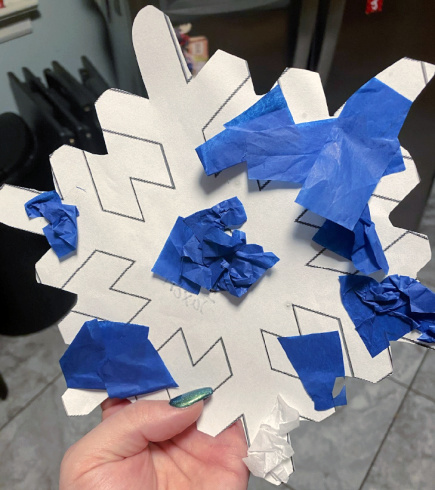
Squirt some craft glue onto the butter bowl lid. Stir in a few drops of water to slightly thin it down. Dip paint brush into the glue mixture and brush it onto a small section of your poster board. Crinkle up a small piece of tissue paper and stick it into the glue. You may need to hold it in place for a few seconds. Repeat this process until the entire snowflake area has been covered in white tissue paper. Repeat the outline of the snowflake with blue tissue paper as shown in the photo.
Let it completely dry for one to two hours. You can poke a little hole at the top, thread through some string and hang the snowflakes up by a window or from the ceiling.
Note: The photo doesn’t show a completed snowflake. We weren’t done with it when he had to go home, so I packed up the supplies and he’s going to finish it at home this weekend. With that said, you get the “gist” of the project with the photo provided.
* This post contains affiliate links. If you make a purchase, we may or may not receive a small commission which helps to support this site. Thank you!

