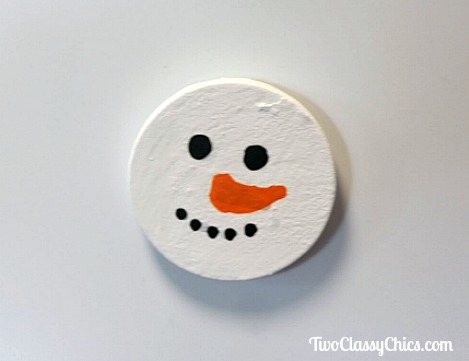
Kid’s Crafts: Easy Painted Snowman Refrigerator Magnets
 I’m always looking for quick and easy craft projects to do with my 5 1/2 year old grandson. Today’s project can be completed in one afternoon and you only need a few supplies to make them. We picked up a package of 2″ round unfinished wood circles at our local craft store on clearance. Each package contained 10 circles for $1.00. If you don’t want to mess with acrylic craft paints & paint brushes…you could certainly use acrylic paint pens.
* This post may contain affiliate links.
Kid’s Crafts: Easy Painted Snowman Refrigerator Magnets
2″ Diameter Unfinished Wood Circles
Acrylic Craft Paint: White, Black and Orange
Paint Brush, Water Dish, Paper Towels
Wooden Round Toothpick
Newspaper
Self-Adhesive Magnets
Cover work surface with newspaper if the child is using acrylic craft paints. Give the front, back and sides of the wood circle 2 coats of white acrylic craft paint. You want to be generous with the amount of paint that you’re using, so that you get the coverage that you need. Let dry for 1 hour.
Have the child add a triangular shape with orange paint for the snowman’s carrot-shaped nose. Dip the end of your paint brush into black paint and dot on his two eyes. Dip a round-end wooden toothpick into black paint and dot on his “coal” to serve as his mouth. If desired the child can add additional facial features like rosy-pink cheeks, eyebrows, etc. Let them decorate the face and be creative or keep them simple like shown in our example. Let dry for 1 hour.
We added a self-adhesive magnet on the back of our snowman. (just peel off the backing and stick it on). Make sure you press it firmly into place. I recommend letting them sit for a few hours BEFORE placing them onto the refrigerator to make sure you have a good bond first. If needed, you can certainly use a little glue to tack the magnet down.
* This post contains affiliate links. If you make a purchase, we may or may not receive a small commission which helps to support this site. Thank you!
