How to Freeze Peas with Preparation and Freezing Tips
 The past 2 years we’ve been growing and harvesting our own green peas from the garden. You can preserve your fresh peas by freezing or canning them. When I have a small amount I prefer freezing them. It’s an easy process and doesn’t take a lot of time.
* This post contains affiliate links.
You’ll need a few supplies to get started: large saucepan, measuring cup, paper towels, large bowl, colander, slotted spoon, and freezer bags. You’ll need a Sharpie Marker or pre-printed labels for your storage bags.
How to Freeze Peas with Tips
Place peas in a large colander under cool running water in your (clean) kitchen sink. Rinse all of the dirt and debris off of the pods. Drain. Shell the peas by tossing the empty pods to your compost pile and the peas into a bowl.
Bring a large saucepan filled halfway with water to a boil. Place them into the water and boil for 3 minutes. Remove. Pour them into a clean colander under cold running water in the sink (or pour them into a bowl of ice water) to immediately cool them down. You need to stop the cooking process quickly.
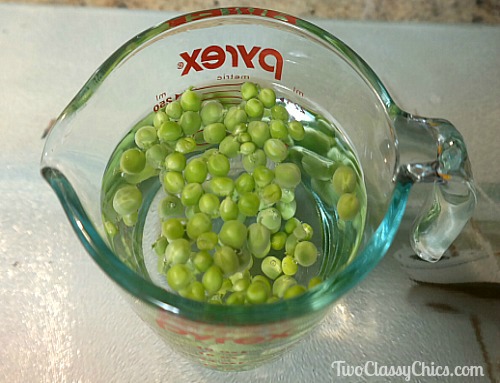
If you’re working with a small amount place ice water in a large glass measuring cup and place them inside. It will take approximately 1 1/2 minutes up to 4 minutes to cool them down depending on the amount of peas your cooling.
* It’s important to blanch them before freezing to kill insects, parasites, bacteria and germs. Please don’t skip this process!
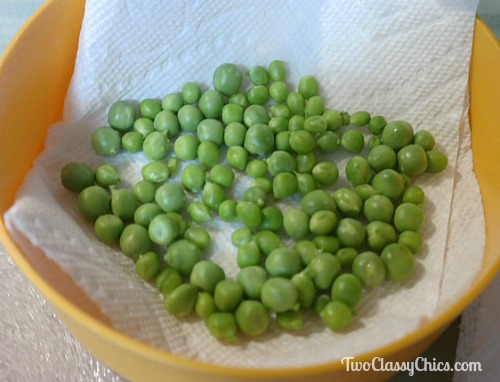
Cover a plate or line a bowl with 2 paper towels. Place peas on top. Let them sit for 1 to 2 minutes. Take another paper towel and blot off any excess water. You want them to be as dry as possible. Once dry you’ll place them onto a non-stick baking sheet or in a glass baking dish in a single layer. Place baking sheet in the freezer for 1-2 hours or until peas are frozen solid.
Remove from freezer. Place them into a measuring cup and measure out the portion that you need. It’s just the two of us (we’re empty nester’s) so I like to use 2-cup portions. My daughter has a family of four and she likes to use 4 cups in her bags.
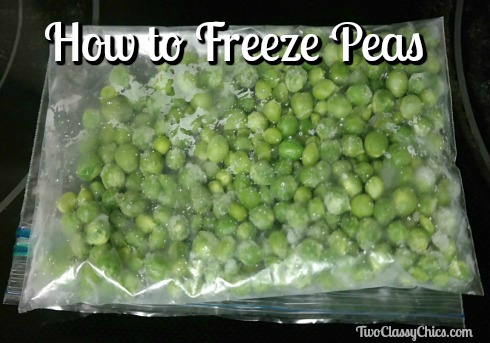
Pour them into your freezer storage bag. Purge out air. Seal shut. Label bags with date, contents and measurements. Place into the freezer flat (like shown in my photograph) for storage. Freezing them this way will take up less space and you can stack additional bags on top. I don’t recommend using plastic containers because they take up a lot of space and you can’t purge out the air. Air and moisture causes freezer burn!
When properly processed and frozen they will keep for 12 to 18 months. You can thaw them out overnight in your refrigerator or for 1-2 hours at room temperature. If you’re going to toss them into a soup or stew…you can toss them in directly from the freezer.
* This post contains affiliate links. If you make a purchase, we may or may not receive a small commission which helps to support this site. Thank you!


